


bradley
-
Posts
24 -
Joined
-
Last visited
Content Type
Forums
Events
3D Prints
Posts posted by bradley
-
-
On 7/14/2018 at 4:22 PM, klaasie said:
Thanks tinkergnome for the fast response
I did what you asked
I installed Tinker-MarlinUltimaker2extendedPlus-17.10.1 factory reset then did the buildplate calibration everything went normal i then installed Tinker-Mark2-extended-dual-17.09 ( i have the mark2 expansion board disconnected and connected the second head directly on the main board) i did NOT do a factory reset and checked all the prefereces settings but it looks normal. But when i choose raise buildplate in the display the buildplate raise very slooooooooow, like 1cm in 1 minute and when i choose to adjust nozzle (1) the head goes right in the wall and not stopping
Since you mention you have a clone board, are you sure that the step settings are correct for each of the motors? I experienced a similar problem with a clone board where some of the stepper motors had the wrong step settings (controlled by jumpers or switches on the clone board).
Hope that helps
*B
-
3 hours ago, gr5 said:
What material are you printing? If you clean the glass well and you are printing PLA then the initial priming extrusion should be fine. At least it works fine for me with pla - they always stay where they belong.
There is a printing kit you can get from UM that has adhesion sheets. If you cut out a small square of adhesion sheet and place it where the prime poops appear that works for many people. I'm pretty sure @lrodriguez does this. There are alternate materials out there like buildtak.
I'm printing PLA. You suggest a good idea. I'll try it, thanks. I'm finding with each round of tuning, a lot of the issues I've been seeing are going away. I didn't realize how much tuning I would need to do.
*B
-
I am, however, seeing another an issue which I could use some guidance on:
The initial priming extrusions seem to get dragged into the model on the first layer. Any way for the the heads to wipe them/ push them away, rather than dragging them in? I noticed in the calibration print, there is a wiping motion of extruder 2. Any way to get that to happen during extruder changes on a live print?
Thanks in advance,
*B
-
On 2/27/2018 at 4:17 PM, gr5 said:
@bradley - maybe you should do a screen shot that shows all the temperatures in cura and then show a few lines of gcode that it creates when it primes. There may be a bug as tinkergonme mentioned.
Ok, I another look and discovered the problem. It isn't a bug in the firmware. It's operator error via a missing step.
I did not realize that many settings in cura need to set for the individual extruders or "copied" to all extruders. Upon copying those unshared settings to all extruders, the problem was solved.
Thanks to all that commented.
*B
-
Yes I will when I’m back from my business trip in Europe
-
8 minutes ago, yyh1002 said:
Did you check the initial printing temperature setting? If not, unhide and take a look at it.
I remember cura have 10 degree lower initial printe temp as default.
That's how I'm setting it in cura
-
1 hour ago, tinkergnome said:
y suspicion: take sure that you use the correct definition files for Cura. There was a change in Cura 3.2, by default it initializes the target temperature of the inactive nozzle with the standby temperature now. There are new definition files for 3.2 (and upwards) in the folder "cura-3.2-resources" - take sure that you use these for Cura 3.2.
Thanks for your response. I am using the most up to date definition files from github.
I typically print at 210 degrees. What I am seeing is the first extruder coming right up to 210 upon startup followed by the second extruder heating up much more slowly. When the second extruder reaches approximately 200 degrees, the printer retrieves it and primes it -- it hasn't normalized at 210 yet. Then, after priming, it remains at 175 (standby temp?).
When I was using the default 200 degree print temp, the second extruder was only getting to 180-190 before priming. Thus my concern.
I haven't finished the calibration steps yet, so I'm still printing only with one extruder, but the dual extruder priming sequence is happening anyway.
I know I can probably resolve this issue by upgrading the heater cartridge on second extruder. But other than the wait time for heating up, it should wait for proper temp, regardless.
Thoughts?
*B
-
On 2/26/2018 at 4:17 PM, bradley said:
Shouldn't the printer always wait for the proper temp to be reached (as opposed to a manual script to be used for each print)?
If there isn't consensus on this request for firmware change, can you be more specific about where and how to use M104 and M109? I'm not a Gcoder.
Thanks again,
*B
Anyone able to help me?
*B
-
7 hours ago, conny_g said:
The UM2 heater is 25W, the UM2+ is 35W, so it takes some 50% longer to heat up.
Here in the printer definition:
In „machine-start-code“ you could add a head temperature command at the beginning to preheat E2.
https://fablabdigiscope.wordpress.com/list-of-raw-g-code-commands-for-ultimakers/
Use M104 and M109.
Seems like this should be something addressed in the actual Tinkernome firmware, rather than in an auxiliary script? It seems legit that extruder 1 and 2 may have different timings to come to temperature -- even with different materials. Shouldn't the printer always wait for the proper temp to be reached (as opposed to a manual script to be used for each print)?
If there isn't consensus on this request for firmware change, can you be more specific about where and how to use M104 and M109? I'm not a Gcoder.
Thanks again,
*B
-
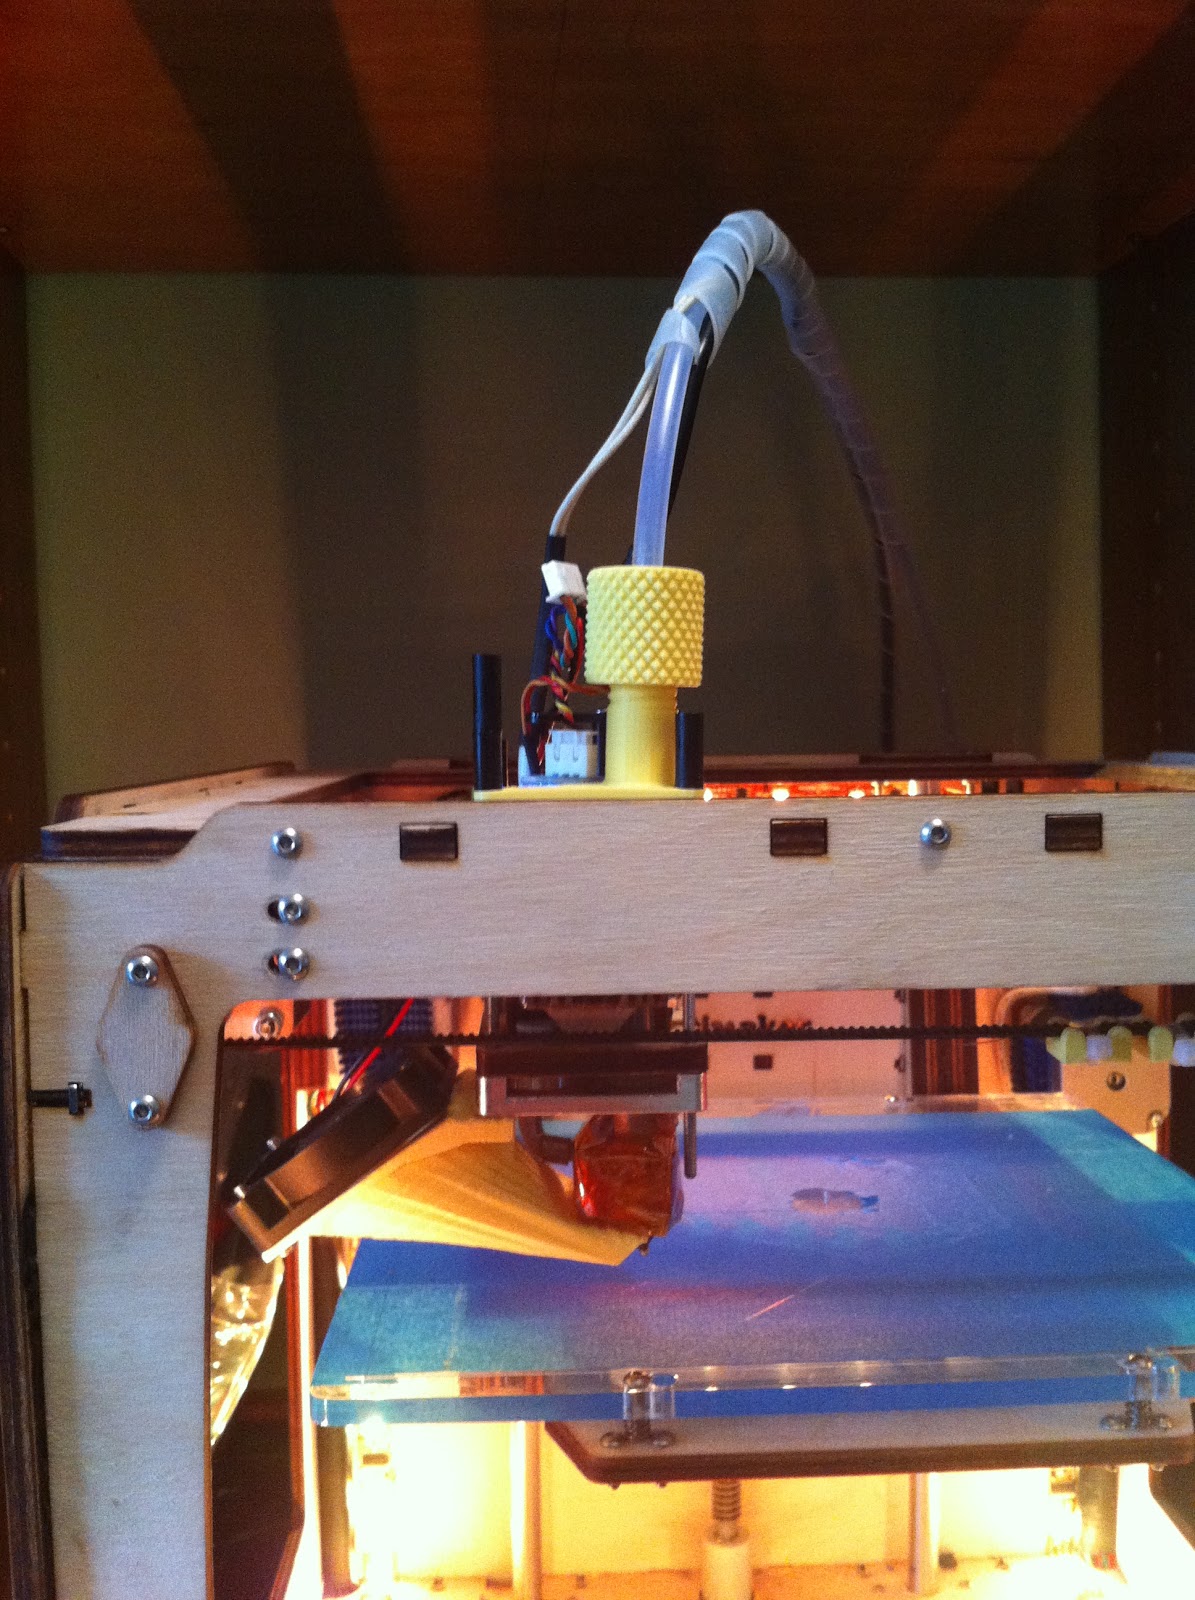
I just completed my Mark 2 Build. I am using the UM2 original print head as the 2nd extruder.
What I'm noticing is that the UM2 original print head takes quite a while longer to heat up than the UM2+ print head. However, I'm also noticing that the firmware seems to try and prime the 2nd extruder BEFORE it's at the correct temperature -- it seems to attempt this after the 1st extruder is at temp. As such, ithe 2nd extruder is having a harder time priming correctly at the start of a print.
Is there some way to remedy this....for the firmware to wait until the 2nd extruder reaches the proper temp rather than relying on the 1st extruder temp?
Thoughts?
*B -
Andy:
Thanks for the tip. Yes, I did some research and that's exactly what I needed to do. Did it. Works now.
*B
-
 1
1
-
-
While performing the UM 2+ extruder/feeder upgrade, my early production UM2 motherboard was smoked. Apparently there was extra solder under a stepper motor driver chip and by moving the board around during the upgrade, the solder fragment moved, shorted the chip and fried the board.
Ok, I contact UM support. They won't support a warranty replacement -- board and upgrade kit is too old. Replacement board is $350 from UM. What?
So I take a chance on a Chinese made clone board ($90 - much better). It's this one:
(has replaceable stepper drivers -- hey -- that's why my original board blew out -- great).
It arrives. I install it. Easy peasy. I fire up the printer -- powers up perfectly. I upgrade the firmware to UM2+, do a factory reset, I get the setup wizard. I click continue, and the Z platform starts homing up! Up? It's supposed to go down! What-the-heck is going on?
I try jog controls in Pronterface. All the motors are moving in reverse. Homing X/Y, the head crashes to the front right. When I try to home Z, it crashes up.
Don't berate me: Please help me figure this out.
Thanks in advance,
*B
-
Guys:
Neither of you really answered my question. I have an original UM. One from the very first shipment ever made -- when UM was made in the founder's apartment.
It has larger diameter rods than the UM2.
I am looking for a physical adapter that will be a new head carrier to contain the bearings from the UM original (NOT the UMO+) and carry the UM2 "Print Head" (NOT the UM2 extruder), or will adapt the UM2 heater/fan/nozzle components to bolt onto the bottom of the existing UMO head carrier (with the UMO heater/fan/nozzle components removed).
I guess no one came up with such a scenario? I'll have to design one myself.
*B
-
I just received the UM2+ upgrade and realize that I'm going to be removing the original UM2 print head for the UM2+ head. I also happen to have a thoroughly hacked/modded UM original-original machine.
Has anyone come up with a hack/mod to refit the UM2 head into the UM original-original Machine? Perhaps a printed replacement of the wood enclosure which allows the larger UM original rods, but permits the UM2 heater/head assembly to screw on?
Thoughts?
*B
-
That's a good point, Geert!
I will remember that and revisit settings using the new Cura.
Thanks for the insight!
*B
-
What kind of speeds are we talking about?
Using tuning to set speed at 150%, hot end temp set at 215 deg
-
I haven't printed in a while, as been busy with other projects, but I'm noticing that my UM2 is skipping steps on both the X/Y axis when doing a long "jump" at high speed. So X and Y starting positions on subsequent layers are off by about 1mm on each axis, causing a leaning print in both x+y. All belts are super tight. All pulleys are super tight. All axis are straight and lubed. What gives? Naturally, printing at normal speed results in no issues.
Now I've also got a totally tweaked/modded UM original which is a beast of printer and can print flawlessly at super high speeds. However, it does have much bigger motors than the UM2
I'm I not remembering something? I thought the UM2 was engineered to print super fast and flawlessly? Was I imagining this?
Thoughts?
*B
-
btw how do you go when you swap your filament? Does it get stuck at the junction between the two tubes?
Nope. Just pull straight out/away.
-
Follow-up from my mod post. I've been using this mod for several weeks and have completely eliminated the hot end clogging issue. Thus, threading the bowden into the peek works!
I still had an issue with unthreaded portion of the bowden popping out of the bowden clamp, so I replaced the clamp with a connector similar to the one that is on the extruder drive-side of the bowden. So far, works PERFECTLY!
-
I did a similar mod to Owen's. Mine is working great without clogging, however I did find on prints with large filled downskins, filament backpressure will still build up and pop the bowden out of the Owen's clamp. If I loosen the tension on the extruder drive clamp, when pressure builds up enough, the filament slips somewhat, but the bowden clamp holds.
I hope that the Ultimaker folks are taking note of our modification experiments and are working towards a better designed bowden interface to the hot end.
Here's my posting on the Google groups: http://groups.google.com/group/ultimaker/browse_thread/thread/706e9777955b6e96
Here are some pictures of my mod:
Shortened Brass Tube:
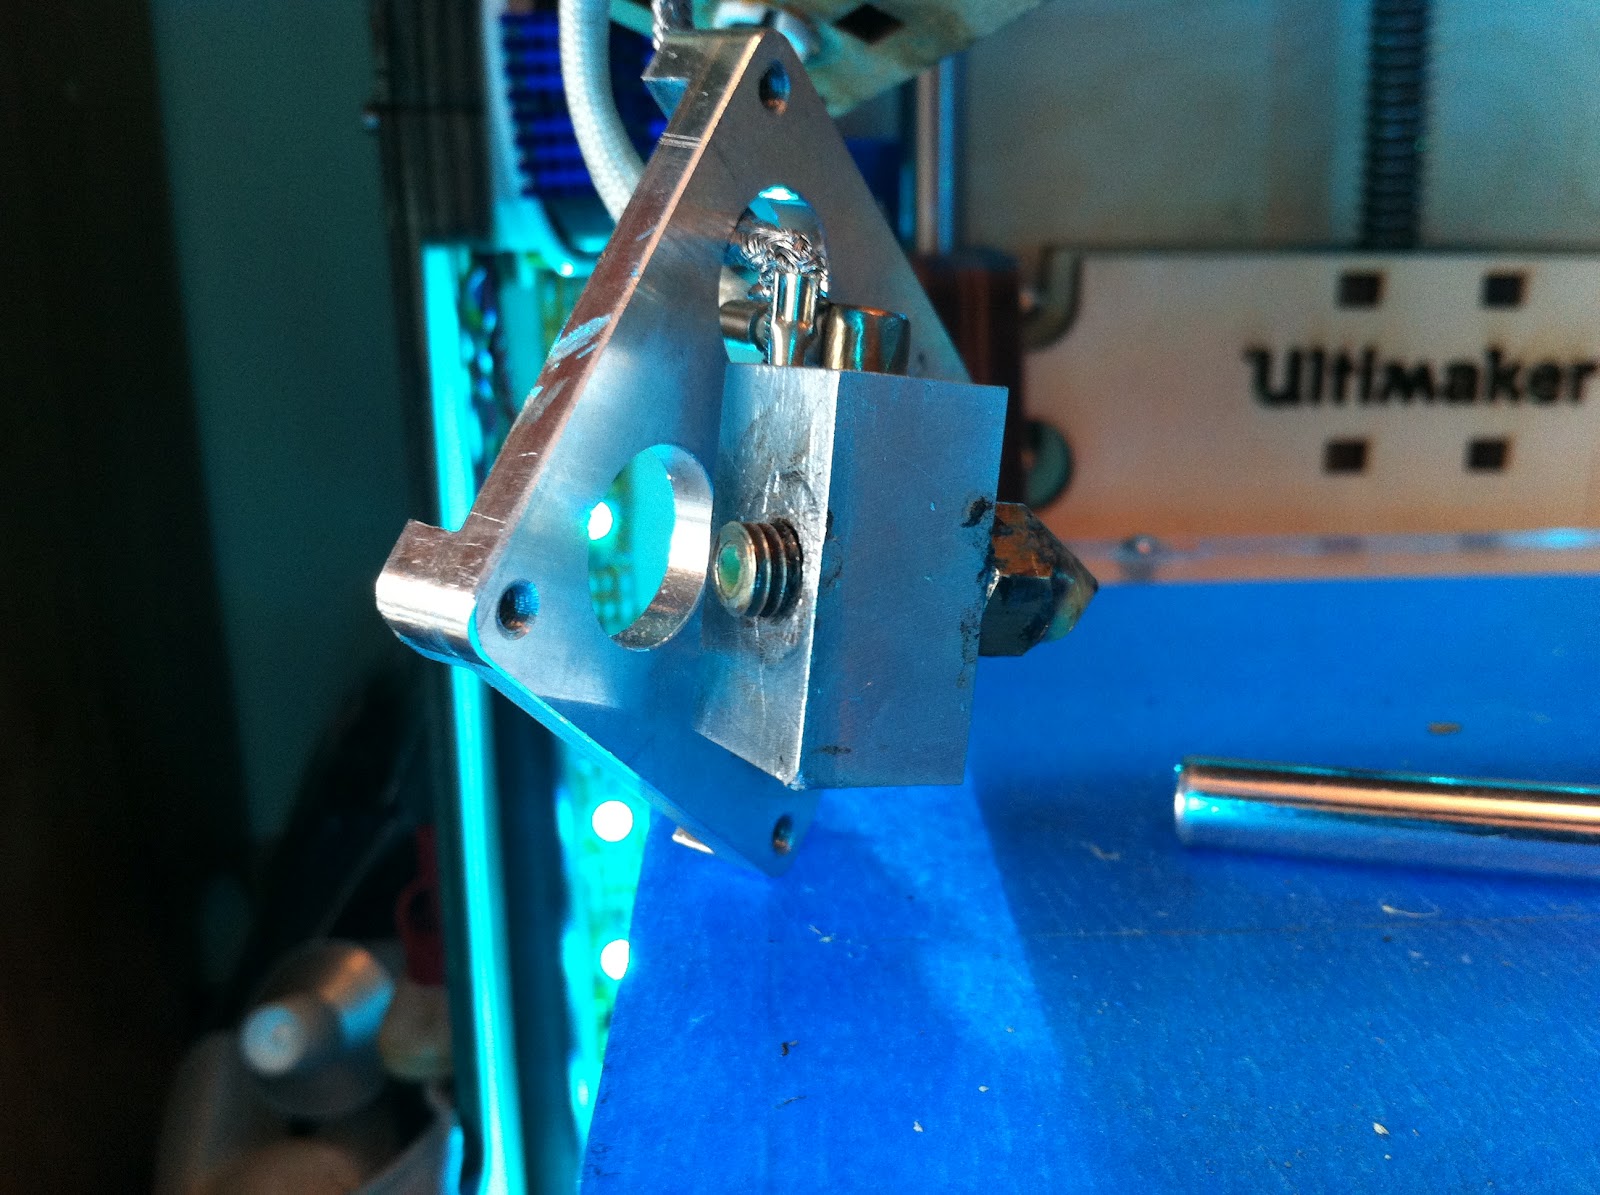
Bowden with new 6x1mm threads:

Testing fit and depth of the threaded bowden into the peek isolator:

Testing assembly of the bowden to brass mating within the peek insulator:

Final assembly -- can you tell anything's changed on the bowden? :
-
I'm more disagreable than you are, Bradley!!
Volumetric 5D was the biggest advance in home printing for 2011, IMO. Backing away from it is not the way forward!
I agree, but you have to have a sound machine first. It doesn't sound to me like this guy does. That's why I'm suggesting simplifying things.
Going from standard firmware to the latest marlin with all its jumping around is bound to shake all sorts of complexities into a new build. The stodgy old firmware and thick filament threads will allow someone to tune all the basic issues. Level layers, square corners, uniform threads, a solid first layer, etc. Alignment, belt tension, lubrication, stepper driver voltage, extruder temperature, filament tension, extrusion cooling -- all come into play with basic "fail-safe" software and settings.
I'm sure this guy hasn't yet got those perfect. It's not going to help stepping up the speed and lowering the layer height. That'll only lead to what we've seen from other users-- bad-mouthing this system.
Everytime something gets out of whack on my machine, I always return to basic prints. Once those are working right, I step back up to more challenging things. I'm still dealing off and on with difficult backpressure issues.
-
... You should probably be on standard firmware and not Marlin just yet. ...
I disagree - everybody should move off the standard stuff and up to SF40+!!
I disagree back. This machine needs a fair amount of tuning mechanically before you begin to get the benefits of improved software. If you don't have it mechanically right, there is no reason to change the software. It only complicates things.
I'm still re-tuning my machine with every modification I make to it (the latest, a new style fan shroud, which changed virtually every parameter). Very frustrating but I'm back to great prints again.
If you can't get Makerbot-quality prints with the unit's standard settings, you'll never achieve Ultimaker excellence prints.
-
I think you're trying to accomplish too much too fast.
You need to use a set of fail-safe settings and see what that gets you on a 20mm box print. Until you can obtain a good box, you shouldn't try anything more ambitious.
Fail safe settings (as well as solutions to everything you're experiencing) are documented on the wiki (do the research yourself). You should probably be on standard firmware and not Marlin just yet. Downgrading is easy.
Once you have a good 20mm box print on standard firmware, using RepG's standard, failsafe settings, then you can experiment with other things -- newer SF, netfabb, marlin, etc.
Otherwise, you'll end up with lots of frustration, failing prints and a sour attitude towards UM.
Best,
*B

Ultimaker Mark2 - The Smart Dual-Extrusion Upgrade
in Third party products & modifications
Posted
Some clone boards, I don't believe, respond to these settings.