

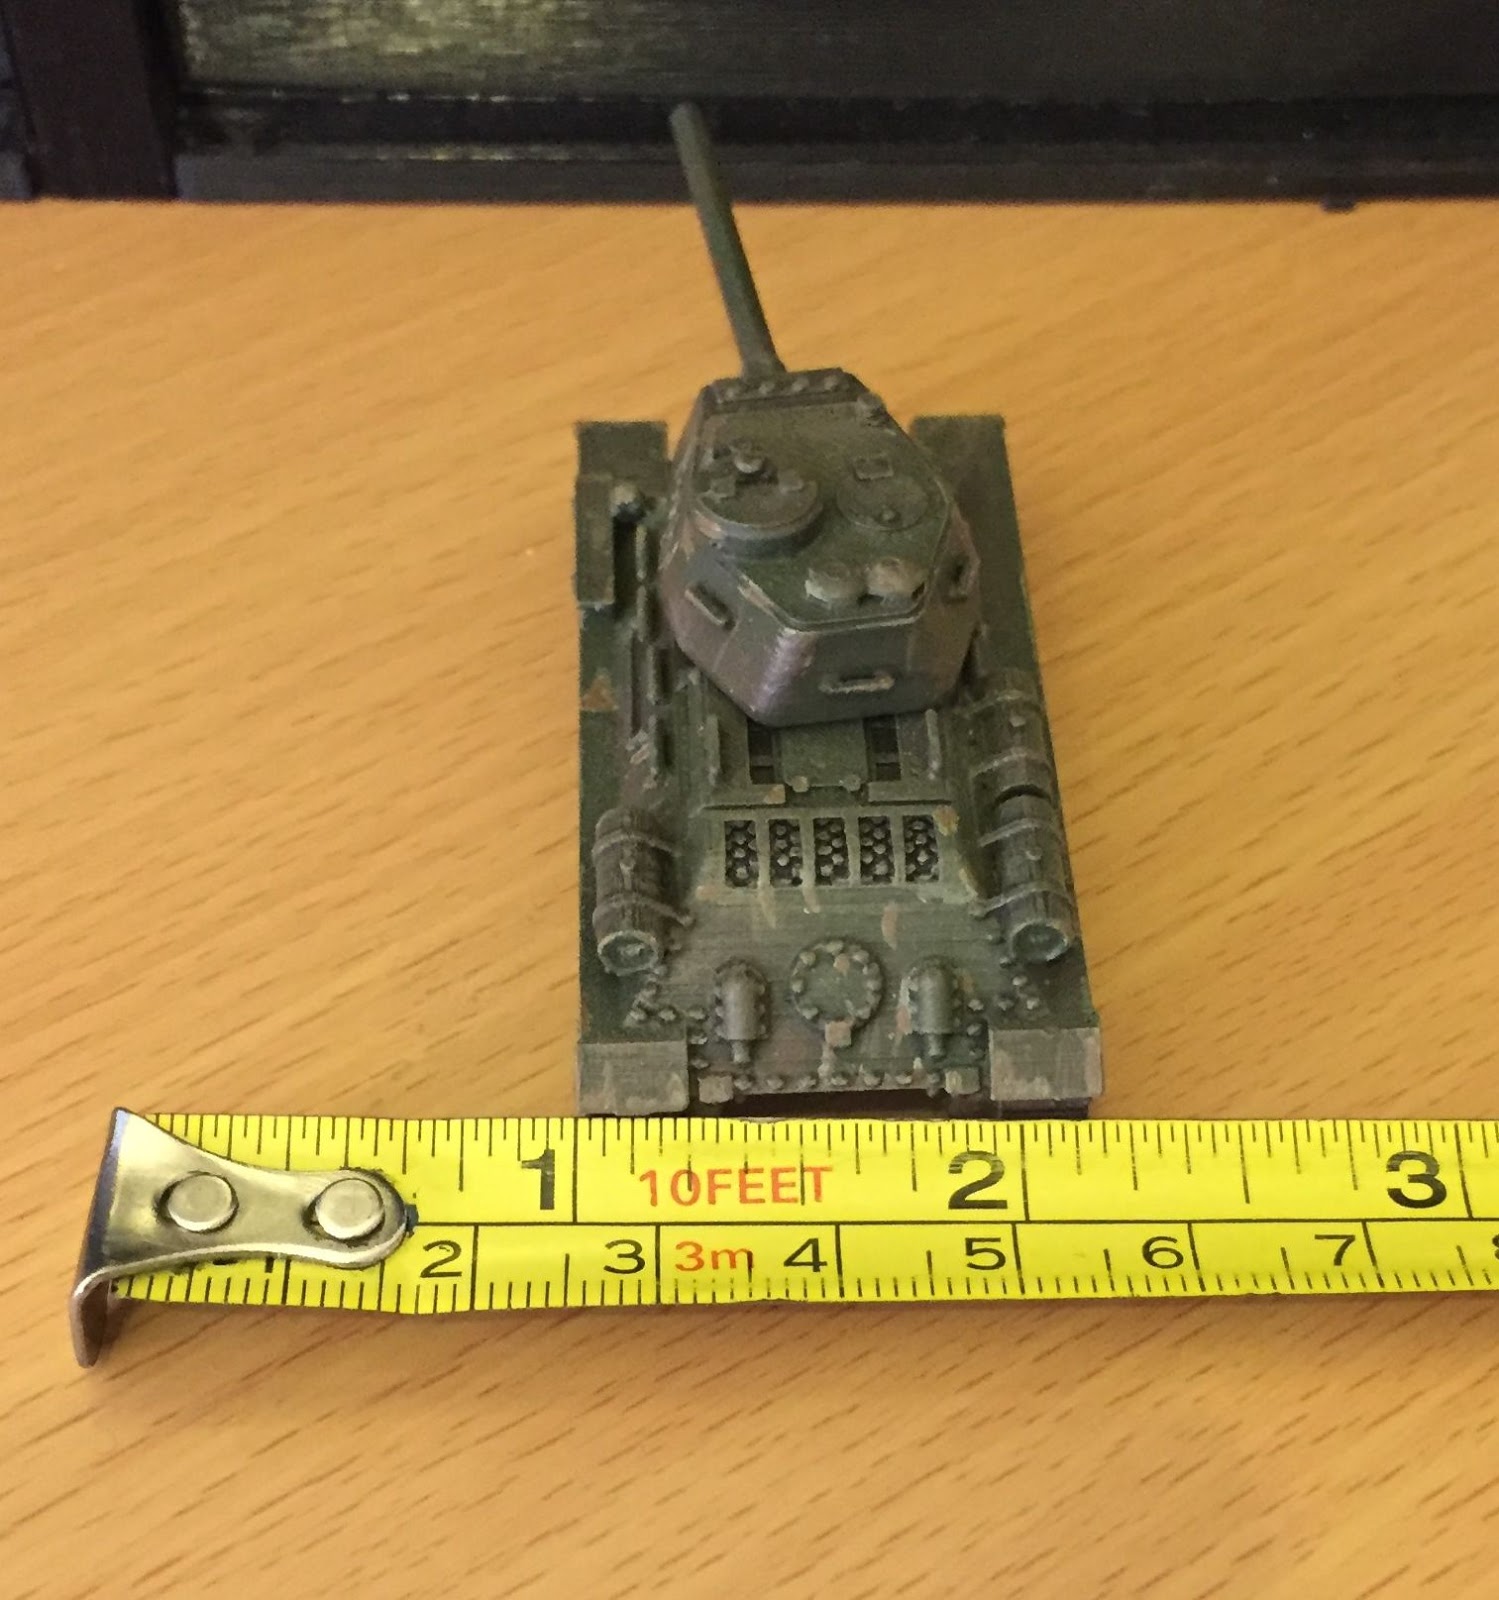
Thanks GR5. I am printing my PLA at 195-200 and in the range of 20-30mm/sec depending on the quality that I am looking for. With PLA, and a 250 micron nozzle, the quality and detail is amazing. Except for the top layers if there is some small detail sticking up and I am not printing multiple parts (or have a sacrifice out there). I want the directed fan to help there and it seems to do so. I will keep the speed versus layer height guide in mind but I had sort of stumbled onto that anyway, going faster with the thinner layers.
With ABS I am printing at what seems like crazy low temperatures of 215 (starting at 245 and winding down after the first layer). The idea behind the directed fan is that I can cool the extrusion area with the lowest possible fan setting and not have that same fan on the rest of the print...helping to prevent the print popping off. The same kind of setup worked brilliantly on my Wanhoa Duplicator 4S and it seems to be working pretty well here too.
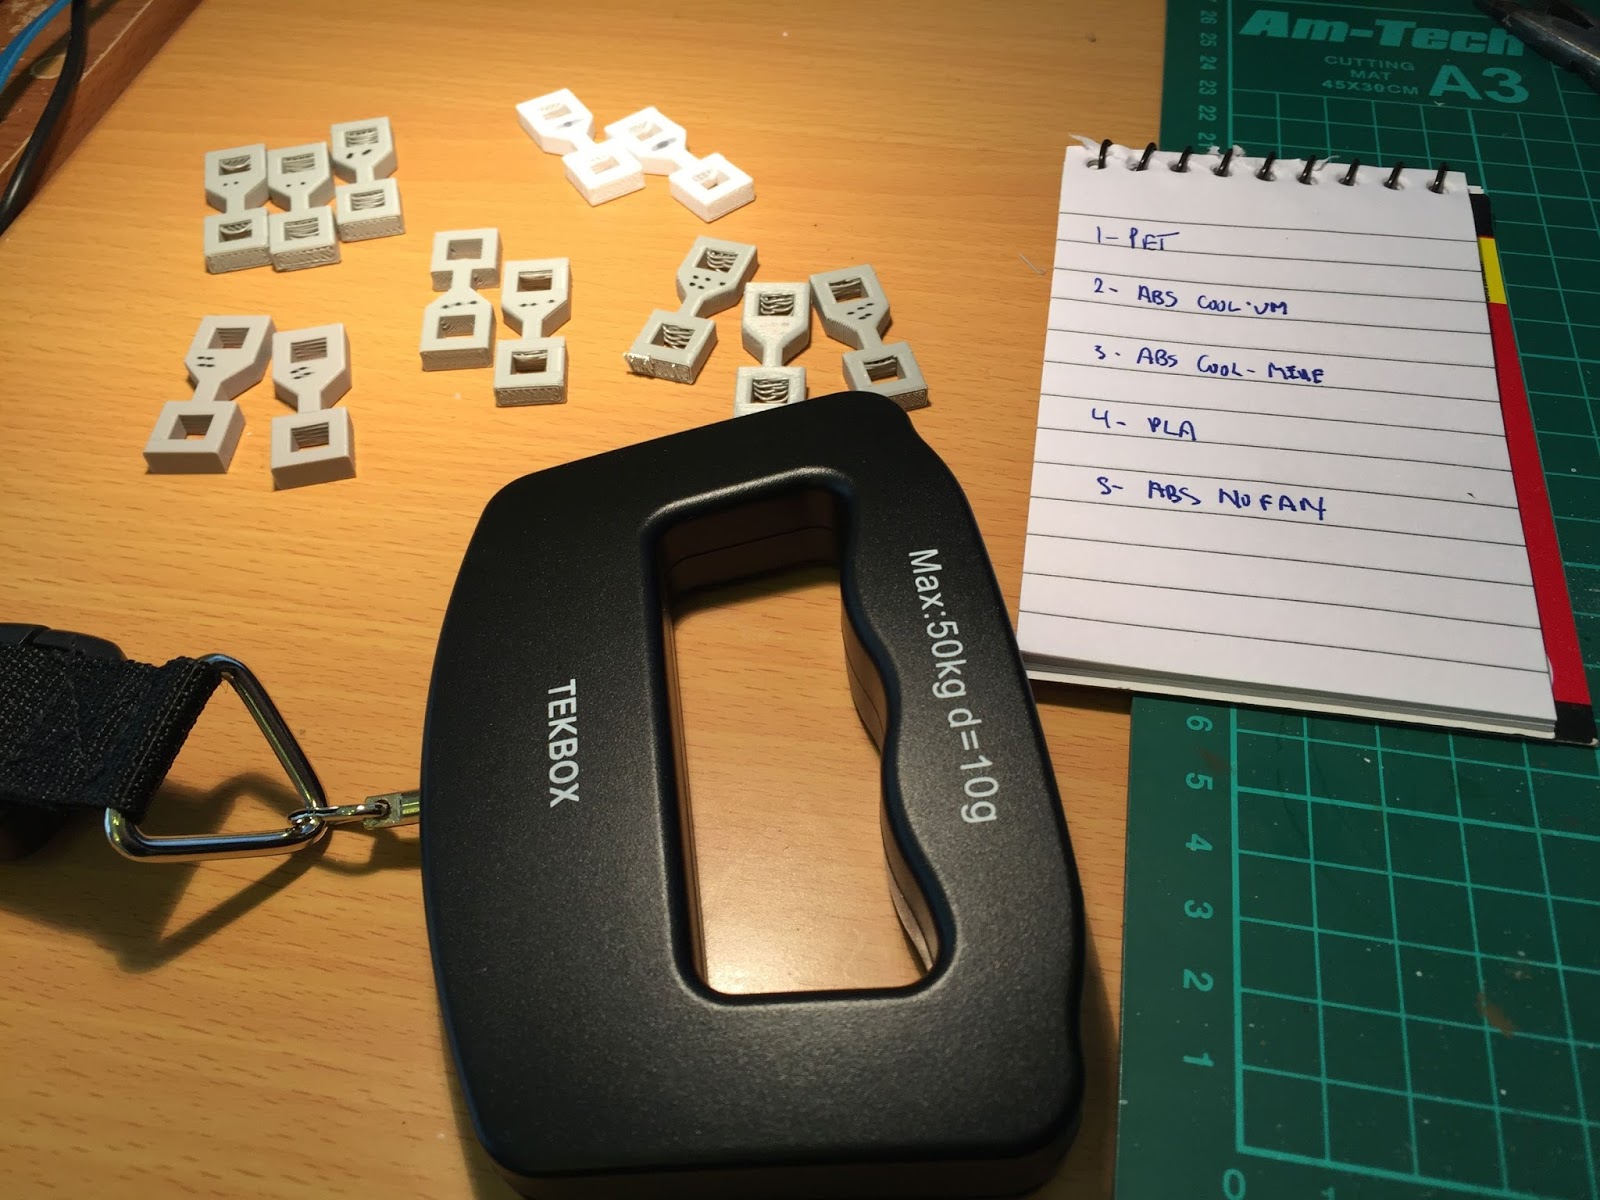
I think you are confirming the direction that I have been taking so thanks. I am particularly glad that I don't have to enclose the rest of the Olson block as that was going to be tricky!
What surprises me is that no one else seems to have been done this?
Thanks again,
Will


.thumb.jpeg.0b7a05eafc09add17b8338efde5852e9.jpeg)
Recommended Posts
gr5 2,167
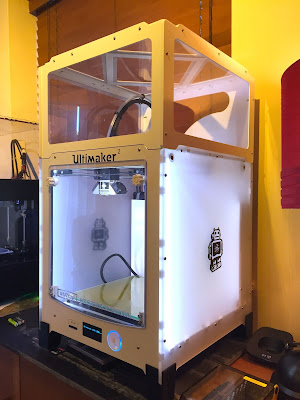
Olsson block exposed is fine. The cover is for safety to reduce the chance of burns but I touch my nozzle all the time with bare fingers. You just have to be quick. Also you want to keep wind off the nozzle if you can but you have taken care of that mostly.
You obviously want to create higher quality prints. The trick is slow and cold. Cold because at 240C PLA pours out like honey and at 190C it comes out like toothpaste and stays where you put it and the nozzle doesn't leak so much.
I'm not sure what "cold" is for ABS. Certainly 250C is too hot if you want extra good quality. Probably 230C? maybe?
Slow because at 190C it requires more force so you have to slow down. Also going over 20mm/sec (the JERK parameter) reduces quality because you don't want your feeder speeding up and slowing down all the time.
So just for fun, for PLA, try 200C and if .1mm layer height or thinner try 30mm/sec. If .2mm go no faster than 20mm/sec at 200C.
The problem with your ABS prints I'm pretty sure is that the nozzle is too hot. One can get just as good quality with ABS if you experiment enough.
The main things to play with here are speed and temp. Then you can also mess with fan speeds. For PLA you want as much fan as possible. For ABS you will get hugely weak parts if you have too much fan. You want the minimum fan where overhangs are still okay. Even better use a cross flow fan and enclose the printer (google it - foehnstrum has a great one of these).
Link to post
Share on other sites