Jump to content

E3D All Metal Hotend for Ultimaker


Recommended Posts

  • Replies 458
  • Created
  • Last Reply

Top Posters In This Topic

Posted · E3D All Metal Hotend for Ultimaker

Printing!

Received my tube fitting this morning. Good quality, metal body. Pisco PC6-01T. Cost A$2.17 excluding postage. (For Australian readers available via Australia Post from Profile Automation).

12mm A/F, 13.66 across the corners of the hexagon.

It's chrome (or zinc) plated and looks the bee's knees on the E3D.

I'm using the Ultimaker Bowden at the moment.

Print quality is looking very good.


  • Link to post
    Share on other sites

    • 2 weeks later...
    Posted · E3D All Metal Hotend for Ultimaker

    Just as a follow up to my earlier clogging problems with this hotend - it is now clear that the problem is less directly related to retraction , and more directly related to minor filament deformations from the extruder drive, clogging once they make it to the hotend. Because of the tight tolerances in the bore of the hotend, it is very easy to get plugs or extrusion slowdowns - which then cause more grinding at the extruder drive, which cause more clogs... etc.

    The big takeaway has been that as soon as any clogging, grinding, or slowdown in extrusion is noticed, we now pull the filament and make sure to remove with a fine file any deformation that might be present. Also, we use some very high extruder drive spring force, which seems to reduce filament grinding opportunities.

    Overall, despite these minor problems, we are getting pretty great reliability from this hotend and are using modest retraction settings successfully to get very high quality prints.

     

  • Link to post
    Share on other sites

    Posted · E3D All Metal Hotend for Ultimaker

    Nick,

    I am watching closely what you guys are experiencing with the E3D. This retraction/clogging issue could be a show stopper and I want to see how it pans out.

    RE: your last post Nick, I am curious if you are using a standard issue extruder (knurled UM Bolt), or some other design. I long ago switched over to the Geo Hagan extruder. One of the big benefits of it are the vastly reduced filament deformation. For now, I am going to stay tuned on how the retraction/clog issues progress.

    To alleviate the problem, could the nozzle bore be opened up maybe .5mm starting somewhere just above the melt zone and all the way up to the bowden? This would basically add a clearance for the filament. I can't see where is would cause any harm.


  • Link to post
    Share on other sites

    Posted · E3D All Metal Hotend for Ultimaker

    Using the stock extruder drive. May look into other options.

    I've been thinking about reaming the hotend... maybe .2 or .3 mm. I've reamed a stock hotend to accept 1/8" nominal filament for doing experimental plastic printing, and the results have been great - both with larger filaments, and with the standard 2.85mm filament as well. It seems like it will be harder than ream this hotend though, because the stainless steel tube will be much less readily drilled than the brass, and I believe the wall thickness of the thermal break is even less than the stock hotend.

    However, I'd like to try it. Sanjay... any thoughts?


  • Link to post
    Share on other sites

    Posted · E3D All Metal Hotend for Ultimaker

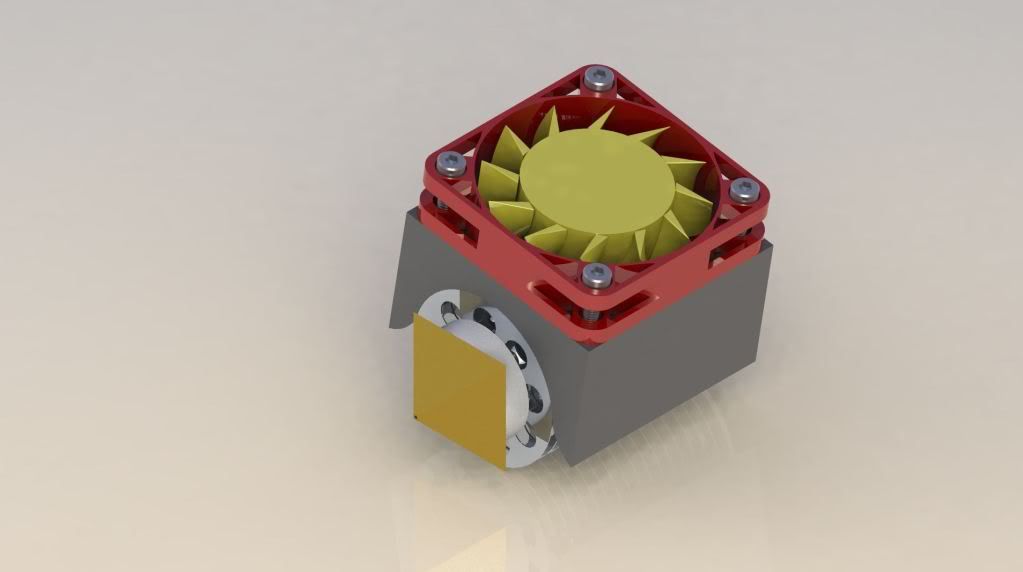
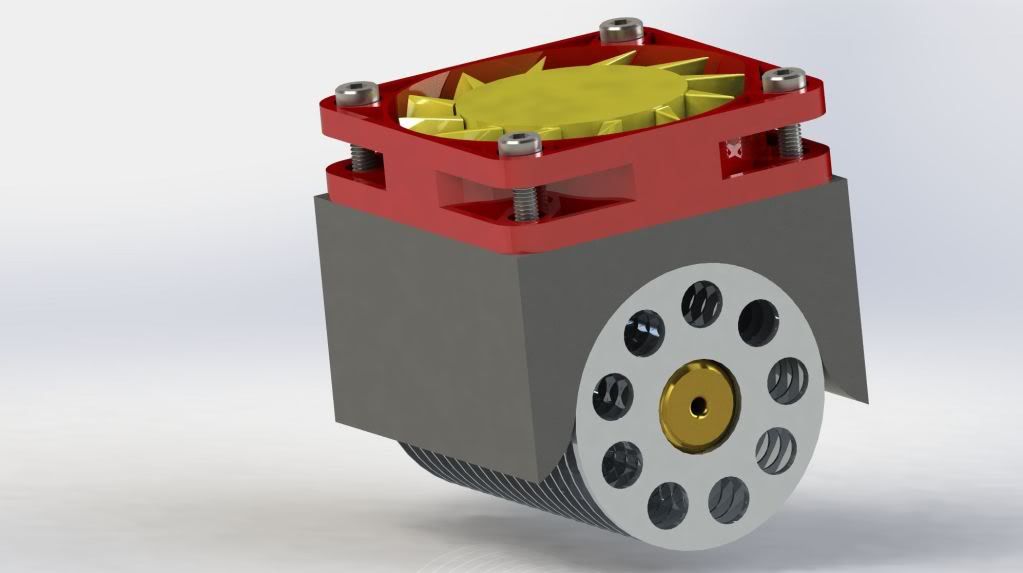
    I didn't go through the whole thread but you might want to make these fins a lot thinner to dissipate heat much better, by making them thinner than you can also add more fins.

    Here is something I did in solidworks, haven't finished it yet. The hotend is make out of copper, it has the highest thermal conductivity and aluminum heat spreader is best to remove the heat.

    null_zpsc3ee94e1.jpg

    null_zps5f7ef1ad.jpg


  • Link to post
    Share on other sites

    Posted · E3D All Metal Hotend for Ultimaker

    Using the stock extruder drive. May look into other options.

    I've been thinking about reaming the hotend... maybe .2 or .3 mm. I've reamed a stock hotend to accept 1/8" nominal filament for doing experimental plastic printing, and the results have been great - both with larger filaments, and with the standard 2.85mm filament as well. It seems like it will be harder than ream this hotend though, because the stainless steel tube will be much less readily drilled than the brass, and I believe the wall thickness of the thermal break is even less than the stock hotend.

    However, I'd like to try it. Sanjay... any thoughts?


    I have reamed by aluminium part out to 3.3mm, and it has reduced the force considerably. I have thought about doing the stainless, but as you note it is very thin, and the internal surface finish is very important, so I haven't gone there yet.

    Naz72, The latest version of the E3D does indeed have thinner fins, and is actually so efficient that I can't see that any further changes are needed!

    Andrew


  • Link to post
    Share on other sites

    Posted · E3D All Metal Hotend for Ultimaker

    I have reamed by aluminium part out to 3.3mm, and it has reduced the force considerably.

    Andrew


    Andrew, I'm glad that you've 'trail blazed' - I think that is worth doing to extend the range of usable PLA. Someone (maybe you) put me onto Diamond Age PLA which is very round and about 2.83mm so few problems (none!) with this material so far.

    BTW did you drill out the Al with a drill or did you literally use a 3.3mm reamer?

    Mike.


  • Link to post
    Share on other sites

    Posted · E3D All Metal Hotend for Ultimaker

    I didn't have that size reamer so it had to be a drill.

    As long as you don't retract so as to remove the filament from the stainless, then as far as I can see there is no need for the aluminium to be a tight fit at all. if its not tight then the surface finish isn't so critical. I'd like to try taking just a little off the entrance to the stainless just a few mm, but I'd want a proper reamer for that.


  • Link to post
    Share on other sites

    Posted · E3D All Metal Hotend for Ultimaker

    Does anyone have a section view of the E3D to share?


  • Link to post
    Share on other sites

    Posted · E3D All Metal Hotend for Ultimaker

    I have a "fit" 3D model I made when designing my printhead that I can share. It seems to be fairly accurate, but it is external details only. What are you using it for?


  • Link to post
    Share on other sites

    Posted · E3D All Metal Hotend for Ultimaker

    I am curious to see the internal filament path, the transition from aluminum to SS and the junctions of the SS and the nozzle to the heater block.


  • Link to post
    Share on other sites

    Posted · E3D All Metal Hotend for Ultimaker

    I didn't have that size reamer so it had to be a drill.

    As long as you don't retract so as to remove the filament from the stainless, then as far as I can see there is no need for the aluminium to be a tight fit at all. if its not tight then the surface finish isn't so critical. I'd like to try taking just a little off the entrance to the stainless just a few mm, but I'd want a proper reamer for that.


    Looks like cheap 3.3mm reamers are hard to find, and stainless steel can be difficult to machine.

    When I open up the Al to 3.3mm I'll try and make a better lead in as getting the filament past the entry point is a little problematical. No doubt due to the gap between the bottom of the Bowden tube fitting and the start of the 3.2mm hole. Now I feed the filament into the top of the E3D quickly, that seems to work better, perhaps the filament doesn't have time to remember that it's spent most of its life curved.

    I've ordered a small tapered hand reamer which might be useful on the Al to improve the lead in. Might be...

    http://www.aliexpress.com/snapshot/258137041.html

    Increasing the Al to 3.3mm shouldn't make entry into the stainless part any more difficult as the top of the entry chamfer measures close to 4mm.

    Mike.


  • Link to post
    Share on other sites

    Posted · E3D All Metal Hotend for Ultimaker

    Had my first loss of extrusion since starting using Diamond Age PLA. Have not yet opened up Al to 3.3mm.

    A distinct advantage of the E3D hot end is the ease of dealing with a loss of extrusion.

    Here's what I do:

    1. Preheat to PLA temperature

    2. Unscrew the Bowden tube fitting ( Pisco PC6-01T.) with the Bowden tube still in the fitting.

    3. Remove the extrusion nozzle

    4. Gently insert a long series 1/8" drill (haven't been able to find a long enough 32.mm drill) mounted in a battery powered drill into the top of the E3D and clean out both the Al and the stainless steel in one go. It appears as though material builds up in the cooler sections of the head as I can get a length of swarf in the flights of the drill.

    5. Check that the through hole is clear by inserting a 3.2mm drill bit into the top of the E3D and ensuring that it falls freely through.

    6. Refit the extrusion nozzle

    7. Turn the nozzle temperature up to 260C

    8. Refit the Bowden tube fitting

    9. Check tightness of nozzle

    10. Reduce the nozzle temperature to PLA prepare (210C)

    11. Remove and clean the extruder drive knurled shaft.

    Not exactly a pleasure, but way, way ahead of the tedious business of cleaning my original Ulitmaker V2 hot end.

    Mike.


  • Link to post
    Share on other sites

    Posted · E3D All Metal Hotend for Ultimaker

    Yikes. That is a process. We have yet to get a clog with this hotend that wasn't solved by refreshing the filament, elevating the temp, and cranking the gear a few rotations by hand. Maybe we're just getting lucky though.

    Anyway, as an additional data point for this hotend, we seem to be getting better performance regarding retraction and clogging when printing in ABS instead of PLA. Several prints in with Ultimachine Natural ABS @ 280°, 3mm of 30mm/s retraction, getting pretty clean results and no clogging problems.


  • Link to post
    Share on other sites

    Posted · E3D All Metal Hotend for Ultimaker

    Not so bad - about 12 minutes, assuming tools are to hand.

    I don't know, maybe I'm doing something wrong, but I had quite a few losses of extrusion with the V2 head and more than I hoped for with the E3D.

    I might try the rather pricey Hagen drive.

    But first I'll open the E3D Al to 3.3mm once I've received the tapered reamer to chamfer the lead-in so I can do both changes in the one hit.

    Mike.


  • Link to post
    Share on other sites

    Posted · E3D All Metal Hotend for Ultimaker

    Let us know how it goes!


  • Link to post
    Share on other sites

    Posted · E3D All Metal Hotend for Ultimaker

    Printing in ABS is really sweet with this hotend. We're getting great prints in ABS without a heated bed or anything fancy and we're using the print cooling fan to get awesome overhang quality. The trick seems to be printing it at around 280° - hot enough to get stellar layer adhesion despite using a cooling fan, and hot enough that the first layer of ABS bonds to the acrylic build platform and parts stick. It is important to get that first layer adequately smeared, however.

    Honestly, it's hard getting the prints off of the bed at all... Still working on that part.


  • Link to post
    Share on other sites

    Posted · E3D All Metal Hotend for Ultimaker

    Hey folks,

    I have taken Nick's design for the E3D mount and made it more easy to print with nice large surfaces for the part to sit on. A bit more bulky but much simpler to print with minimised overhangs.

    http://www.thingiverse.com/thing:145988

    EasyUltimakerE3D-3_preview_featured.jpg


  • Link to post
    Share on other sites

    Posted · E3D All Metal Hotend for Ultimaker

    Looks great!


  • Link to post
    Share on other sites

    Posted · E3D All Metal Hotend for Ultimaker

    Printing in ABS is really sweet with this hotend. We're getting great prints in ABS without a heated bed or anything fancy-----------------

    first layer of ABS bonds to the acrylic build platform and parts stick. It is important to get that first layer adequately smeared, however.

    Honestly, it's hard getting the prints off of the bed at all... Still working on that part.


    How interesting! What size and brand of ABS have you used?

    Have you run into a limitation on part size?

    And, have you experimented with Kapton tape?

    Mike.


  • Link to post
    Share on other sites

    Posted · E3D All Metal Hotend for Ultimaker

    I love the results I'm getting from 3mm Ultimachine natural ABS. I have some Ultimaker black, but it seemed to smell more and adhere to itself less. I haven't tried printing anything particularly large - maybe 5cm x 10cm is the biggest - the "Spool End" from this thing: http://www.thingiverse.com/thing:10219 is our largest print so far.

    Adhesion has been somewhat solved by printing with a large, heavy raft. Very thick parts will still curl somewhat, but it's been manageable.

    I can definitely say now that using ABS solves any retraction-related clogging issues with this hotend. We use 30mm/s and 3mm with consistently good results.

    Anyway, the here's a link to our print profile for anyone interested in ABS with this hotend: https://dl.dropboxusercontent.com/u/3035088/Rambutan%20ABS%20HQ%20v0.8.ini


  • Link to post
    Share on other sites

    Posted · E3D All Metal Hotend for Ultimaker

    Thank for the data, Nick.

    BTW, how to you get to 280/290C? I'm using an Ulticontroller which seems limited to 260C.

    Mike.


  • Link to post
    Share on other sites

    Posted · E3D All Metal Hotend for Ultimaker

    Oh, yes. Forgot about that. You need to upload custom firmware that has a higher temperature limit. It's extremely easy to do - either use the Marlin builder or download the source code and adjust the config files and compile it yourself in arduino.

    Also, it's worth noting that from checking my temperature logs, once my print cooling fan turns on, the nozzle temp maxes out around 275-280°C because the fan is cooling the nozzle somewhat and the heater can't keep up. I need to re-print my cooling fan duct so that this isn't the case... ...anyway, your results may vary, but you might not need to set your temps all the way up to 290°.


  • Link to post
    Share on other sites

    Posted · E3D All Metal Hotend for Ultimaker

    Any chance you could release solid model files for your design, Musti?

    Thanks!


    I have taken Nick's design for the E3D mount and made it more easy to print with nice large surfaces for the part to sit on.

    <snip>

    http://www.thingiverse.com/thing:145988


  • Link to post
    Share on other sites

    Create an account or sign in to comment

    You need to be a member in order to leave a comment

    Create an account

    Sign up for a new account in our community. It's easy!

    Register a new account

    Sign in

    Already have an account? Sign in here.

    Sign In Now

    • Our picks

      • UltiMaker Cura 5.7 stable released
        Cura 5.7 is here and it brings a handy new workflow improvement when using Thingiverse and Cura together, as well as additional capabilities for Method series printers, and a powerful way of sharing print settings using new printer-agnostic project files! Read on to find out about all of these improvements and more. 
         
          • Like
        • 18 replies
      • S-Line Firmware 8.3.0 was released Nov. 20th on the "Latest" firmware branch.
        (Sorry, was out of office when this released)

        This update is for...
        All UltiMaker S series  
        New features
         
        Temperature status. During print preparation, the temperatures of the print cores and build plate will be shown on the display. This gives a better indication of the progress and remaining wait time. Save log files in paused state. It is now possible to save the printer's log files to USB if the currently active print job is paused. Previously, the Dump logs to USB option was only enabled if the printer was in idle state. Confirm print removal via Digital Factory. If the printer is connected to the Digital Factory, it is now possible to confirm the removal of a previous print job via the Digital Factory interface. This is useful in situations where the build plate is clear, but the operator forgot to select Confirm removal on the printer’s display. Visit this page for more information about this feature.
          • Like
        • 0 replies
    ×
    ×
    • Create New...