Jump to content

Complete heated bed kit for Ultimaker


Recommended Posts

Posted · Complete heated bed kit for Ultimaker

You can take off the MOSFET put it on a remote PCB feed 24v into that take a wire off the gate pin onto the UM board were the FET came from. No extra cost apart from a tiny bit of strip board. :) simples.


Did you actually build this and have it working, or is it just a theory? It sounds like a very simple and elegant solution...


  • Link to post
    Share on other sites

    • Replies 188
    • Created
    • Last Reply

    Top Posters In This Topic

    Posted · Complete heated bed kit for Ultimaker

    You can adjust the voltage in the power supply itself, no need for the buck.

    I tried one of those cheap SSR and it got to hot.

    I ended up using a normal relay.


    I wanted to use the buck since I want 19 V for the UM board but 24 for the HB


  • Link to post
    Share on other sites

    Posted · Complete heated bed kit for Ultimaker

    Nice, Jason. Please post a link to a recommended power supply also so people can estimate total cost necessary. You kit should include a 4.7K through-hole resistor to be soldered onto the UM Original board.

    Do you print directly on the aluminum plate or do you put kapton tape on it? Or blue tape? Or glass on top?


    HI gr5, Thanks for reply and suggestion, I will start looking for some 4.7K resistors and put it in the kit.

    for power supply, just regular DC Power supply for electronic projects will do, like this one:

    http://www.ebay.com/itm/New-AC-to-DC-24V-10A-240W-Regulated-Switching-Power-Converter-Supply-Silver-/170855720740?pt=LH_DefaultDomain_0&hash=item27c7cb6724

    The surface finish of the aluminium plate is actually capable of adhering PLA and ABS at elevated temperature, but I still put kapton tape on it just to prevent scratching. A glass plate should be ok as well, just take a bit more time to heat up. The heat plate is 24x24cm so if you are put on a glass, it should like 24x22cm as there are screws on the edges.

    I throw away my masking tape (blue tape) after I got this working as it seems to be useless now.

    Jason

    a prototype of the bed with Kapton.

    DSC 3259


  • Link to post
    Share on other sites

    Posted · Complete heated bed kit for Ultimaker

    Did you actually build this and have it working, or is it just a theory? It sounds like a very simple and elegant solution...


    Alas it's only a theory for now but there is nothing to say why it won't work! So long as there is a common ground. Until I get my UM control board then sadly I can't test it unless someone else wishes too.

  • Link to post
    Share on other sites

    Posted · Complete heated bed kit for Ultimaker

    I have a heated bed for almost a year now, made this picture of it how it's connected:

    http://umforum.ultimaker.com/index.php?/topic/1996-need-firmware-hex-file-with-heated-bed/&do=findComment&comment=14076

    Use it with a Meanwell 320W power supply which powers the bed and the UM itself.

    Also using a MK2A PCB below a 4mm alu plate, on top a glass plate of 4mm to print on.

  • Link to post
    Share on other sites

    Posted · Complete heated bed kit for Ultimaker

    HI gr5, Thanks for reply and suggestion, I will start looking for some 4.7K resistors and put it in the kit.

    for power supply, just regular DC Power supply for electronic projects will do, like this one:

    http://www.ebay.com/itm/New-AC-to-DC-24V-10A-240W-Regulated-Switching-Power-Converter-Supply-Silver-/170855720740?pt=LH_DefaultDomain_0&hash=item27c7cb6724

    The surface finish of the aluminium plate is actually capable of adhering PLA and ABS at elevated temperature, but I still put kapton tape on it just to prevent scratching. A glass plate should be ok as well, just take a bit more time to heat up. The heat plate is 24x24cm so if you are put on a glass, it should like 24x22cm as there are screws on the edges.

    I throw away my masking tape (blue tape) after I got this working as it seems to be useless now.

    Jason

    a prototype of the bed with Kapton.

    This looks interesting. I don't have any spare change right now, but I am going to keep it in mind. How well does it work with a glass plate on top?

    The one thing about it that worries me is how easy it might be for the connector to get broken off.


  • Link to post
    Share on other sites

    Posted · Complete heated bed kit for Ultimaker

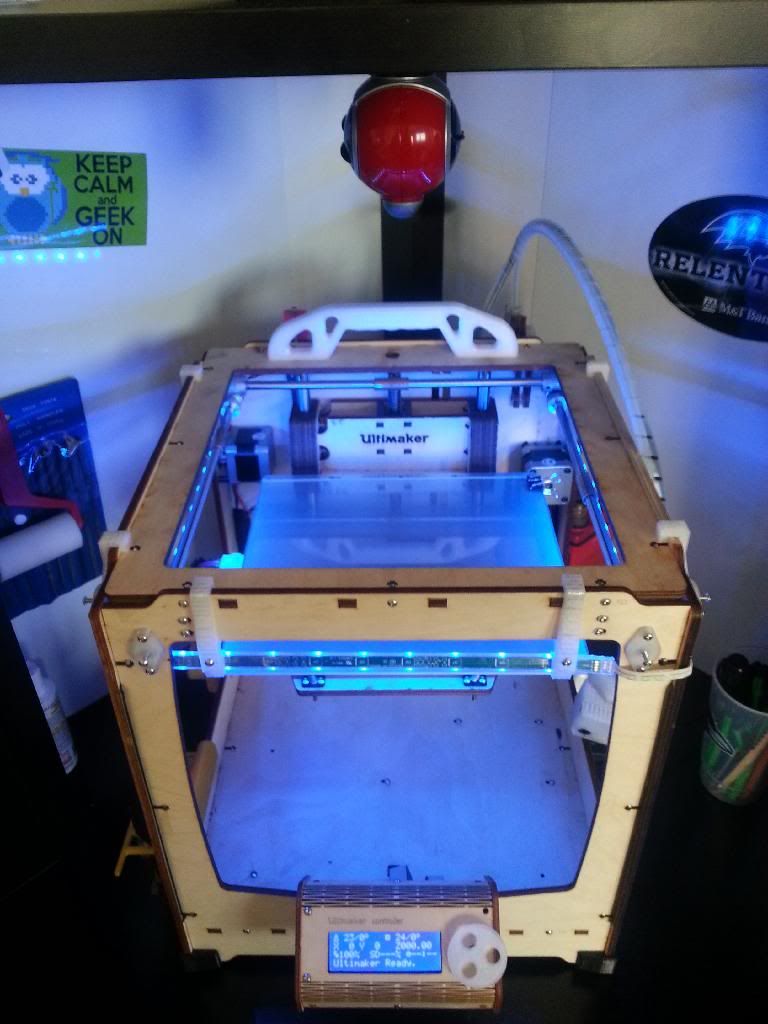
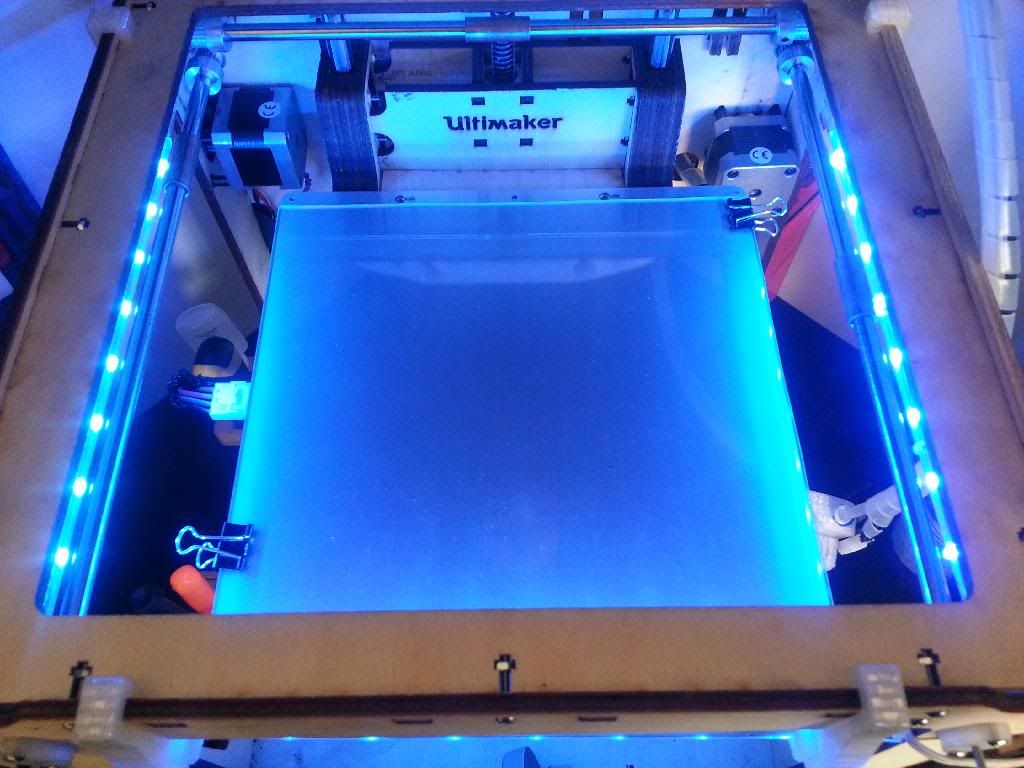
    I just installed this Heated Bed Kit on my Ultimaker. I was originally planning to wait for Ultimaker to release a Heated Bed Kit but seeing this Kit and this price swayed me. Took me about 2 hours with all the soldering to the board and lengthening wires. Here are my thoughts:

    1. This is the best "Heated Bed Kit" for the Ultimaker that I've seen. Mine didn't come with the 4.7k Ohm resistor for the board so it wasn't a complete kit but, the new ones include the resistor. To make this a complete kit I think that the supplied wires on the pigtail should be longer so you have enough wire to run to your power supply and relay. Even still, I'm very Happy with the purchase!

    2. I had to debur the holes for the leveling screws so that the Bed would work nicely with the springs.

    3. I'm using the 24V power supply that is linked on the Ebay Page. Works really good! Bed heated up to 60 in about a minute.

    4. I really love how low profile this whole package is. I've seen some Heated beds that add a lot of bulk and weight to the platform. I am a minimalist when it comes to design so this Kit fits right in.

    5. Shipping and packaging was fast and great.

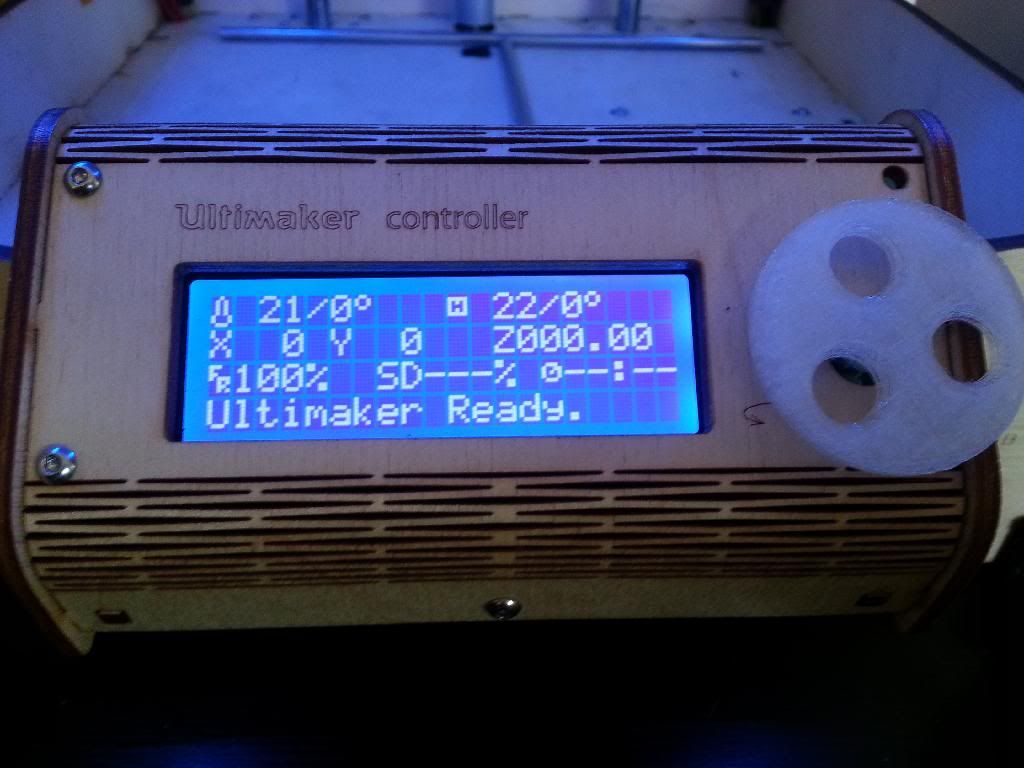
    I'll be printing on glass until my Kapton sheets get here and then I'll probably print right on the aluminum and Kapton. Here are some pics.

    IMG_20140320_145834.jpg

    IMG_20140320_145853.jpg

    IMG_20140320_153710.jpg

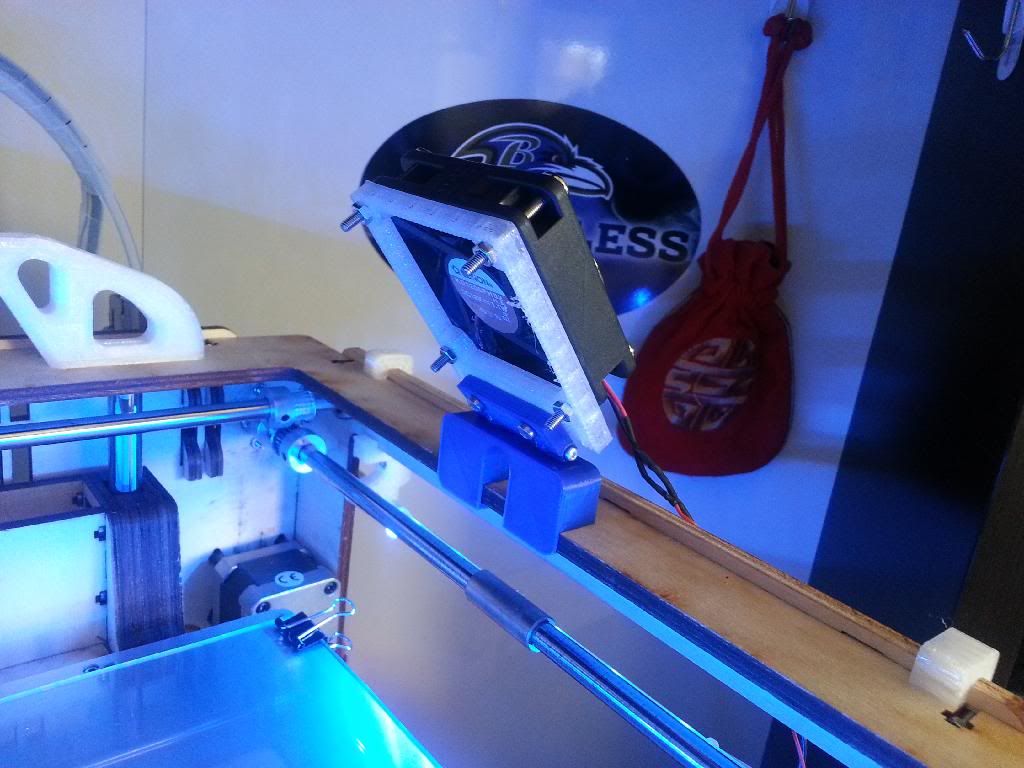
    This was my attempt at a temporary fan solution. I Frankened some file together really quick in tinkercad to make this fan mount for a 60mm fan I had laying around. works great! I also have a suction cup fan that you can see above the printer in the first pic...that little thing blows strong.

    IMG_20140320_150125.jpg


  • Link to post
    Share on other sites

    Posted · Complete heated bed kit for Ultimaker

    nice! I also just bought the kit and have some questions...

    What did you do in terms of firmware? does the bed run PWM or BangBang? do you have anything to measure temp. (like an ir thermometer) to say anything about how your firmware solution and temp reads correspond with actual temp.?

    do you use the psu as a secondary for only the bed or does the printer run on it as well?

  • Link to post
    Share on other sites

    Posted · Complete heated bed kit for Ultimaker

    Built a custom firmware http://marlinbuilder.robotfuzz.com/. Choose the Basic Ultimaker + Heated Bed(100k,Relay) + Ulticontroller

    template. and loaded it through Cura to my Ultimaker.


    Bed runs Bang-bang off the supplied switching relay.


    I do have a IR temp reader but I didn't check the bed with it. I did check the temp on my UBIS Hotend and it was correct within a degree or two and the Bed is showing the same temp at room temperature as the UBIS so I called it good.


    I bought the PSU that they sell on the eBay page. That PSU is only 24v,10A 240watt so it can't power both. In the future I'll probably switch to a power supply that has enough power for both so I can keep my minimalist taste happy. Like this one http://www.ebay.com/itm/24V-Regulated-Switching-Power-Supply-15A-360W-AC-DC-PSU-/350845354968?pt=LH_DefaultDomain_0&hash=item51b00343d8


    Good luck. Let me know if I can help anymore.

    gr5: edit - fixed link

  • Link to post
    Share on other sites

    Posted · Complete heated bed kit for Ultimaker

    I did more testing by power the heat bed and the machine using a single 350W PSU and the heated bed is getting the power from UM1's heated bed terminal.

    I found that the power connector and switch part could get quite hot after some time, so they are actually not rated for large current usage.

    After finding this, I recommend ppl to stick with the relay for both single or dual PSU operation. I have also updated my listing to tell ppl not to directly plug into the heated terminal but to use the relay.

    my UM1 motherboard is a 1.5.7 version made by a third party manufacturer.

    By the way, thank you for all the support and feedback on the kit!!!!!! :grin:

    Best regards,

    Jason


  • Link to post
    Share on other sites

    Posted · Complete heated bed kit for Ultimaker

    Alright cool :)

    And the bed heating works fine on bang bang?

    I had actually started sourcing parts for my own HB build before discovering this kit and so have already bought that exact PSU (or one very similar) and also a buck to turn the voltage for the UM down to 19V while leaving the power for the bed at 24...

    I also have a SSR that I was hoping could switch fast enough to leve bed mode at PWM/PID(which is it?, I have not messed with it before), and also get rid of any clicking sounds from a relay... but if it works fine on Bang Bang there is no need to stress my SSR :p


  • Link to post
    Share on other sites

    Posted · Complete heated bed kit for Ultimaker

    I´m also learning how to work with my newly built HB but as I bought a silicone heater pad which is related to 18V, I have to adjust my PSU a bit more and I´m not sure if I should try to power my UM also with 18V (PSU has 400W, so should be possible).

    Nevertheless, I would like to think about in the PID controll for the HB as I think, that might be more accurate/energy optimized than just using the BangBang mode.

    Does anybody has already experimented with the PID?

    And which parts would I need for modification on the hardware side?


  • Link to post
    Share on other sites

    Posted · Complete heated bed kit for Ultimaker

    Jason,

    As you know I bought your kit and the one before it. If you posted pictures of it (very clear pictures) of every connection where the bed is hooked up to the Ultimaker, the RAMPS board, the relay, to the power supply --- every connection... it would be EXTREMELY helpful and I know it would drive sales. This is the best kit I've seen available so far.


  • Link to post
    Share on other sites

    Posted · Complete heated bed kit for Ultimaker

    I think i will give the HB from 3dprinting_hk a shot as well. The price is just unbeatable and the design looks briliant.

    Did anybody had problems with the german custom while shipping this from Hong Kong? I'm afraid that it could get stuck during import.

    I hope that it will work right out of the box with a good guide since I'm not that much interestet in spending hours of bug fixing (there is to much on the to do list already ;) )

    Btw - where do I get such screws? http://i.ebayimg.com/00/s/NjQ0WDEwMDA=/z/VJUAAOxywh1TF9Qw/$_57.JPG


  • Link to post
    Share on other sites

    Posted · Complete heated bed kit for Ultimaker

    Thanks Joerg! :)


  • Link to post
    Share on other sites

    Posted · Complete heated bed kit for Ultimaker

    Hi Andi,

    bought the HB from 3Dprinting_HK. I live in Germany as well and did not have any kind of problems with german customs. I ordered it, paid via paypal and two weeks later I got a parcel. That´s it. HB is as described and works very well. Only the wires could have been a little longer.

    I still have a beefy 12V Dell PSU, so I am operating it only with 12V and with 12V it takes too much time to heat up. Well I need a 24V PSU or 19V at least. But I want to have a closed one. I am carrying my Ultimaker around a lot. Loose cables might be an issue and there is not enough space under the UM to integrate the PSU... Anyone saw a good 24V PSU on ebay, completely closed?

    I haven´t tried a silicone heater pad, but maybe they are faster...


  • Link to post
    Share on other sites

    Posted · Complete heated bed kit for Ultimaker

    These aren't cheap but "Mean Well" makes several "desktop" supplies. Since they aren't cheap, they have all the safety certifications required so I tend to be more comfortable with them. Sadly, the biggest won't run both the heated platform and the UM based on the platform using 10amps and the UM taking 6.

    BTW, this is the adapter UM selected for the UM2 (which seems to run both that platform and the UM2 electronics and steppers).

    This one is marginal based on the platform using 10amps:

    GS220A24-R7B

    http://www.meanwell.com/search/gs220/default.htm

    This one will cover the platform's amperage with 10% to spare:

    GS280A24-C4P

    http://www.meanwell.com/search/GS280/default.htm

    There is also the 20V version the might, just might, run both at the cost of slower heating

    GS280A20-C4P

    http://www.meanwell.com/search/GS280/default.htm

    Around 90 USD.


  • Link to post
    Share on other sites

    Posted · Complete heated bed kit for Ultimaker

    **** NOTE: based on the discussion below, this is not a good solution. ****

    I should note that I think this will work but haven't tried it. Do so at your own risk. Damage to your UM or a fire or other horrible thing(s) may result!

    Also, after looking at the PCB for the UM1, there is an alternate way to connect a HBP so that you use the MOSFET directly. I don't know what "bang-bang" mode is but if it is to slow the number of times the relay switches on and off, you can use this alternate method so that the switching is done by the MOSFET as quickly as required.

    It requires one warrantee voiding modification to the PCB in the form of soldering a wire to the pins of the power connector.

    HBP Alternate Connection


    Sorry if it isn't as clear as Jason's diagram.


    Technically, the relay isn't required but it disconnects the HBP second supply from the PCB when you turn off the UM but the switch. I'm not sure leaving that power across the MOSFET would be a good idea.


  • Link to post
    Share on other sites

    Posted · Complete heated bed kit for Ultimaker

    After even more thought, you could make the ground connection using the left pins of the limit switches. This would avoid soldering to the PCB. However, it's getting more and more Rube Goldberg.


  • Link to post
    Share on other sites

    Posted · Complete heated bed kit for Ultimaker

    "Bang Bang" mode means simply switch on/off.

    temperature set to 50°C:

    if temperature <50°C ON

    if temperature >50°C OFF

    With PID you can tweak the behavior of a closed loop control much more precise by adjusting three values. But it requires some experience to get the right values. Done that on an electronic pressure control loop.

    http://en.wikipedia.org/wiki/PID_controller

    Anon I like your idea of useing the small relay PCB board for disconnecting the HBP second supply when turning off the UM switch. But I am a little critical about the rest of the wiring. If I remeber things correct, the reason not to use the original Mosfet directly is, the power plug can´t handle the current, nor can the switch and also the circuit paths cannot handle it. You don´t use the power connector, but the switch and also the circuit paths... I think that might get hot when useing it over a longer time. Jason said sth. like this and it´s also in the UM wiki. Correct me if I am wrong. I would prefer connecting another MOSFET and leave the original PCB as it is.

    The Meanwell Power Supplies look very good. That´s what I was thinking about. More expensive but safe for sure.


  • Link to post
    Share on other sites

    Posted · Complete heated bed kit for Ultimaker

    Hmmm, you do have a point.

    Neither the switch nor power connector is carrying any of the HBP current. That's the reason why you need to solder the HBP negative to the ground plane. Current for the HBP is only flowing through pin two of the connector, the MOSFET (which I think is rated like 60 amps or something so no problem there) and the ground plane.

    The only thing I'm worried about would be the current carrying ability of the MOSFET to ground plane connection. The connection from pin 2 to the mosfet is pretty beefy so that shouldn't be a problem. However, as you can see in the attached image, the connection to the pads of the MOSFET look pretty skinny (see image). I'll need to do some research on how wide of a trace is required to carry that kind of current.

    HBP Alternate Connection Ground Plane


    The simple solution is instead of soldering to the power jack ground connection, solder directly to the MOSFET leg that is connected through the skinny traces to the ground plane.


    I sense an expensive mistake coming....


  • Link to post
    Share on other sites

    Posted · Complete heated bed kit for Ultimaker

    PWM/PID mode is the same thing. If you want to do either you need to do both. PWM implies you are switching it on and off at a fast rate to achieve a percentage of power. For example 75% power would be on for say 30ms and off for 10ms repeat forever.

    bang-bang mode works just fine for heated beds in my experience. With bang-bang mode (like a normal house thermostat is normally bang bang mode) my heated bed on my UM1 is quite accurate probably within .5 degree C. Maybe this is because my heated bed is kind of weak.

    With PID mode I could probably get within .1 degree C but is not necessary. For the nozzle it is completely different. PID is mandatory to keep the nozzle within even 2 degree's C.

    With my house, my bang bang thermostat also kept the house within 1 degree C. Usually. On cold days. On days when it is 10C outside sometimes the house gets too hot. Not a big deal.


  • Link to post
    Share on other sites

    Posted · Complete heated bed kit for Ultimaker

    Duesentrieb,

    I believe you are correct in that the traces won't handle the current.

    Gr5,

    Sounds like the relay solution is the way to go for HBP.

    So my idea is overly complex.


  • Link to post
    Share on other sites

    Posted · Complete heated bed kit for Ultimaker

    Thanks for all the support from UM users, the first batch sold out quickly.

    A new batch of heated bed is ready to ship now. For the new batch we increased the size of the soldering pad for the connector and now it is much tougher now. A 0.8 meter long extension cable is now included in the kit as the default cable is likely to be too short for most users.

    We also rolled out a glass kit containing a borosilicate glass fitting the HPB and some accessories.

    It contains following stuff:

    1x Borosilicate Glass (3x220x240mm), ensure flatness.

    4x Wire Clips for holding glass plate, light and very convenient to use.

    4x Mini Clamp for holding glass plate, strong and sleek.

    8x Silicone cushion, for protection of the heated bed when using clamp.

    4x Stiffer springs (to replace the original springs) , less springy and easier to tune.

    4x Metal leveling knobs.

    1x Reversible heat sensitive sticker, for quick visual indication of print surface temperature. ( Turn red from black when over 55C, so ppl know when would be safe to touch)


    Best regards,


  • Link to post
    Share on other sites

    Posted · Complete heated bed kit for Ultimaker

    If you intent to do a future batch, an extra hole (or an option) for using 3-point bed leveling would be cool. I'd probably pick one up if it had that.


  • Link to post
    Share on other sites

    Create an account or sign in to comment

    You need to be a member in order to leave a comment

    Create an account

    Sign up for a new account in our community. It's easy!

    Register a new account

    Sign in

    Already have an account? Sign in here.

    Sign In Now

    • Our picks

      • UltiMaker Cura 5.7 stable released
        Cura 5.7 is here and it brings a handy new workflow improvement when using Thingiverse and Cura together, as well as additional capabilities for Method series printers, and a powerful way of sharing print settings using new printer-agnostic project files! Read on to find out about all of these improvements and more. 
         
        • 18 replies
      • S-Line Firmware 8.3.0 was released Nov. 20th on the "Latest" firmware branch.
        (Sorry, was out of office when this released)

        This update is for...
        All UltiMaker S series  
        New features
         
        Temperature status. During print preparation, the temperatures of the print cores and build plate will be shown on the display. This gives a better indication of the progress and remaining wait time. Save log files in paused state. It is now possible to save the printer's log files to USB if the currently active print job is paused. Previously, the Dump logs to USB option was only enabled if the printer was in idle state. Confirm print removal via Digital Factory. If the printer is connected to the Digital Factory, it is now possible to confirm the removal of a previous print job via the Digital Factory interface. This is useful in situations where the build plate is clear, but the operator forgot to select Confirm removal on the printer’s display. Visit this page for more information about this feature.
        • 0 replies
    ×
    ×
    • Create New...