Jump to content

Post your latest print!


IRobertI

Recommended Posts

Posted · Post your latest print!

great print! I like both the style and quality.


Thanks. But every imperfection is caused by my badly ripped and torn and scratched build surface. It's Kapton tape and it badly needs changing. I hope to finish my new Galaxy S4 cell phone case with this purple lady on it this weekend and I will put on fresh tape first.


  • Link to post
    Share on other sites

    Posted · Post your latest print!

    cell phone case for samsung galaxy S4

    Cell phone case came out great! I published the cad files (stl and sketchup) and instructions on how I did it at youmagine:

    https://www.youmagine.com/designs/galaxy-s4-ballistic-case

    This technique of using 2 colors with a single head works really well. I've learned some things. The first layer needs to have no stringing so you need to keep the temp cold (190-200C) and print slow. Leveling is super super critical. If you are off by .05mm on one side then that side will be thinner and the color behind will show through.

    Whatever you print on top (totally different gcode file from cura) can just be started from the begining and just put a layer height of .4mm in Cura and it will just ooze over and around the first layer color. I printed the second model (and second color) at 240C for the first layer so it would flow into the cracks among the first layer colors nicely. And bond well.

    I used a heated bed for this at 70C and covered with kapton tape as this gives a better finish than blue tape. I think the technique should work okay for cold bed and blue tape but didn't try it. I rarely use the heated bed because I rarely care about the bottom surface finish. But in this case the bottom surface is the most important layer.


  • Link to post
    Share on other sites

    Posted · Post your latest print!

    hi


    i made this (the cab, not the whole Truck) for a client, a lot of sanding and filling involved, all printed in Orbitech 90 PLA :)


    P1070025P1070041P1070047P1070056P1070069P1070081P1070090P1070096P1070102


  • Link to post
    Share on other sites

    Posted · Post your latest print!

    Very nice! Those hours and hours of sanding and filling paid off. Please post what filler, primer and paints you used.


  • Link to post
    Share on other sites

    Posted · Post your latest print!

    wow that's super impressive! you would have never known it's printed from the pics.


  • Link to post
    Share on other sites

    Posted · Post your latest print!

    I needed a turntable video of some stuff I was making... and I didn't know where to get one besides online and couldn't wait, so I decided to try and make one. Took me like a day to design and print. And then i epoxied it onto a scrap piece of ultimaker laser cut board. :p

    It uses 6mm BB's as bearings. Most of the contact points are minimized for low friction.

    The whole thing pretty much snaps together. I switched from silver to Black PLA however, and it seems a lot more flexible.. which was why I had to glue it down onto a board.

    The screw and nut are for sliding the handle block to tension the string. Added rubber bands to rings to increase friction on string.

    gallery_7531_65_392819.jpg

    3D explooded view. Skeletonized arms for material cheapness. :p 6mm bbs for scale.

    gallery_7531_65_27046.jpg

    Function test! A little warbly but works.. Need to attach a motor to it or something..

    [media=width=420" height="315]

    [/media]

    Does what I need it to in a short term, and fun little project.


  • Link to post
    Share on other sites

    Posted · Post your latest print!

    wow now thats called clever little engineering ! very nice product my friend :-)

    Did you post it up on youmagine ?

    Ian :-)


  • Link to post
    Share on other sites

    Posted · Post your latest print!

    Hi gr5

    I used normal filler spray for cars, tamiya putty (thx to OliverC), moltofill (its a wood filler, i think thats similar to Bondo) and superglue with activator spray to glue it all together.

    The green metallic color is original car finish mixed to match a specified color, the black is normal Spraypaint used for architectural model making.

  • Link to post
    Share on other sites

    Posted · Post your latest print!

    Finally something in dual colour came out of the printer, worthy calling a print.

    Me, myself and the printer have had more productive days. Don't take a look in my trash bin :shock:.

    A lot of adjusting and trying left to do.

    WP 000732

    WP 000733


  • Link to post
    Share on other sites

    Posted · Post your latest print!

    sexy little dual piece `!! now you just have to find a lucky girl to give it too !

    Ian :-)


  • Link to post
    Share on other sites

    Posted · Post your latest print!

    sexy little dual piece `!! now you just have to find a lucky girl to give it too !

    Ian :smile:


    LOL!!

    She liked it!

    did n't had her reading glasses on!


  • Link to post
    Share on other sites

    Posted · Post your latest print!

    Here are a few remote control holders I designed and printed up last night for some friends. came out really nice :-)

    Ian :-)

    box1.jpg

    box2.jpg

    box3.jpg


  • Link to post
    Share on other sites

    Posted · Post your latest print!

    Ian - Are those to stop accidental button presses? Also what material, looks like natural PLA.


  • Link to post
    Share on other sites

    Posted · Post your latest print!

    hi Danny yes its natural PLA and you got it right, my friends got these new remotes and often they would press the buttons in their trousers.. got to be a bit of a pain.. so i did a quick design solution. test printed it once to see how it fitted, adjusted the design a tiny bit and then let the printer run off 8 together in one evening :-)... problem solved :-)

    Ian


  • Link to post
    Share on other sites

    Posted · Post your latest print!

    After Month of reading this thread, i finally want to show you some of my prints!

    First of all i recently found out about the OpenDive Augmented-Reality-Glasses and after taking a closer look on them at GamesCom Cologne, I had to give them a try:

    OpenDive


    Check out there website on http://www.durovis.com/opendive.html

    and try them yourself! They are quite impressive for the 17euros you'll have to spend on the lenses!


    An other print i did was inspired by Ian who has been putting upo lots of his architectural models:


    Home

    it resembles my flat i am living in and should be my the first of many more models of this kind!

    @ Ian:what programm are you actually using? And how do you get so perfect windows/doors without support?

    Last but not least I´d like to show the project iam working on since i got the Ultimaker in February:

    Hex1

    Hex2

    My own Hexapod Robot (kind of but nowadays more like a Project for University..)


    Looking forward to get feedback!


    JI


  • Link to post
    Share on other sites

    Posted · Post your latest print!

    Hay Ji... super cool prints... thanks for sharing them with us :-)

    firstly your 3d reality goggles look really nice and strong.. cool

    the house is very interesting, very nice clean print .. you got the top of the windows really nice :-) what speed were you printing at ?

    Also what happened in the back left room. looks like a melted air conditioner on the wall ?

    What is really interesting for me is... when the ultimaker starts to do wall layers with window openings.. the other walls that share those layers are pushed around a little. even with the ultimaker had really tight belts and oiled up. I think every house I have ever printed shared this little problem.. to be honest its not so noticable but interesting how the walls are indeed effected.

    Maybe we can help each other solve this problem ?

    Ian :-)


  • Link to post
    Share on other sites

    Posted · Post your latest print!

    Maybe the walls moving around less with windows is due to less pulling which is due to less shrinkage?

    For a model that can be kept at room temperature, I would think PLA45 would be a better material due to it's reduced shrinking versus normal PLA. Also the manufacturer is in Germany which is good for you, right Ian?


  • Link to post
    Share on other sites

    Posted · Post your latest print!

    Hi everybody,

    there it is some of my first print, the grey one is 12 cm tall printed with the siver PLA form Ultimaker shop ( no support structure), the second one is an experiment in ABS to make a print without the premade support structure in multiple parts: torso/arms/legs. Basically i hate the print support structure premade by the slicing program than i try to use other way to do it. Hope you will like, I'll post the timelapse for the black one.

    Regards,

    Riccardo1239298_10201980266449772_204095127_o.jpg

    1275690_10201980266329769_409017870_o.jpg

    892831_10201980266289768_785671308_o.jpg

    1233185_10201980266969785_1365249556_o.jpg


  • Link to post
    Share on other sites

    Posted · Post your latest print!

    Thanks for the reply Ian, didn't realize the problems before you mentioned them!

    No clue why this happens since my belts are very thight and my axis are all oiled up, too.

    Thought that it might be due to the compresion of material as a result of the bowden setup.

    As you can see the "pillars" between the doors and windows in the front are quite thick compared to the rest of the walls. Which might be a result of an over extrusion effect after the minimal retraction the printer did,just before moving to the pillar.

    The part in the back left blackened as result of not using the fan at all. since i do not have a heated platform, i tried to minimize warping this way.

    Can´t say much about the speed since i started out with just 55mm/s and crancked the speed up a goog bit by using my selfmade ulticontroller ;)

    controller

    I´ll have to see what i can do! But the Pla45 mentioned by gr5 might be a great idea + cheaper since if live in Germany, too!


  • Link to post
    Share on other sites

    Posted · Post your latest print!

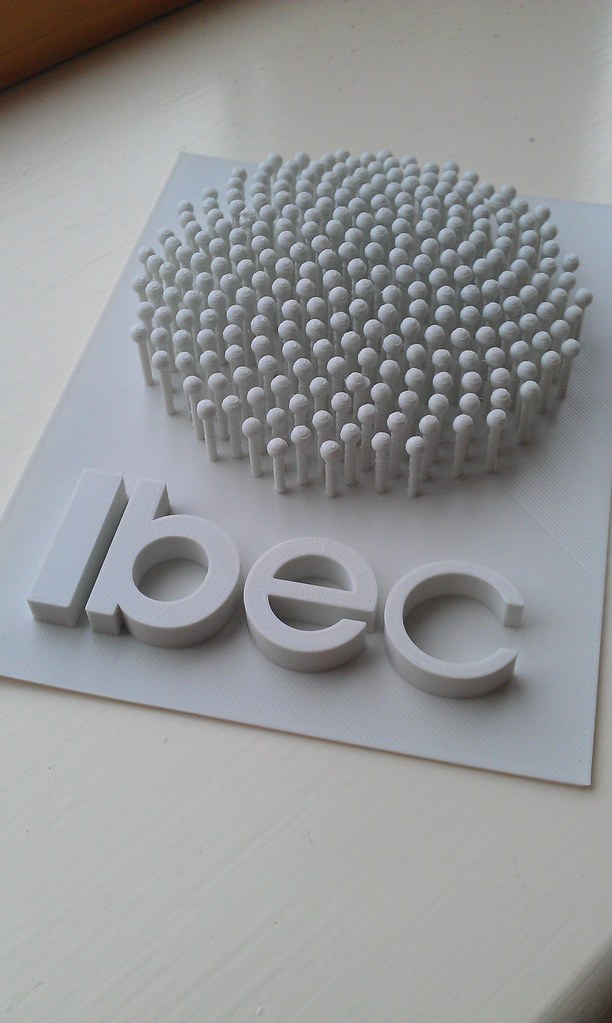
    finished this a couple of weeks ago but couldnt show this till now

    this was printed at i think 100-150 microns and took about 12 hours

    IMAG0953

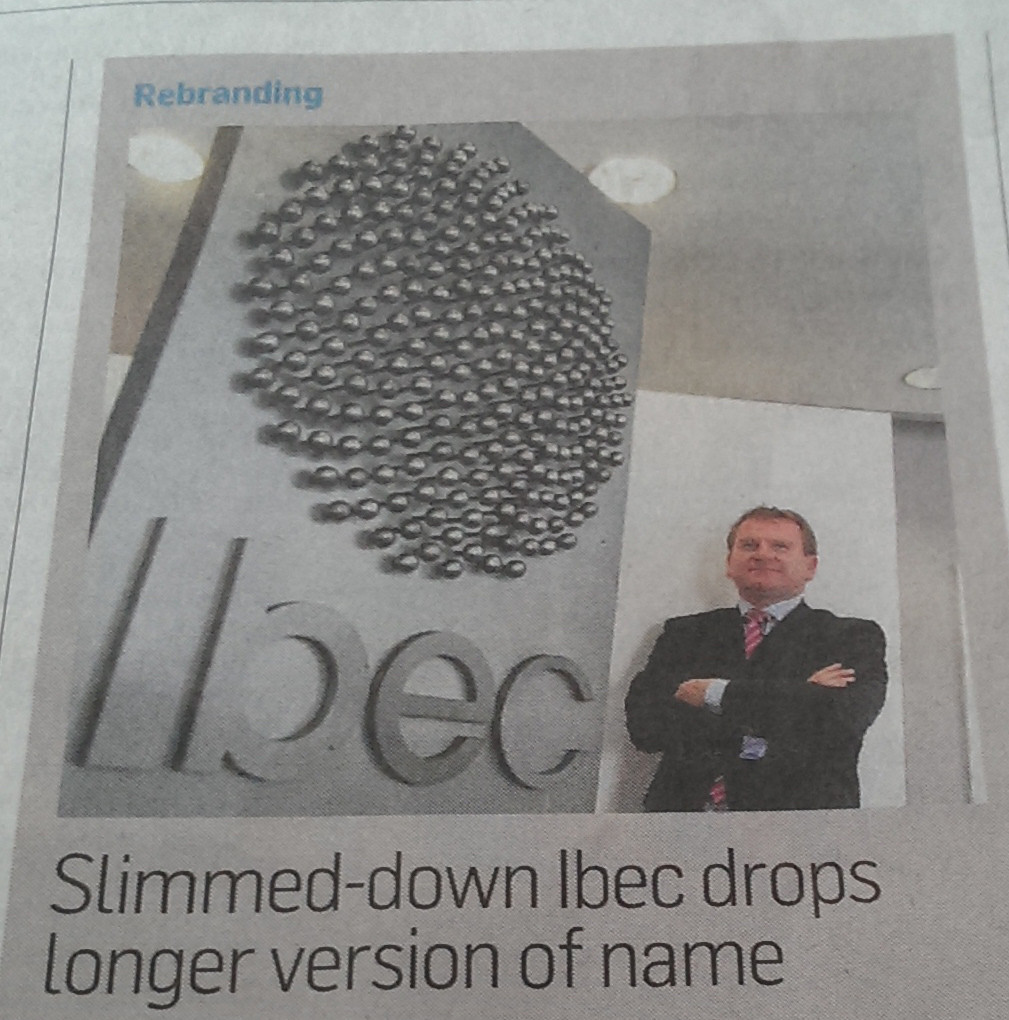
    the prototype was then used as a reference and created i metal

    its even been in the news paper

    ibec logo

    hopefully will head down and get some proper pics of the finish sign

    cheers

    Dave


  • Link to post
    Share on other sites

    Posted · Post your latest print!

    Hi Guys,

    there it is the today project, a character from "Inuyasha" anime called shippo. I modelled it in zbrush, also the support material. Used the normal quality slicing setting of Cura. There it is some picture with primer and painted.

    Regards,

    Riccardo

    1271097_10201993267294785_59914871_o.jpg1266656_10201993267334786_829556661_o.jpg1278123_10201993267414788_1954396795_o.jpg921573_10201993268534816_1753399877_o.jpg1275519_10201993268574817_397122016_o.jpg1294393_10201994923176181_599519979_o.jpg1146943_10201994923296184_393209481_o.jpg1268626_10201994923256183_206055743_o.jpg1272779_10201994924296209_1972915442_o.jpg


  • Link to post
    Share on other sites

    Posted · Post your latest print!

    Here are some of my latest prints.

    The famous trilobite:

    Trilobite

    Thor:

    Thor

    And the little cuddling owls. The small print has some defects but I am working on it :)

    Cuddling Owls


  • Link to post
    Share on other sites

    Create an account or sign in to comment

    You need to be a member in order to leave a comment

    Create an account

    Sign up for a new account in our community. It's easy!

    Register a new account

    Sign in

    Already have an account? Sign in here.

    Sign In Now

    • Our picks

      • UltiMaker Cura 5.7 stable released
        Cura 5.7 is here and it brings a handy new workflow improvement when using Thingiverse and Cura together, as well as additional capabilities for Method series printers, and a powerful way of sharing print settings using new printer-agnostic project files! Read on to find out about all of these improvements and more. 
         
          • Like
        • 18 replies
      • S-Line Firmware 8.3.0 was released Nov. 20th on the "Latest" firmware branch.
        (Sorry, was out of office when this released)

        This update is for...
        All UltiMaker S series  
        New features
         
        Temperature status. During print preparation, the temperatures of the print cores and build plate will be shown on the display. This gives a better indication of the progress and remaining wait time. Save log files in paused state. It is now possible to save the printer's log files to USB if the currently active print job is paused. Previously, the Dump logs to USB option was only enabled if the printer was in idle state. Confirm print removal via Digital Factory. If the printer is connected to the Digital Factory, it is now possible to confirm the removal of a previous print job via the Digital Factory interface. This is useful in situations where the build plate is clear, but the operator forgot to select Confirm removal on the printer’s display. Visit this page for more information about this feature.
          • Like
        • 0 replies
    ×
    ×
    • Create New...