


If the support structures work out could you post your Meshmixer settings?
Now that you mention it, I have scaled up the print to twice the size in Cura, not in Meshmixer, this makes the supports effectively twice the size.
Anyway,
the layer height was 0.1mm, the diameter 1.6mm. Actually, pretty much standard I believe except layer heigth
the key is to add your own support.
printed with Brim in cura @ 35mm/s
err, what else do you want to know?

 ). Still looks like a cool print though


.thumb.jpeg.0b7a05eafc09add17b8338efde5852e9.jpeg)
Recommended Posts
Top Posters In This Topic
362
282
221
179
Popular Days
Jan 5
30
May 12
26
Jan 13
23
May 1
22
Top Posters In This Topic
ian 362 posts
cloakfiend 282 posts
skint 221 posts
SandervG 179 posts
Popular Days
Jan 5 2014
30 posts
May 12 2014
26 posts
Jan 13 2014
23 posts
May 1 2014
22 posts
Popular Posts
kmanstudios
Took me forever to do this. And it is still rougher than I would have liked. 3D concept rendering: Finished piece:
kmanstudios
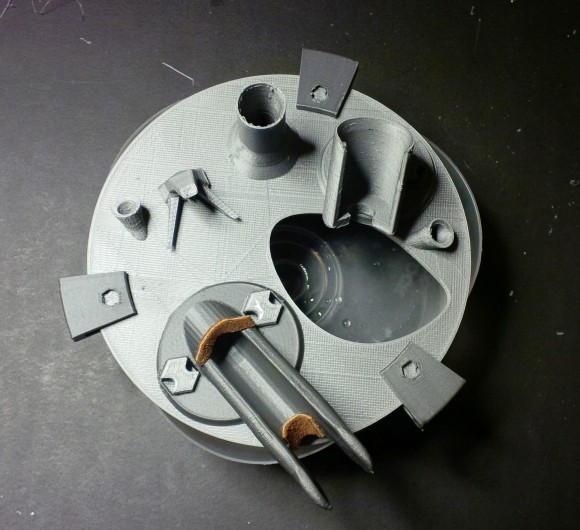
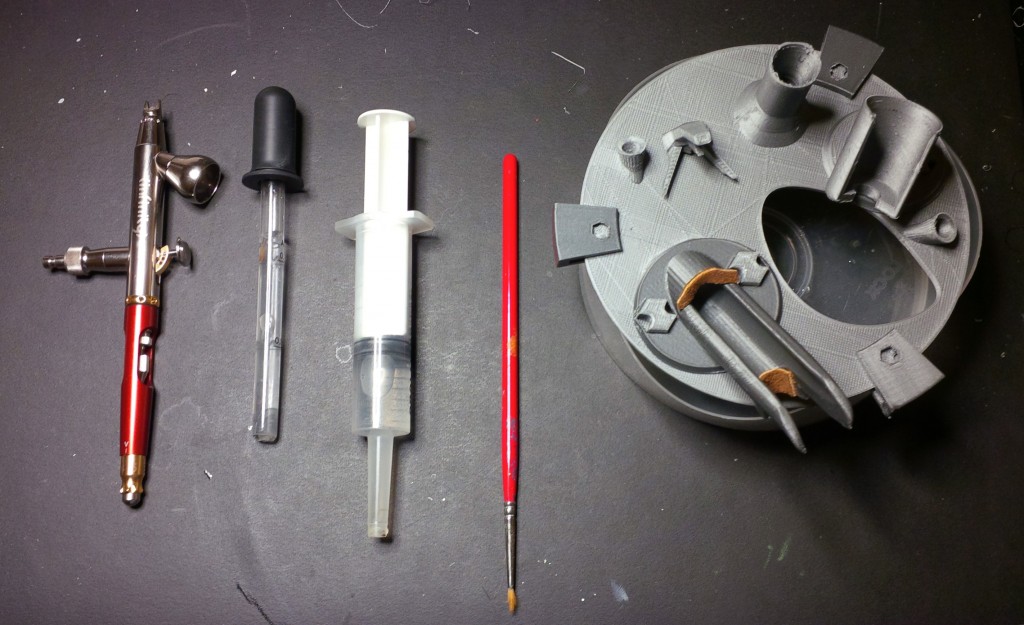
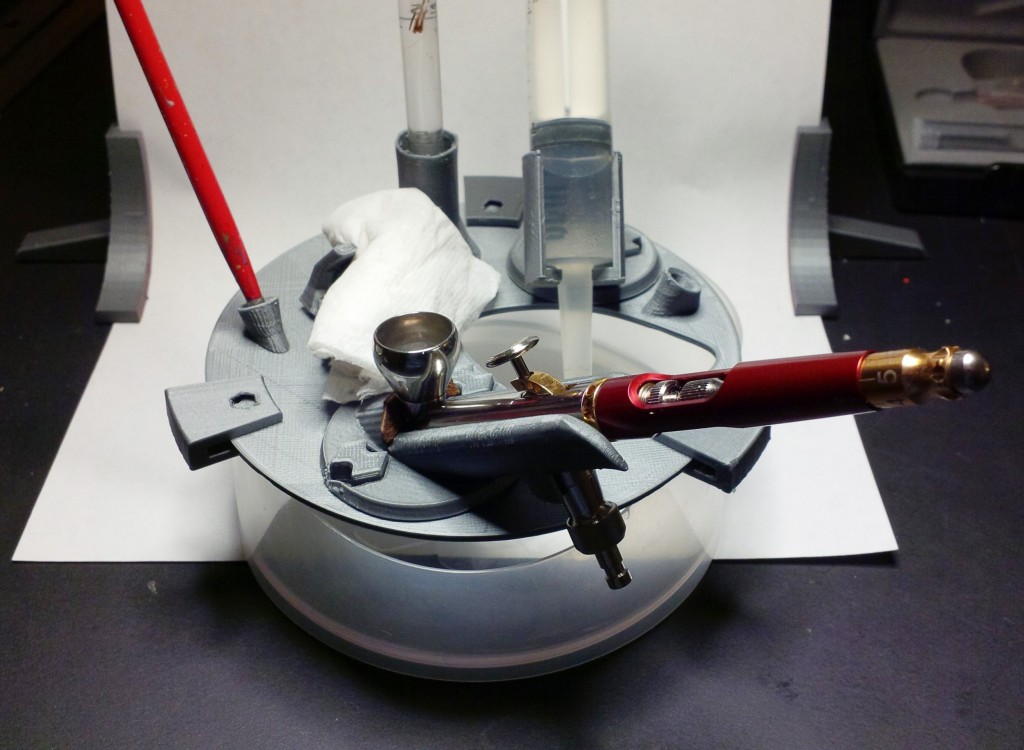
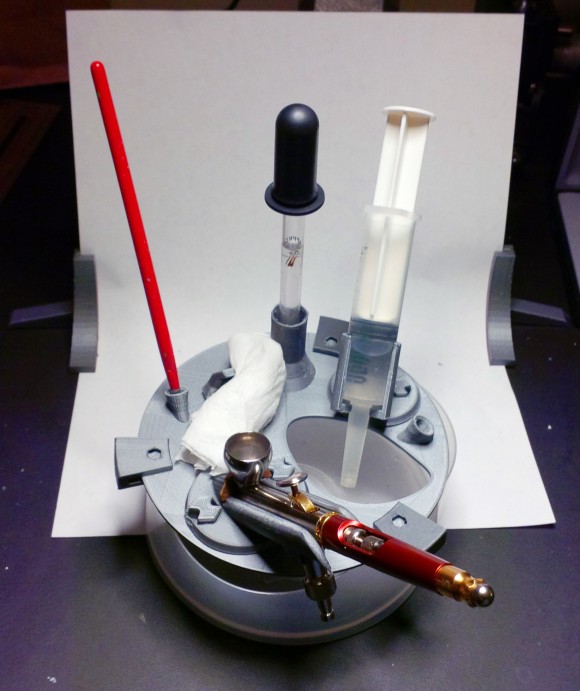
I just finished this. It was a multi-part print for ease of painting. Some of it I am not sure what happened...but hey, it is purty....And, I am unanimous in that ? Test Render Parts
gr5
Bath interferometers. I have made about 20 of these for people who use them to test their telescope mirrors. They are amazingly accurate and can do better than a $40,000 Zygo PSI optical tester. Th
Posted Images
aaronalai 2
Glad to see things are progressing well, definitely post a picture of the after shots! If the support structures work out could you post your Meshmixer settings?
Link to post
Share on other sites