Jump to content

Post your latest print!


IRobertI

Recommended Posts

Posted · Post your latest print!

Posting a WIP of my latest print.

Model is printed in 16 parts.

That way I don't need any support(saves on print time and material), can print the part as vertical as possible (gives the best surface), have parts that not are to tall compared to height(won't fall that easy) and loads into Cura with no problems(there are some problems with to many polygons).

I printed one in ABS and one in PLA in order to find out if I prefer filling and sanding or using Acetone.

I think that Acetone applied with a brush probably is the best way if I want to preserve very small details but I don't like inhale to much of that stuff or to change workplace in order to get better ventilation.

When it comes to PLA i brush on filler in stead of spraying.

That way I can add it more precise and only apply where it's needed.

Plan is to post WIP pictures of the PLA model if there is any interest in me doing so.

Time to start to apply some filler and start sanding.

Same grey can already be seen on the model.

That's Aves Apoxie.

I have used some in places where I got some holes in the model because I forgot to turn on upper layers.

It will also be used to make some garments for her later on.

IMG 8920


  • Link to post
    Share on other sites

    Posted · Post your latest print!

    Woah Skint, that looks awesome! I like the poses and robot for scale, it looks like it's a bunch of fun to fiddle with and move around. Congratulations on such a nice print.


    Thanks Aaron, I learnt a lot making it, that was the main aim... ( plus my friends 40th birthday was 3 weeks ago, I`m late lol ). Still a few bits to add.

    Now that its almost finished, I look at it and wish I had been more patient and printed it at much better settings... but 3 weeks late would of turned into 6 weeks :p

    Its so cool being able to just design and build whatever you want isnt it!! I wish this technology was this available when I was a kid.

    Now.. I need a new project. Any ideas? :)

    @Braddock....how`s the T800 Head coming along lol


  • Link to post
    Share on other sites

    Posted · Post your latest print!

    Wallan, that looks a great quality print mate.


    Thank's

    Missed the possibilities to 3D print since the first time i touched a 3D app,

    And now it's here.

    Can hardly believe it :)


  • Link to post
    Share on other sites

    Posted · Post your latest print!

    Hey Aaron, great print. How'd you get the model to float above the build platform? Cura snaps the model to the platform usually. Did you enter a negative value in "cut off object bottom"? this seems to crash Cura.


    Thanks Skint, there have been so many really great prints since I last checked this thread!! Every day I'm still amazed with what people are printing. Very excited to see the final terminator arm, looks like an intricate print.

    I printed a human foot skeletal structure last evening; someone at work needs one for their experiments. I essentially printed it with the Ultimaker support then glued all the articulating surfaces together with transparent epoxy then removed the support structure. The support structure was actually really easy to remove, epoxying the bony surfaces together was a different story.

    0.2 layer resolution

    40 mm/s

    210 C

    ColorFabb Standard White (Perhaps my favorite of all my filaments at the moment)

    26 hour print time


  • Link to post
    Share on other sites

    Posted · Post your latest print!

    This came out great Skint!

    I've started on the endoskull, but a few other projects to get done first!


    What happens when....

    ... the Ultimaker Robot meets The Terminator robot? :mrgreen: :mrgreen:

    .

    .

    .

    .

    .

    .

    .

    .

    .

    .

    .

    .

    .

    .

    .

    .

    .

    .


  • Link to post
    Share on other sites

    Posted · Post your latest print!

    Hey Aaron, great print. How'd you get the model to float above the build platform? Cura snaps the model to the platform usually. Did you enter a negative value in "cut off object bottom"? this seems to crash Cura.


    It looks like the heel just barely touched. Though I agree, the ability to make objects float in Cura would be very useful.


  • Link to post
    Share on other sites

    Posted · Post your latest print!

    Just kidding with colorfabb XT:

    The hollow Ultimaker robot: infill: 0%, layer: 0.12, shell: 0.4, bottom/top: 0.96


    The hollow Ultimaker robot :)

    ...far from perfect, but a nice joke :)


  • Link to post
    Share on other sites

    Posted · Post your latest print!

    I think that if you'd print it with 0.8 shells it will be much much better. Also rotate it to the left so the left fan blows on both ears or else you'll have a mangled right ear because the right fan is usless in this case.


  • Link to post
    Share on other sites

    Posted · Post your latest print!

    it was already turned to the left ;)

    I also printed 2 at a time in order to avoid overheating

    0.8 shells will be better for sure, but also kills the nice transparency :p

    may be I'll give it another try with 0.08 layer height and 250°C...(was 245°)


  • Link to post
    Share on other sites

    Posted · Post your latest print!

    Visited my local store for model making to buy some paint and glue. There I have showed some of my prints to explain my demand. The employee (owner?) was so excited about the possibilities, that he requested some parts for a tank he is working on and he was failing to rebuild them by himself. :)

    He ripped a new box with parts of a 1:35 tank, gave me the following three parts and said that he would need these in 1:16.

    tank05


    I have underestimated the amount of work to measure these parts (some strange angles and radii), but I think it worked out really well.


    tank12

    tank10

    tank06

    tank07

    tank08

    Modelled in FreeCAD and Blender

    Support with Meshmixer

    PLA, Ultimate Blue

    Temp 208°

    Bed: 65°

    Infill: 25%

    Speed: 40mm/s

    Layer h.: 0.1mm

    Print time: ~2h, ~4h, ~7h

    He is really happy with the result. :)

    I'm curious to see his final model.

    Some more images in my album

    tank12tank11tank10tank09tank08tank07tank06tank05tank04tank03tank02tank01


  • Link to post
    Share on other sites

    Posted · Post your latest print!

    Lovely job Conz. Hope you got some free supplies out of him :)


  • Link to post
    Share on other sites

    Posted · Post your latest print!

    After trying to find the best direction, I eventually came up with this. The print was faultless and the new style (well really the old old one) support structure worked great and was easy to remove.

    IMG 0364

    IMG 0361

    IMG 0363


  • Link to post
    Share on other sites

    Posted · Post your latest print!

    Lovely job Conz. Hope you got some free supplies out of him :)


    Thank you. Got a good discount on my big shopping and a small obolus. I hope a model making shop is a nice contact for some interesting jobs in the future. ;)


  • Link to post
    Share on other sites

    Posted · Post your latest print!

    Visited my local store for model making to buy some paint and glue. There I have showed some of my prints to explain my demand. The employee (owner?) was so excited about the possibilities, that he requested some parts for a tank he is working on and he was failing to rebuild them by himself. :)

    He ripped a new box with parts of a 1:35 tank, gave me the following three parts and said that he would need these in 1:16.


    I have underestimated the amount of work to measure these parts (some strange angles and radii), but I think it worked out really well.


    Modelled in FreeCAD and Blender

    Support with Meshmixer

    PLA, Ultimate Blue

    Temp 208°

    Bed: 65°

    Infill: 25%

    Speed: 40mm/s

    Layer h.: 0.1mm

    Print time: ~2h, ~4h, ~7h

    He is really happy with the result. :)

    I'm curious to see his final model.

    Some more images in my album


    its annoying me.. which tank is it ?

    I think from the armour connection german and from the thickness later than 1943.

    I was thinking Jadgpanther 38T Hetzer but that doesnt match...

    mmmmm.... thinking...

    Super prints by the way !

    Ian :-)


  • Link to post
    Share on other sites

    Posted · Post your latest print!

    its annoying me.. which tank is it ?

    ...

    Super prints by the way !


    Thank you.

    I have no clue which tank it is, sorry.

    He said, that at least the middle part was made out of concrete, maybe that is a hint..


  • Link to post
    Share on other sites

    Posted · Post your latest print!

    Continuing to play around with my UM2. Still very happy overall :)

    Little vase voronoi style. Wanted to test a Voronoi structure. Result isn't very good as the voronoi cells have a lot of ugly edges probably printed too hot or fast or both. Will do it again maybe.


    IMG 0842

    IMG 0838


    Little skull printed in high quality (i think it was in 0.08mm) in colorfabb pink. Nice result.


    IMG 0869

    IMG 0868


    A friend asked me to make full size one in black to put on his "trailer ball" for a badass look ^^ i'm working on a hollow version of it but it needs supports for the orbits and the nose bose.


    The finally a vase i printed in Ultimaker natural PLA i like the look of this filament.


    IMG 0877


    And with a blue Led ribbon inside:


    IMG 0873

    IMG 0871


  • Link to post
    Share on other sites

    Posted · Post your latest print!

    beautiful prints !

    Ian :-)


  • Link to post
    Share on other sites

    Posted · Post your latest print!

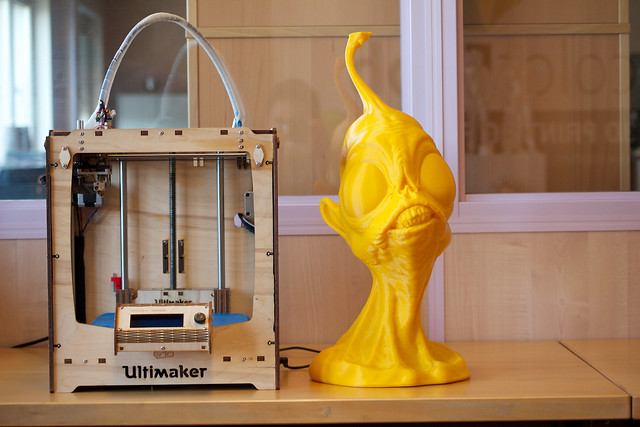
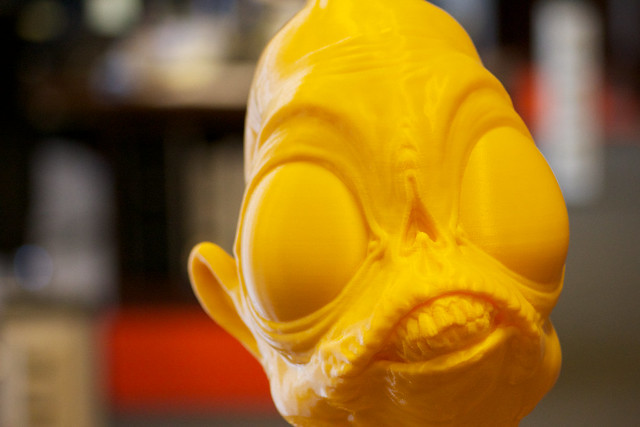
    Our latest print project took 92 hours! Designed by Braddock, such a cool model! It was printed on a Delta Tower, 0.2mm layer height, 16% infill and 210C, 50mm/s speed. Total weight of the print is 2kg! However the model was scaled slightly to big so the antenna isn't completely finished!

    13962372936_3549aa635d_z.jpg

    13985920214_1ecedc8a04_z.jpg

    This beauty is going with us to Fabcon - Messe Erfurt 15 - 17 May.

    But we've also been printing with our Ultimaker 2's a lot lately! One of the Ultimakers had some extrusion issues, but after replacing the nozzle and the teflon bit it printed really well again.

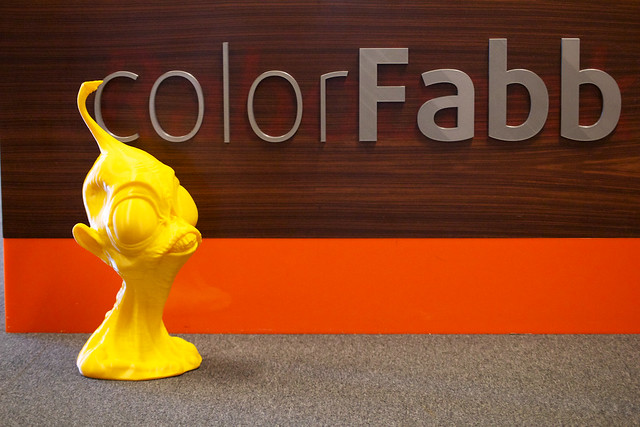
    We've 3d printed our logo for the front desk of our new office, if you look closely you can still see the previous company its logo :) The letters are pretty much the maximum build size of UM2.

    13985920704_31a25f2434_z.jpg

    13962751836_b73753685a_z.jpg

    ACHFOS - designed by Ola Sundberg. Printed on the Ultimaker 2, at 0.12mm layer height, 210C, 50mm/s, 16% infill.

    13985739585_5c98b3ac5f_z.jpg

    Printed on the Ultimaker 2, at 0.12mm layer height, 210C, 50mm/s, 20% infill.

    14005844863_6a442876f3_z.jpg

    Printed on the Ultimaker 2, at 0.12mm layer height, 210C, 50mm/s, 16% infill, with support.


    14005844383_fa1db10aee_z.jpg

    Hanging from a very thin fishline looking badass in our print lab.


  • Link to post
    Share on other sites

    Posted · Post your latest print!

    That 92 hour Braddock print looks great, I should download that model of his.


  • Link to post
    Share on other sites

    Posted · Post your latest print!

    @colorFabb: Why don't you print the last tip separately and glue it to the top?


  • Link to post
    Share on other sites

    Posted · Post your latest print!
    @colorFabb: Why don't you print the last tip separately and glue it to the top?


    Already have the last tip printed, just haven't glued it yet :)

  • Link to post
    Share on other sites

    Posted · Post your latest print!

    just The Tip


  • Link to post
    Share on other sites

    Posted · Post your latest print!

    Hey Aaron, great print. How'd you get the model to float above the build platform? Cura snaps the model to the platform usually. Did you enter a negative value in "cut off object bottom"? this seems to crash Cura.


    Hey braddock, Nick is correct. The heel is barley touching the build plate, the support structure sort of obscures it though so the foot does look like it's floating on top of the support material.

    Also, WOW there have been a lot of great looking prints over the last couple of days.


  • Link to post
    Share on other sites

    Create an account or sign in to comment

    You need to be a member in order to leave a comment

    Create an account

    Sign up for a new account in our community. It's easy!

    Register a new account

    Sign in

    Already have an account? Sign in here.

    Sign In Now

    • Our picks

      • UltiMaker Cura 5.7 stable released
        Cura 5.7 is here and it brings a handy new workflow improvement when using Thingiverse and Cura together, as well as additional capabilities for Method series printers, and a powerful way of sharing print settings using new printer-agnostic project files! Read on to find out about all of these improvements and more. 
         
          • Like
        • 18 replies
      • S-Line Firmware 8.3.0 was released Nov. 20th on the "Latest" firmware branch.
        (Sorry, was out of office when this released)

        This update is for...
        All UltiMaker S series  
        New features
         
        Temperature status. During print preparation, the temperatures of the print cores and build plate will be shown on the display. This gives a better indication of the progress and remaining wait time. Save log files in paused state. It is now possible to save the printer's log files to USB if the currently active print job is paused. Previously, the Dump logs to USB option was only enabled if the printer was in idle state. Confirm print removal via Digital Factory. If the printer is connected to the Digital Factory, it is now possible to confirm the removal of a previous print job via the Digital Factory interface. This is useful in situations where the build plate is clear, but the operator forgot to select Confirm removal on the printer’s display. Visit this page for more information about this feature.
          • Like
        • 0 replies
    ×
    ×
    • Create New...