


Colorfabb print was at 195C and Ultimaker blue was at 210C. Both had a bed temp of 60C and were printed at 20mm/sec with a layer height of 0.06mm. I went for a lower temperature with the colorfabb because I found that it produced better results and a smoother finish as can be seen in the image below.
Left 195C, Right 210C
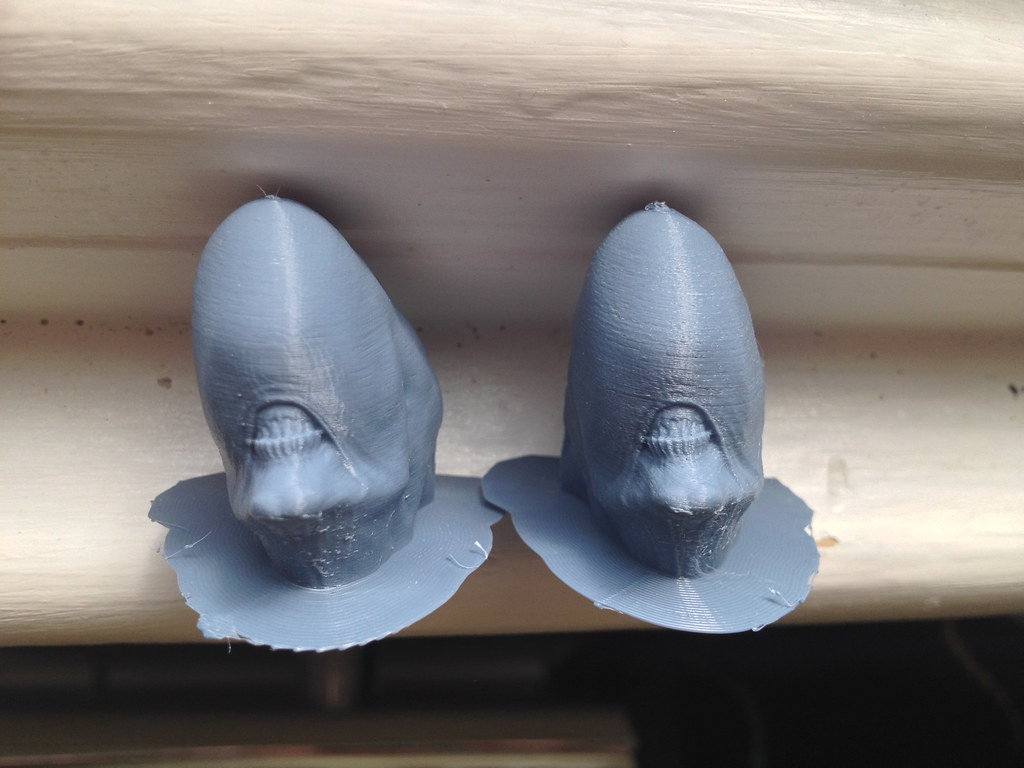
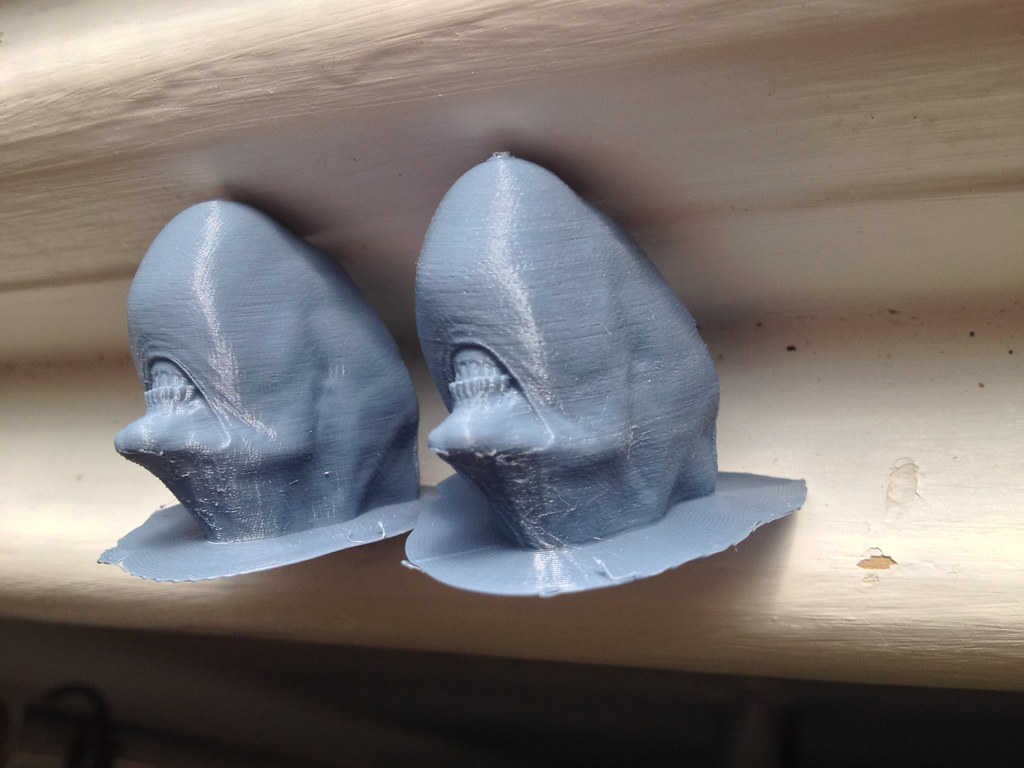
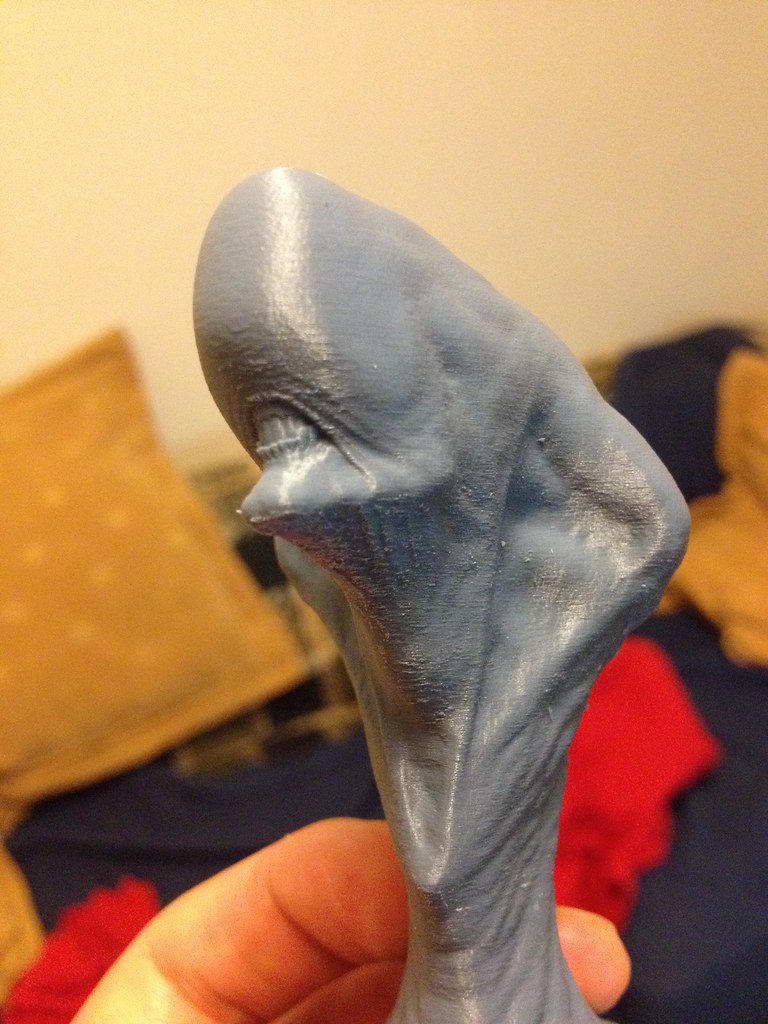
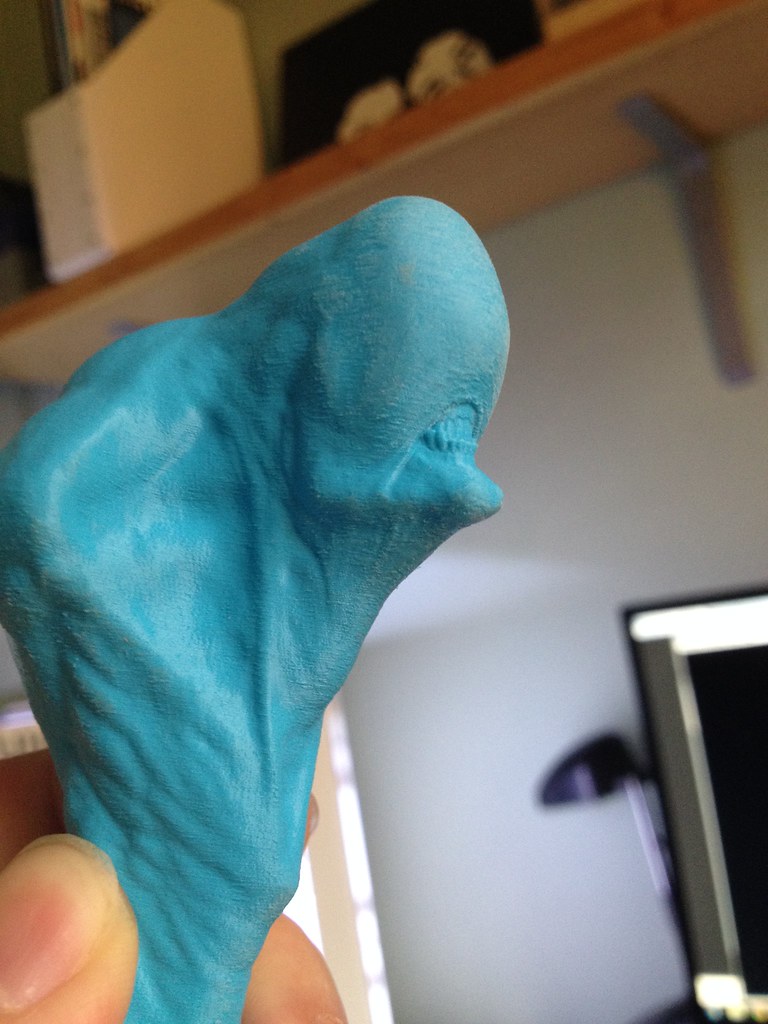
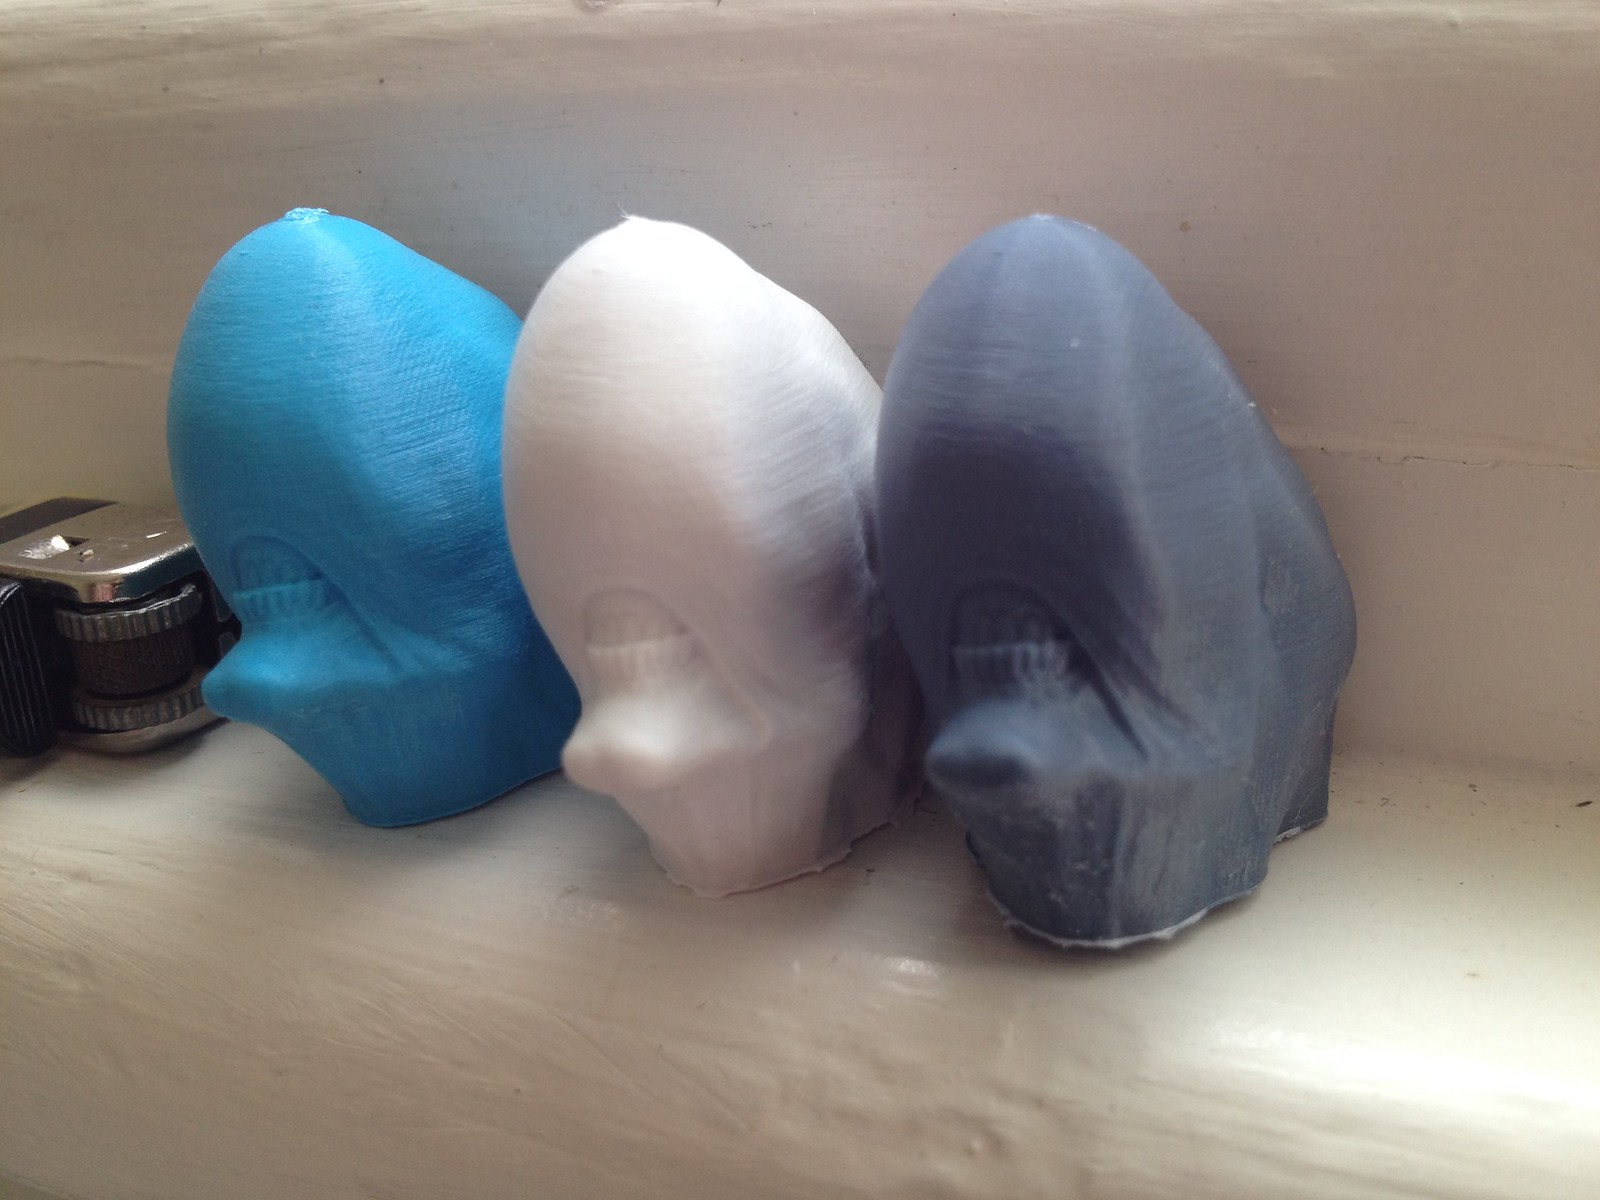
Its clear from the first comparison images that the colorfabb material is a lot rougher on the over hangs and noisy areas but it does seem to have a very slightly smoother surface in areas of low noise. Over all though it appears that I'm getting far superior results with the Ultimaker material. I'm currently printing the small alien head above in Ultimaker blue and I can already see that It is far better in quality than the colorfabb prints. I will post the results later tonight when I get home from work.
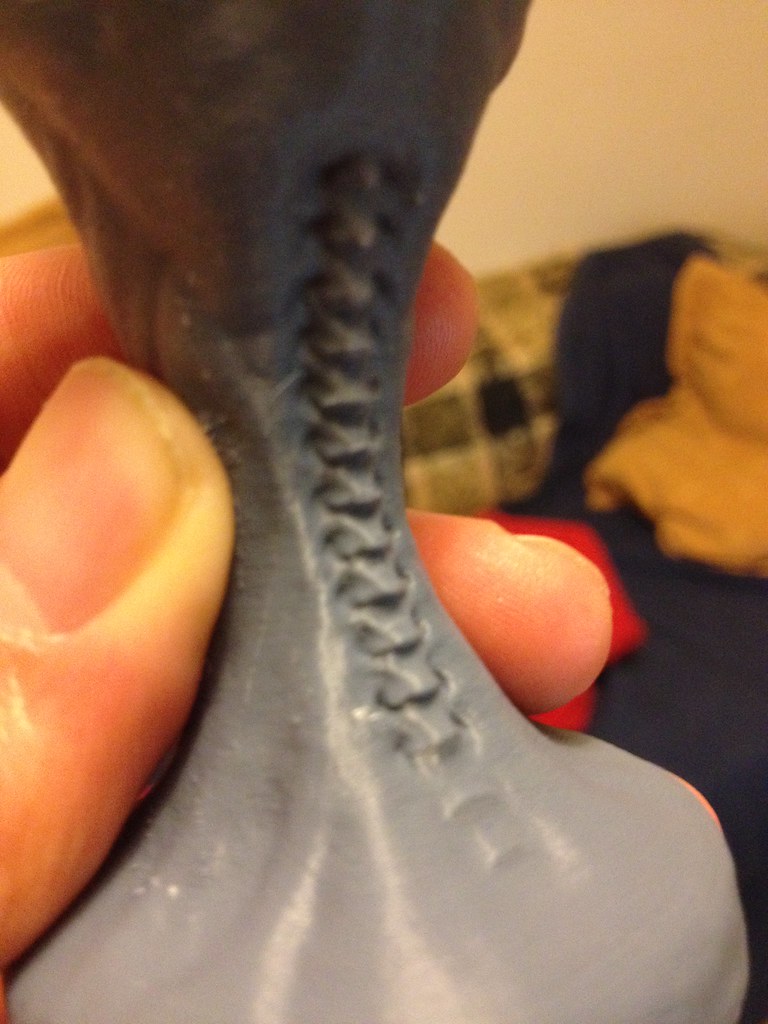
I also printed the alien creature again from the same Gcode as before, this time in colorfabb. I wanted to see how the quality improved on larger prints. The results weren't bad but there was a problem when printing the supports as can be seen below. Unfortunately I wasn't in the room when it happened so I cant be sure as to what caused it.
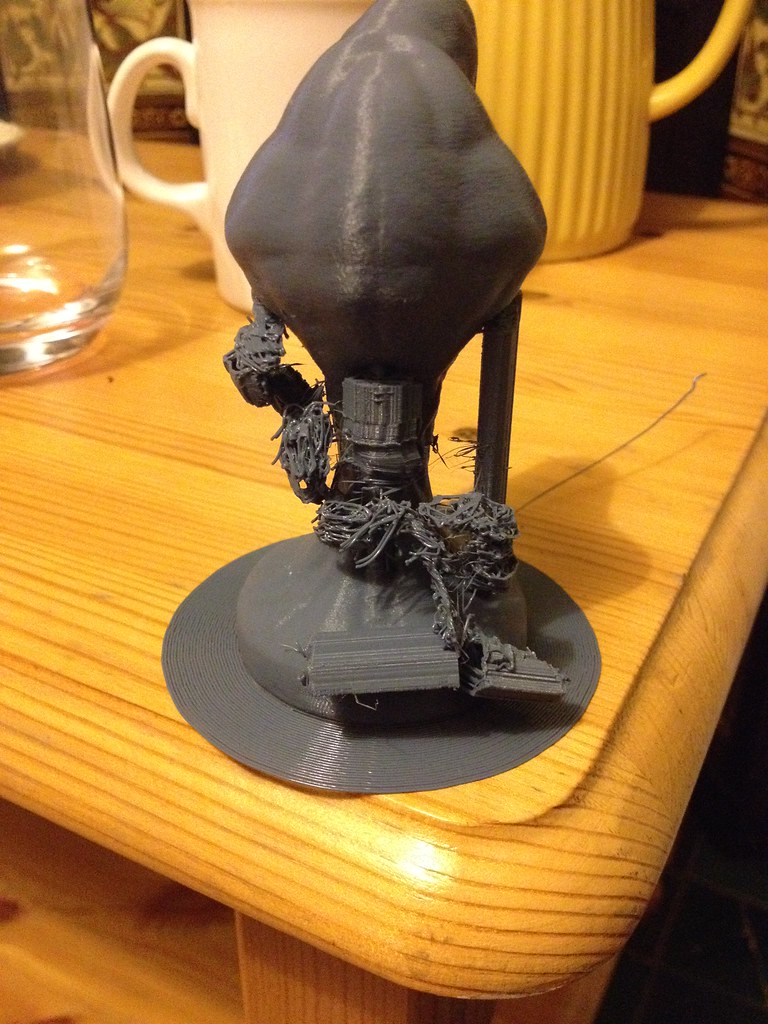

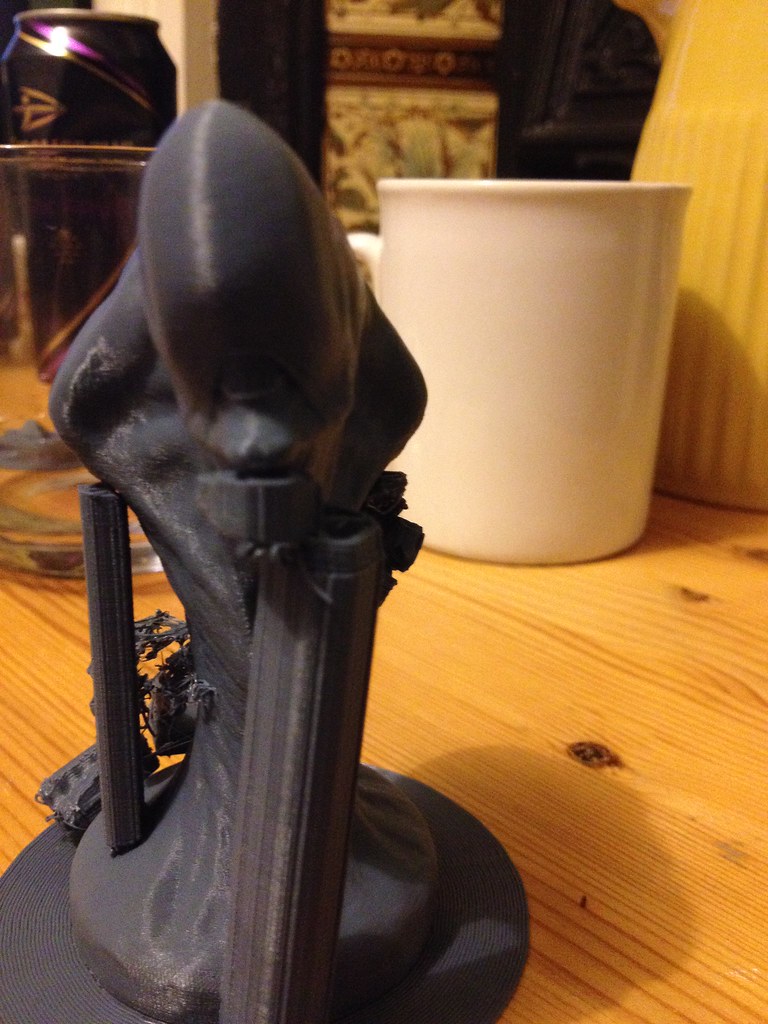
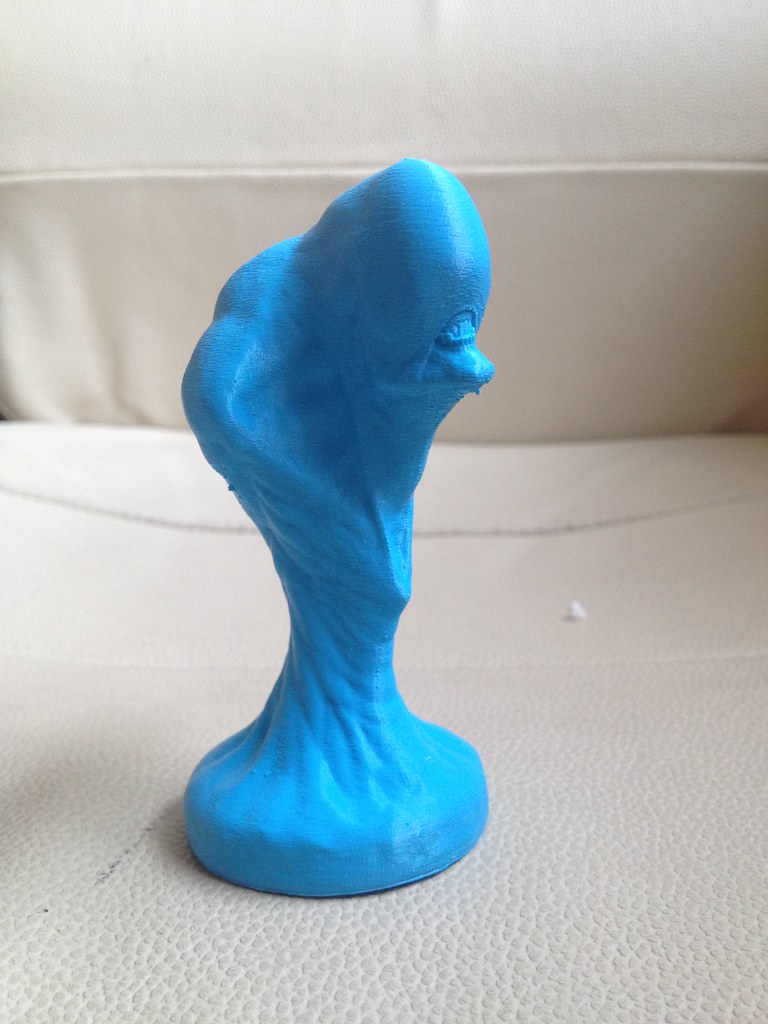
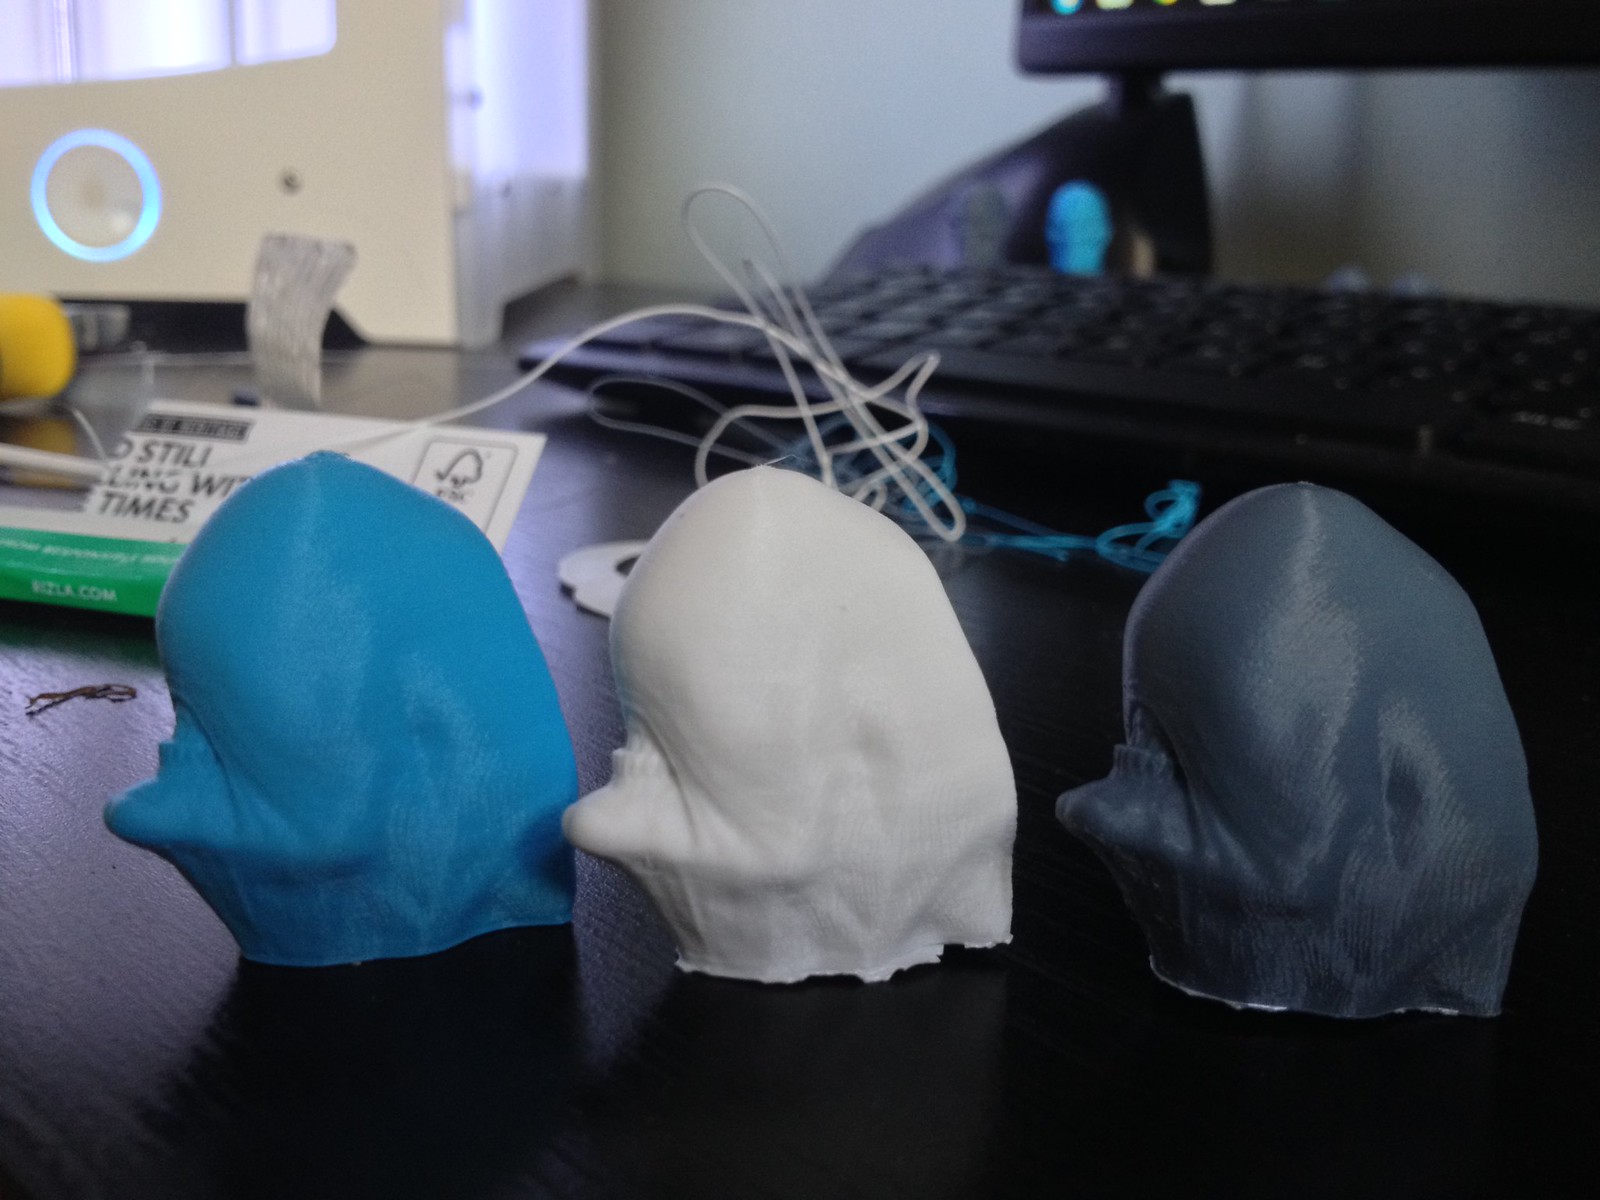
I think that the colorfabb did a good job of capturing a lot of the detail but as you can see in the images below it also has a much rougher surface than what I got previously from Ultimaker blue.
In summery I think I'm going to stick with Ultimaker filiments as I feel that I'm getting an over all better quality print with it. I will continue to do some testing with it in the future but for now I want to concentrate on making more stuff to print.


 it's the remaining issue i have with the robot, the ears are now pretty good.


.thumb.jpeg.0b7a05eafc09add17b8338efde5852e9.jpeg)
Recommended Posts
Top Posters In This Topic
362
282
221
179
Popular Days
Jan 5
30
May 12
26
Jan 13
23
May 1
22
Top Posters In This Topic
ian 362 posts
cloakfiend 282 posts
skint 221 posts
SandervG 179 posts
Popular Days
Jan 5 2014
30 posts
May 12 2014
26 posts
Jan 13 2014
23 posts
May 1 2014
22 posts
Popular Posts
kmanstudios
Took me forever to do this. And it is still rougher than I would have liked. 3D concept rendering: Finished piece:
kmanstudios
I just finished this. It was a multi-part print for ease of painting. Some of it I am not sure what happened...but hey, it is purty....And, I am unanimous in that ? Test Render Parts
gr5
Bath interferometers. I have made about 20 of these for people who use them to test their telescope mirrors. They are amazingly accurate and can do better than a $40,000 Zygo PSI optical tester. Th
Posted Images
leoddc 74
@ Aaron: Cool flashlight.
So I've been doing a bit more testing with the colorfabb filament and this time I'm using the bluegrey that I purchased.
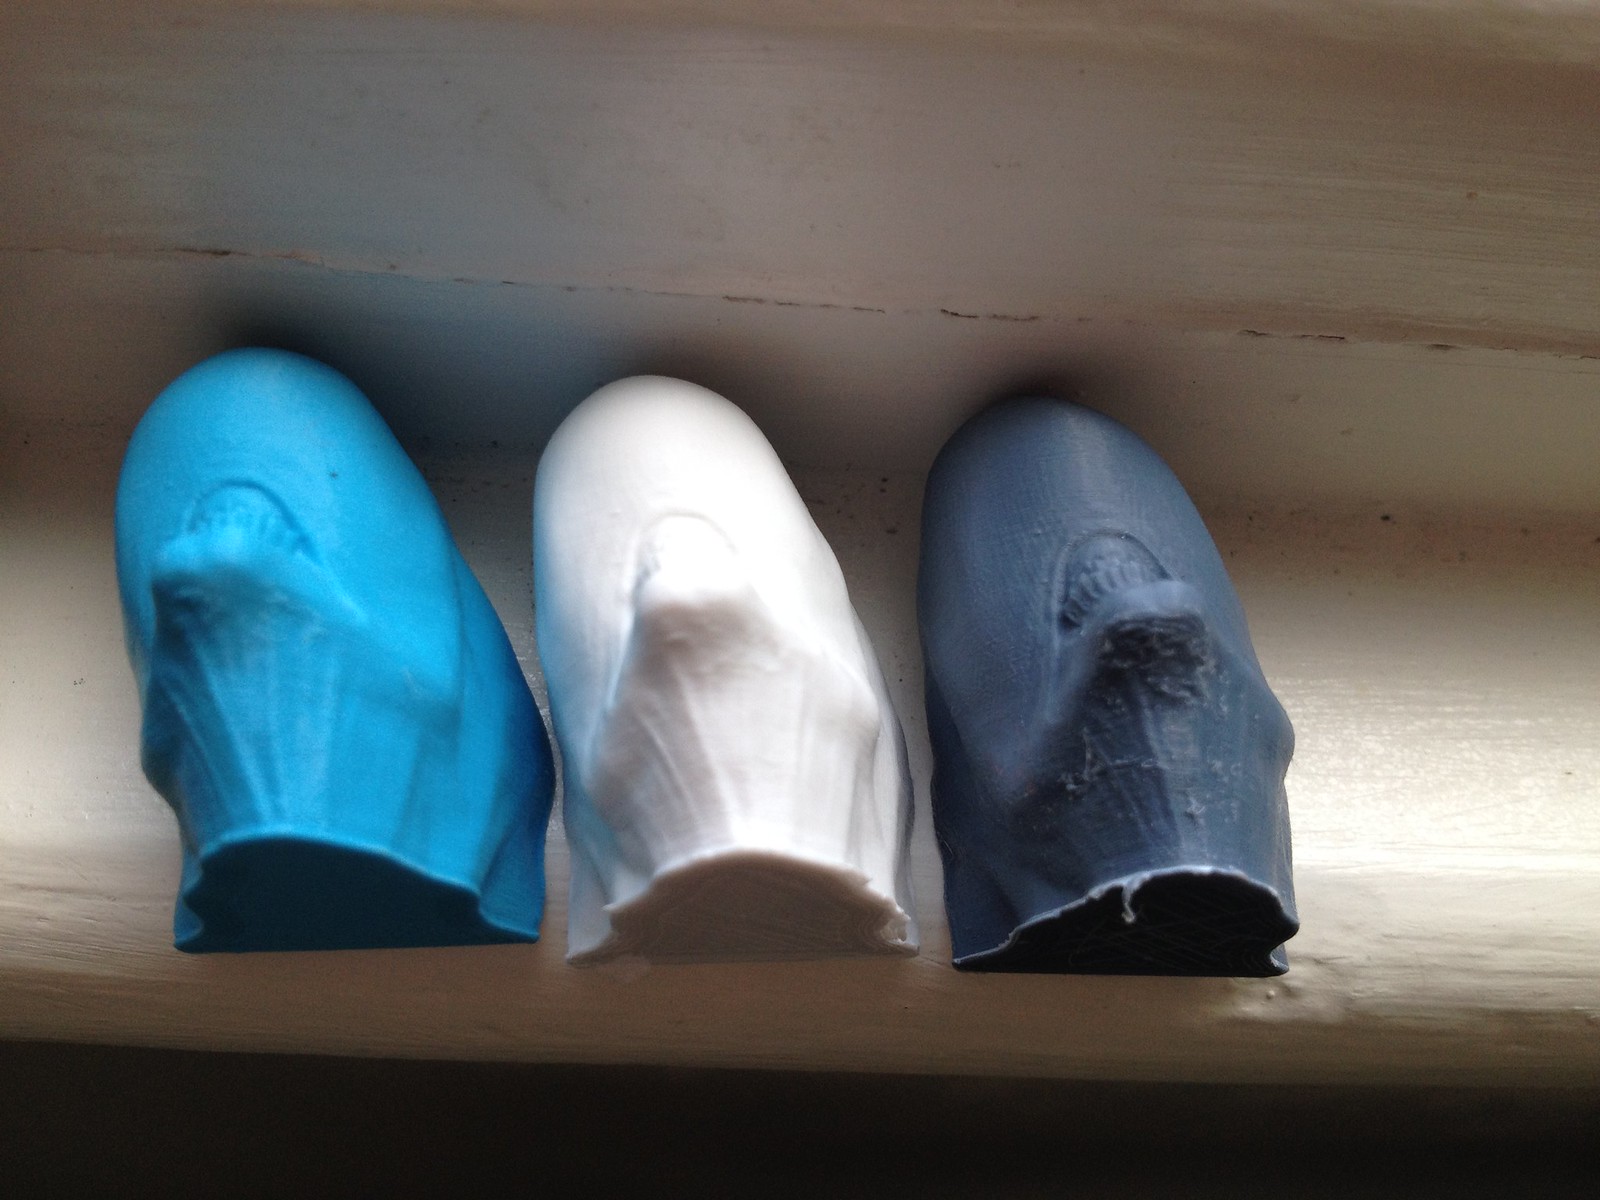
I've done some comparison prints between colorfabb and ultimaker blue filament.
Colorfabb on the left, Ultimaker blue on the right.
Colorfabb print was at 195C and Ultimaker blue was at 210C. Both had a bed temp of 60C and were printed at 20mm/sec with a layer height of 0.06mm. I went for a lower temperature with the colorfabb because I found that it produced better results and a smoother finish as can be seen in the image below.
Link to post
Share on other sites