


@Didier Klein, thanks for sharing the video. I love watching prints in action! Yours was particularly entertaining, as it had the meshmixer supports, I'm always amazed by those support structures. Also, cool filament holder; I'm too lazy to buy anything that doesn't already come on a spool :mrgreen:.
@illuminarti, lol thanks; yeah I should just keep my toothbrush there as I find myself just mesmerized by the printer for most of the day; and consequently spend a large portion of my day there. I really do need to stop watching it so much!!!
@pm_dude, cool print; it looks really nice for no supports. I'm totally jealous, filament sales 10 minutes away!
@Cabo, fantastic looking first print! Better than my first print. Looking forward to seeing many more  .
.


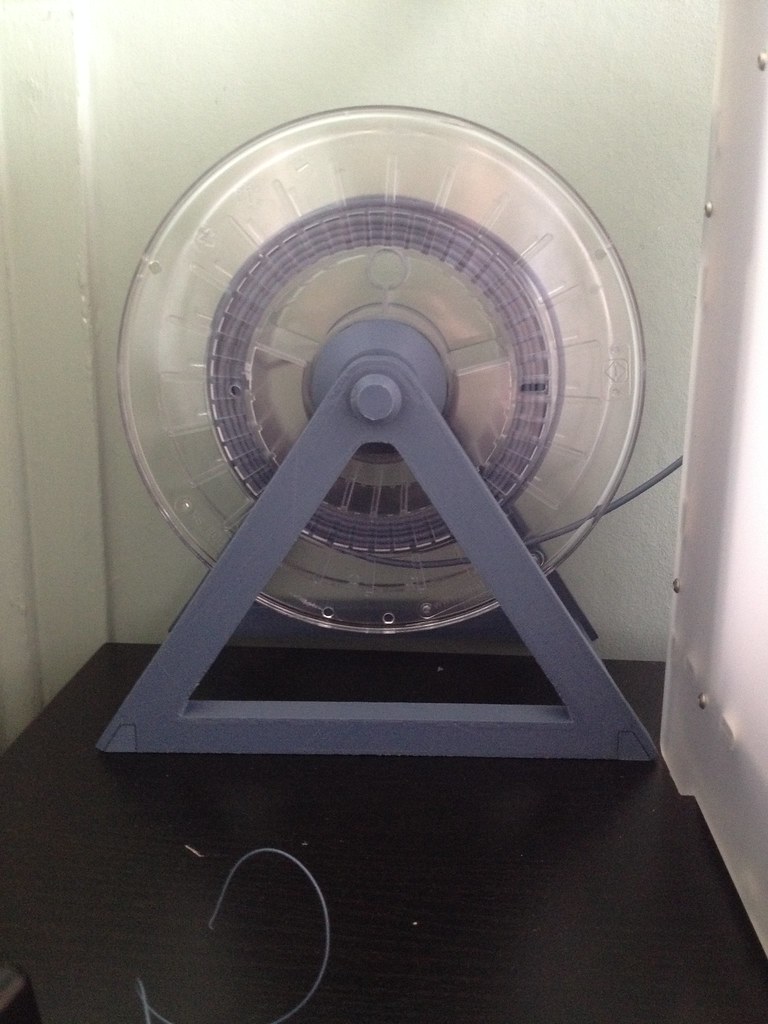

 That must have taken a while to print.


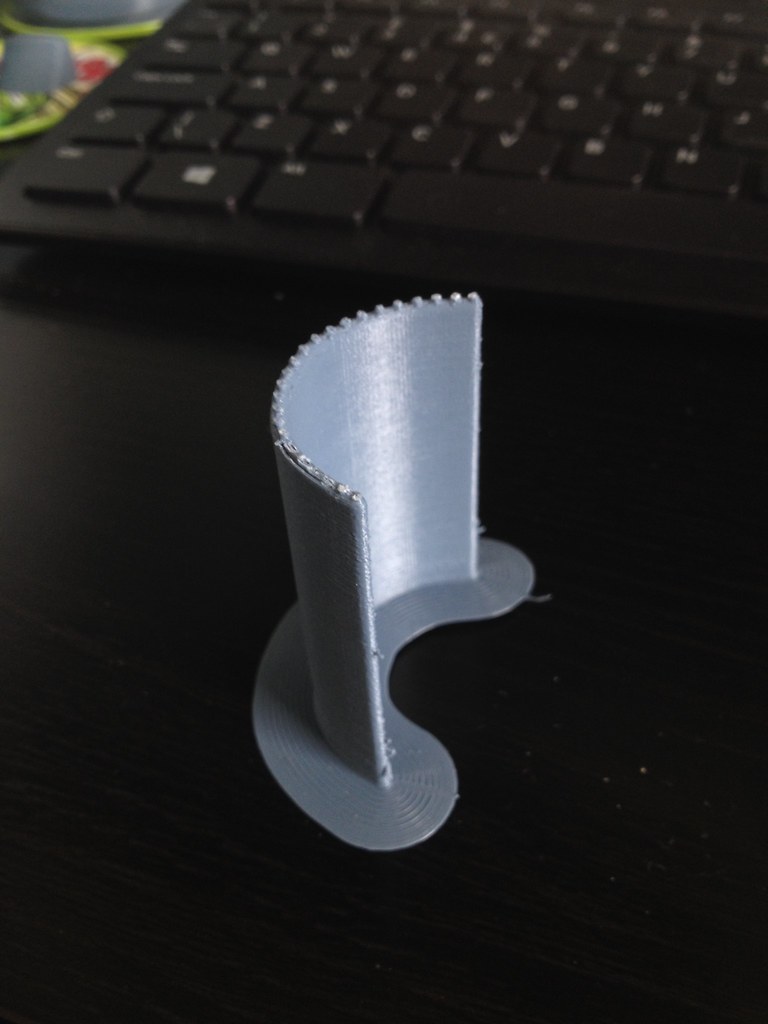
 Very nice result actually. Have you used:


.thumb.jpeg.0b7a05eafc09add17b8338efde5852e9.jpeg)
Recommended Posts
Top Posters In This Topic
362
282
221
179
Popular Days
Jan 5
30
May 12
26
Jan 13
23
May 1
22
Top Posters In This Topic
ian 362 posts
cloakfiend 282 posts
skint 221 posts
SandervG 179 posts
Popular Days
Jan 5 2014
30 posts
May 12 2014
26 posts
Jan 13 2014
23 posts
May 1 2014
22 posts
Popular Posts
kmanstudios
Took me forever to do this. And it is still rougher than I would have liked. 3D concept rendering: Finished piece:
kmanstudios
I just finished this. It was a multi-part print for ease of painting. Some of it I am not sure what happened...but hey, it is purty....And, I am unanimous in that ? Test Render Parts
gr5
Bath interferometers. I have made about 20 of these for people who use them to test their telescope mirrors. They are amazingly accurate and can do better than a $40,000 Zygo PSI optical tester. Th
Posted Images
cabo 0
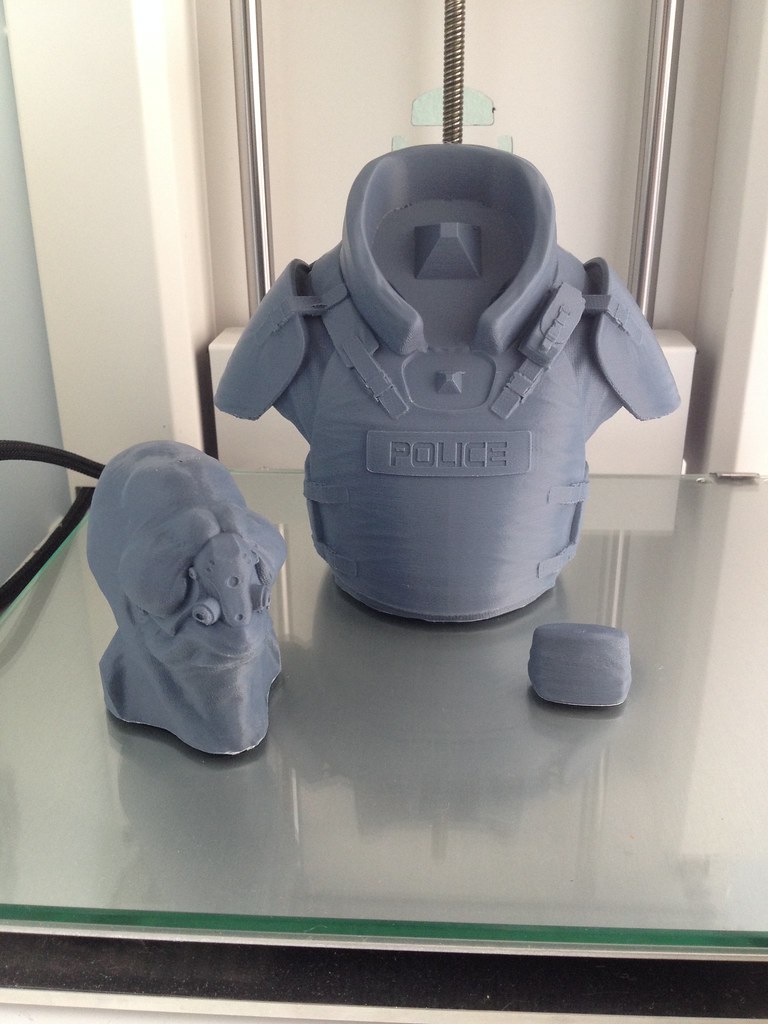
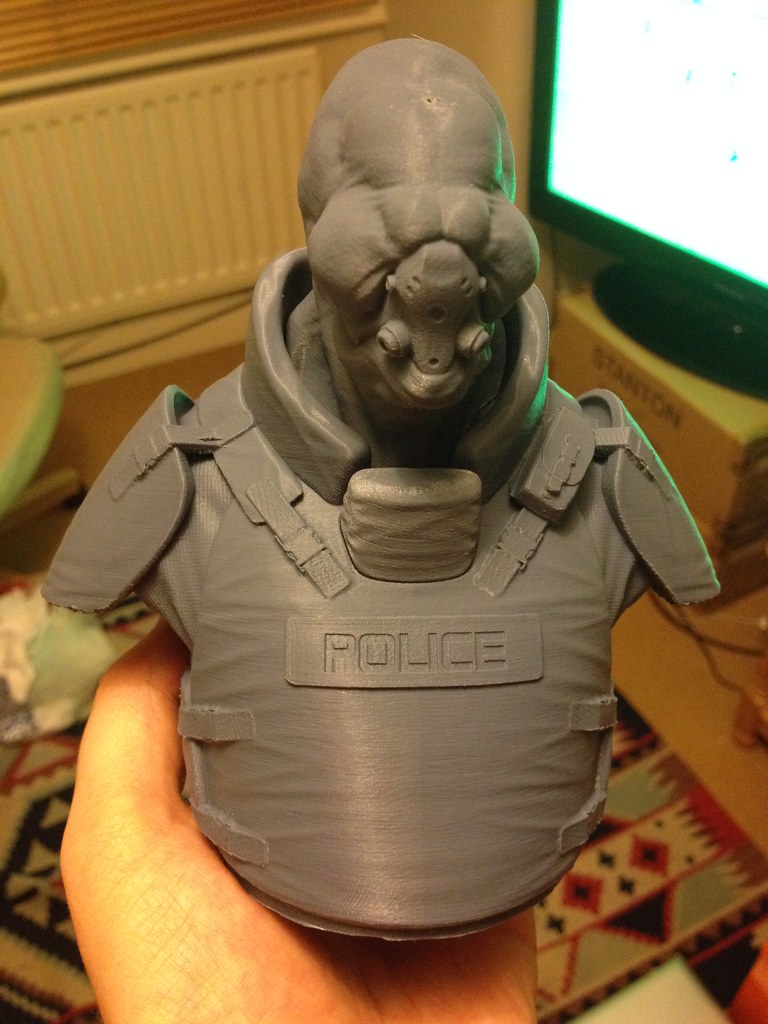
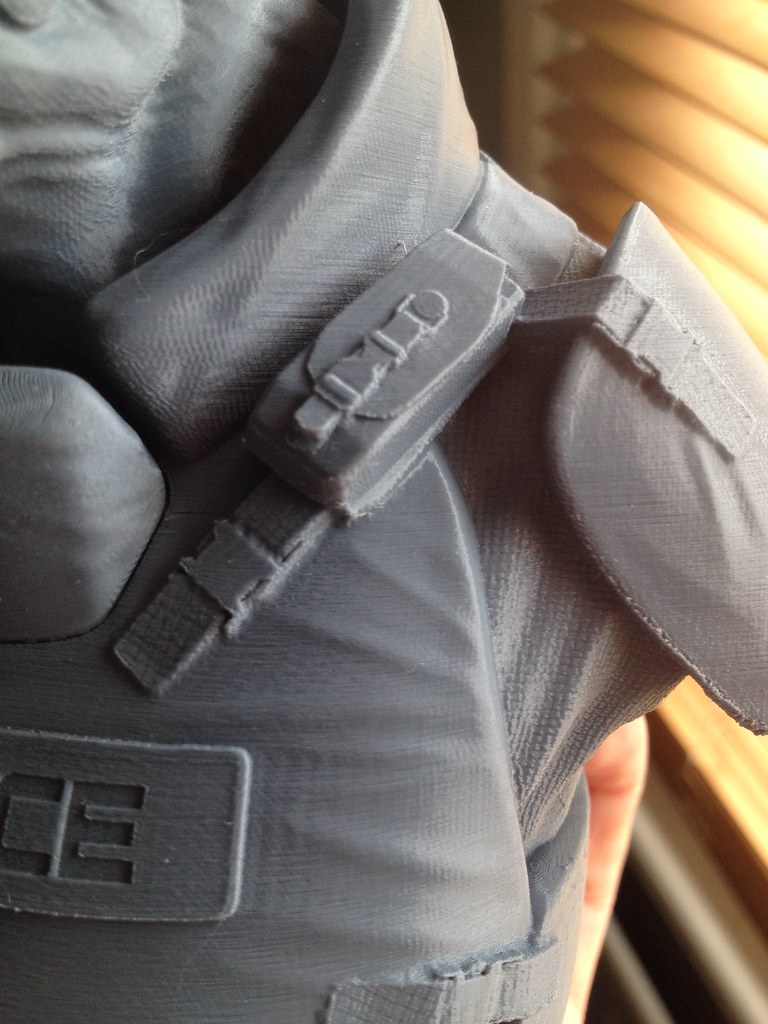
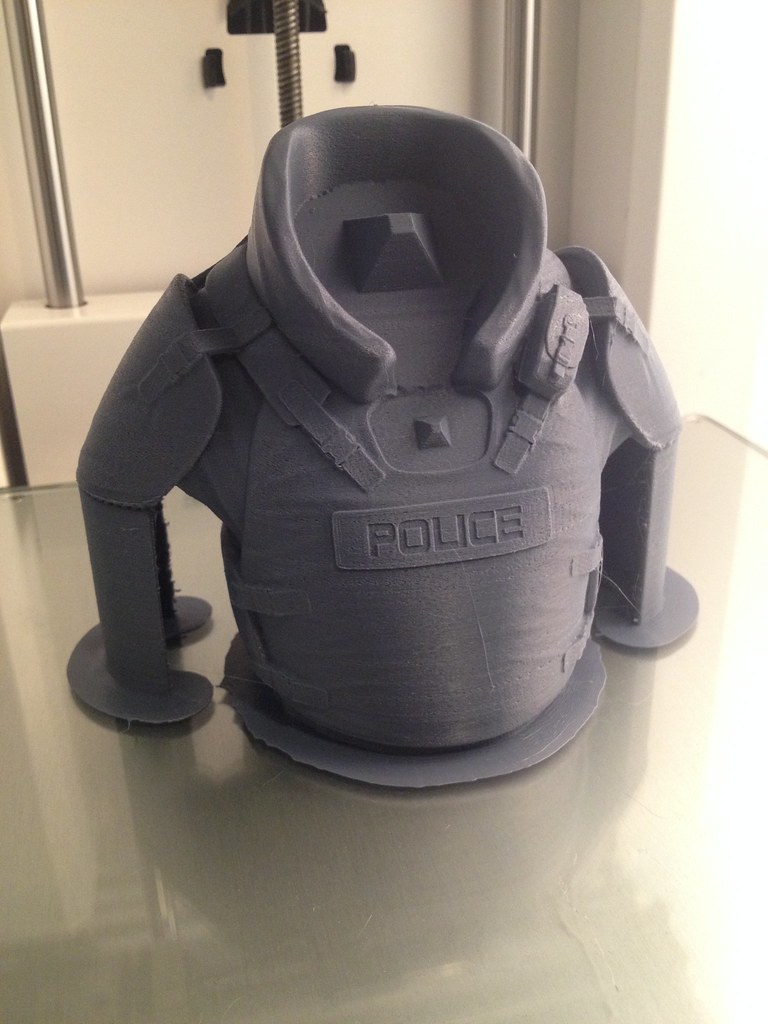
Hello everyone.
My very 1st test with the Ultimaker Original and also the very 1st post here.
You can't avoid things like this if you have a daughter
More images will come as I progress with the project.
Link to post
Share on other sites