


Looking good. I would say that the biggest problem there seems to be cooling, s the overhangs are not coming out as good as they could. Maybe some fan ducts which point more towards the printing nozzle (or just below it)?
As for the wobble, go for GT2 and direct drive for sure. Its so cheap from robotdigg, no belt tensioners required, and the mount for direct drive is easy to print. You don't even need to get longer axis if you don't want to, as someone has designed an adapter to house the bearing and mount to the bearing cap holes.
Edited by Guest-
 1
1


.thumb.jpeg.0b7a05eafc09add17b8338efde5852e9.jpeg)
Recommended Posts
gr5 2,167
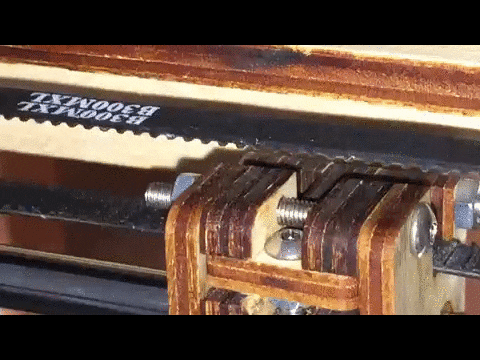
That's the X motor but you do have a point about the pulley.
Link to post
Share on other sites