


fntsmn
-
Posts
6 -
Joined
-
Last visited
Content Type
Forums
Events
3D Prints
Posts posted by fntsmn
-
-
Just now, kmanstudios said:
I am sorry, I meant after you sculpt it, you said it gets hard. Does it get soft again or does it bake in the details....sorta like annealing it?
it will always melt around the same temperature but when you heat the surface the first time and you smooth it dipping your finger in some cold water and smoothing the surface and you let it cool down it will feel in a different way
-
1 minute ago, kmanstudios said:
Afterwards, at what temp does it become soft again?
You should eat up the surface around 60/80 degree to start to sculp it
-
On 7/18/2018 at 12:17 PM, kmanstudios said:
Once sculpted, is there a way to lock in the details permanently without worrying about it getting damaged or such?
After you heat up the surface and let it could down it will become really hard and of course the layers bounding is great. If you want to avoid that it will change shape I will lock it using a thin layer of Epoxy resin.
-
This year I worked for different months to create and improve Skulpt from Thibra3D, was a lot of fun and I think is something different on the market.
I will share with all of you my experience and suggestion to be able to have a great print with it.
In few words Skulpt how is name suggest is a filament that you can 3D print and apply small or big changes at the printed model just heating up the surface and using tools that are commonly used for sculpting or even only a screwdriver.
This was one of my first test with the material a pumpkin, unfortunatly the print didn't went that well but is skulpt so was easy to fix it (the material was still in a experimental stage)
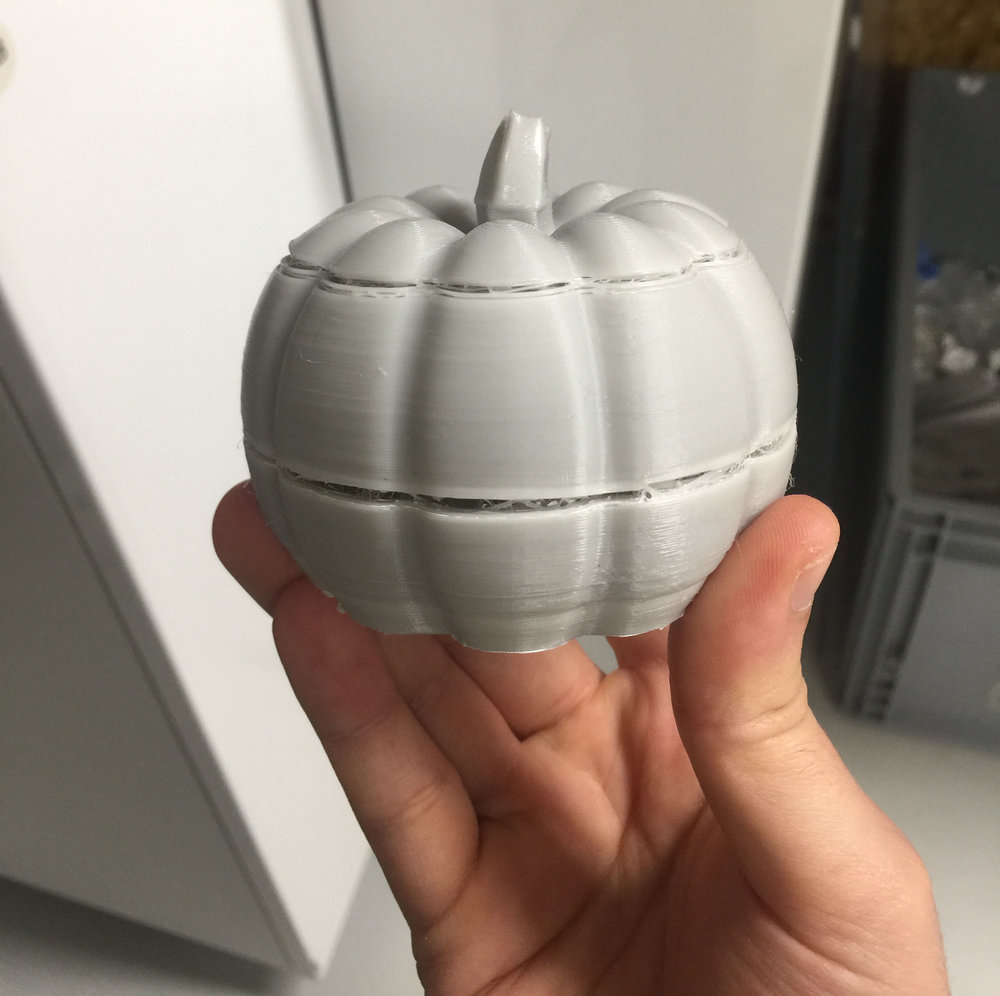

I could made a better job with fixing the shape but I was still impressed on what could be done with the material.
My second test was printing something low poly and sculpt it to become high poly with a lot of details. I decided to download and print this low poly fox

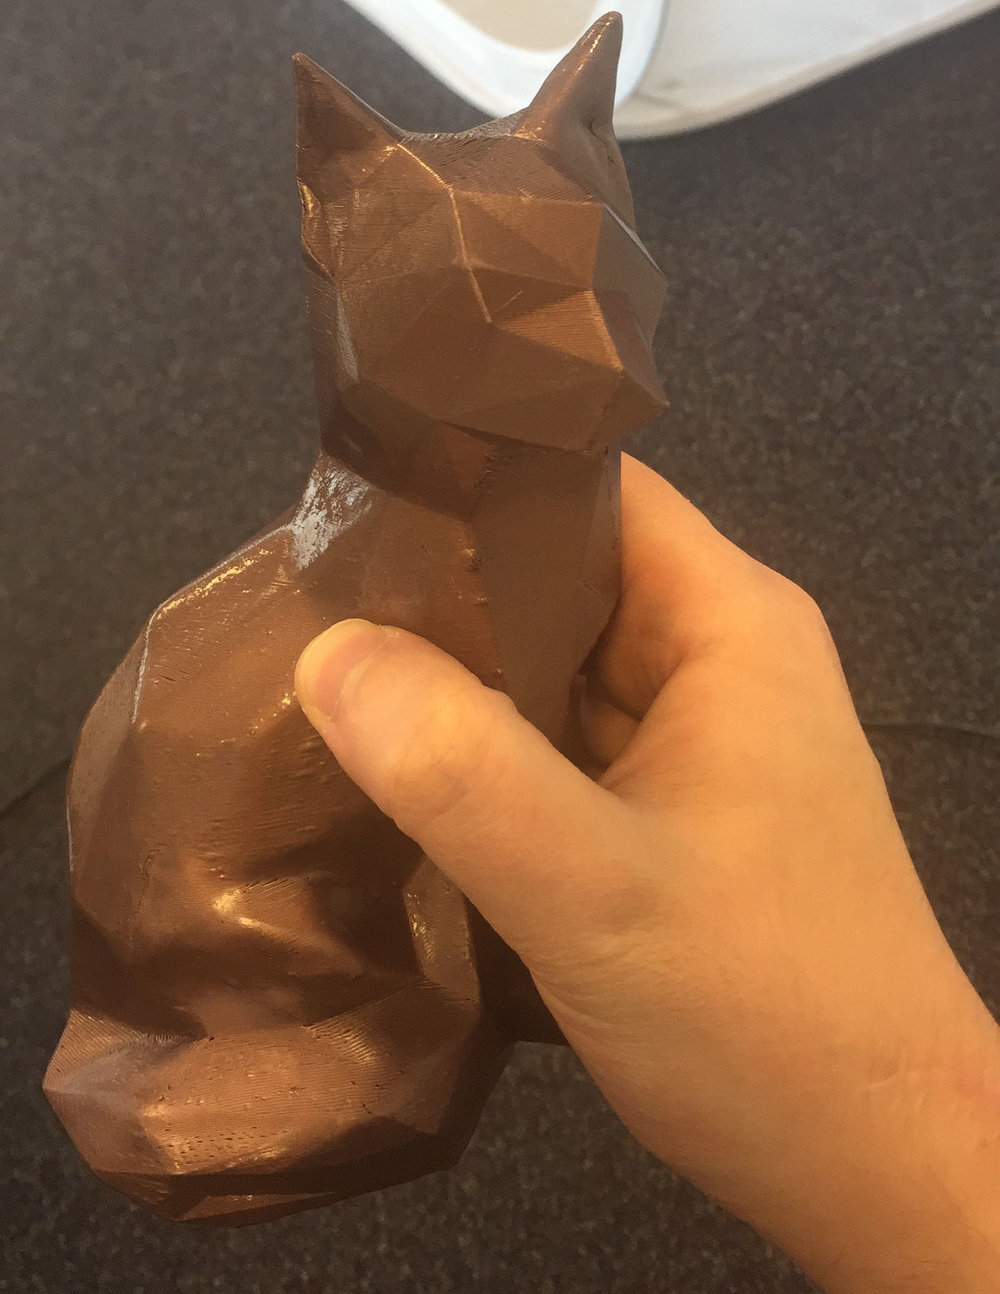


I started to be really impressed on what I was able to do with this filaments and understand a bit better what you can do and what is better avoid with it.
Example with the Fox the supports work out really well and they come out really easily and you can smooth the surface super easily, you will never be able to see any imperfection on the surface that usually supports materials leave, one small disadvantage is that is tricky to print for small details, because the material like to keep the heat, but at the same time this details are super easy to fix after the print is done.
Now that I was more confident with my settings and skills I decide to print Groot Bust


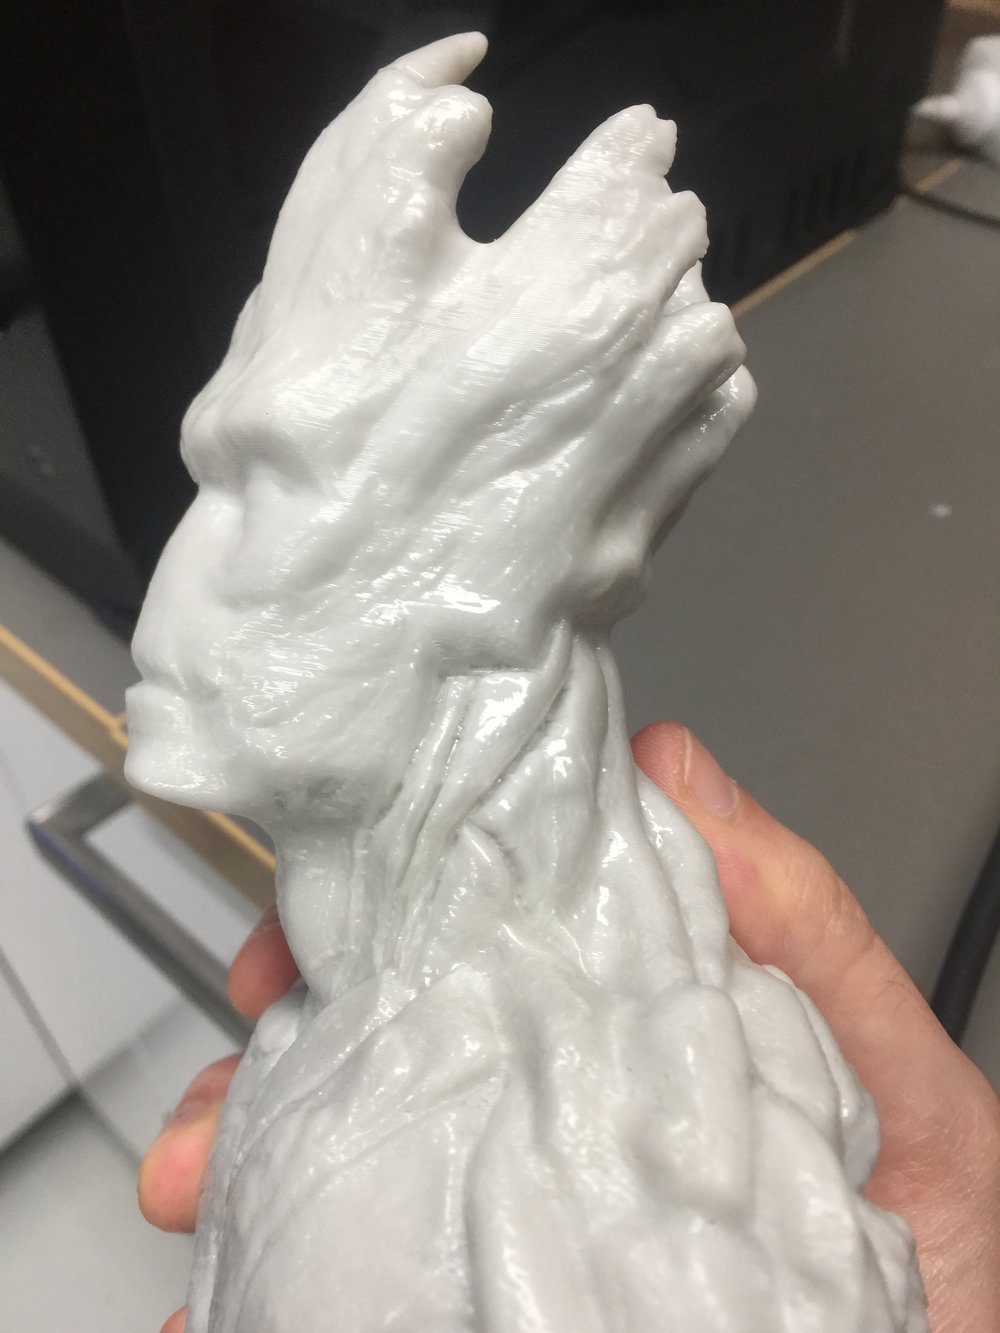

Another fantastic print! Support material was great I increased the detail, smoothed the surface and then Painted without any need of sanding the surface,you will never see the layers of printing and when the model cool down it become really solid and doesn't not feel like a 3d printed object.
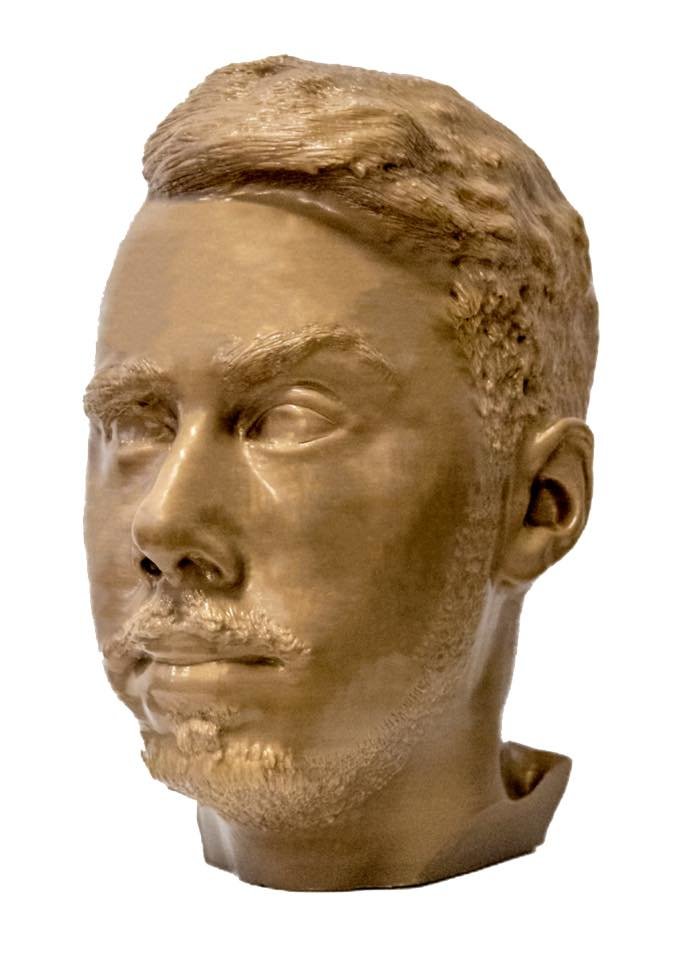
At this point the material was really stable and working perfectly so we proceed on play more with the color and just finalize the material to make it ready for the market so I decide to make a big and long print on my Ultimaker 3. I decided to print my head, the print took around 70 hours to finish and I used the following settings:
Extrusion Multiplier: 1.21
Retraction Distance: 0 mm
Layer Height: 0.2
Top Layers: 15
Bottom Layers: 5
Outline: 7
Infill: 50%
Internal Fill Pattern: Grid
Brim: 35 Outlines
Extruder Temp.: 205
Heated bed: 60° only for the first layer then 45°
Fan Speed: 100%
Speed: 50 mm/s


The spools that I used for this print wasn't the final product but we was still playing with the color this is why you can see some inconsistency.
After I removed all the supports I started to increase and add all the hairs details.
To add details is pretty easy you can use 3 main way:
- Hairdryer : Take a bit of time to make the material soft but you avoid to over heat it and maybe cause some small bubbles on the surface- Heat gun: Take few second and you will be able to sculpt the material but be careful to don't over heat the surface too much
- Hot water: this method is great but make it more difficult to localize the heat in only one part of the model and can take a good amount of time before you can sculpt the model.


I personally really liked work on this project at work! You can check too this short video that I made to give more information about this filament.
I'm happy to reply to any question about this Filaments! I will try to be active on this post.


-
 3
3
-
-
Did you have in mind to add manual supports? I think will be a great feauture in particular will bring back a lot of users from S3D to use again and more Cura, and the Multiple Processes would be another interesting feature to add.


Skulpt Thibra3D
in Materials & profiles
Posted
No problem ?