


aour
-
Posts
29 -
Joined
-
Last visited
Content Type
Forums
Events
3D Prints
Posts posted by aour
-
-
Salut
https://www.simplify3d.com/support/print-quality-troubleshooting/#gaps-between-infill-and-outline
Simplify3D includes a settings that allows you to adjust the strength of the bond between the perimeter outlines and the infill. This setting is called the “Outline overlap” and determines how much of the infill will overlap with the outline to join the two sections together. This setting can be found by going to “Edit Process Settings” and selecting the Infill tab. The setting is based on a percentage of your extrusion width, so that it easily scales and adjusts for different nozzle sizes. For example, if you are using a 20% outline overlap, it means that the software will instruct the printer so that the infill overlaps with 20% of the inner-most perimeter. This overlap helps to ensure a strong bond between the two sections. As an example, if you were previously using an outline overlap of 20%, try increasing that value to 30% to see if the gaps between your perimeters and infill disappear. -
Bonne année 2016 à tous
-
Un peut tard pour un joyeux noël alors bonne digestion !!!
-
Merci rigs.
je vais pouvoir commencer à jouer avec mon cadeau de noël
-
Bonjour
C'est pas forcement très clair.
En fait j'ai trouvé dans 3DS :
éditer le FFF Settings
show advanced
onglet scripts
editer les onglets starting et ending script
Par contre ils ont changé (pour une extended)
Starting script
M907 E1400 ; increase extruder currentG28 ; home all axesG1 X20 Y10 F3000 ; bring extruder to frontG92 E0 ; zero the extruded lengthG1 Z10 ; lowerG1 E19 F200 ; purge nozzle quicklyG1 E26 F60 ; purge nozzle slowlyG92 E0 ; zero the extruded length againG1 E-5.5 F400 ; retractG1 X190 Z0 F9000 ; pull away filamentG1 X210 F9000 ; wipeG1 Y20 F9000 ; wipeG1 E0 ; feed filament back
Ending Script
G28 X0 ; home the X-axisM104 S0 ; turn off heatersM140 S0 ; turn off bedM84 ; disable motors
Est ce que l'on doit modifier ici pour que cela soit pris en compte pour tous gcode généré avec ce process FFF
-
Bonjour
Le lien vers le guide qualité de 3DS à changé :
https://www.simplify3d.com/support/print-quality-troubleshooting/
Je le trouve plus complet que celui de 3dverkstan.
En plus il donne des pistes de correction pour 3DS. Tout n'est pas applicable sous cura car certains réglages ne sont pas possible via l'interface de cura. (j'ai donc acheté 3DS)
-
 2
2
-
-
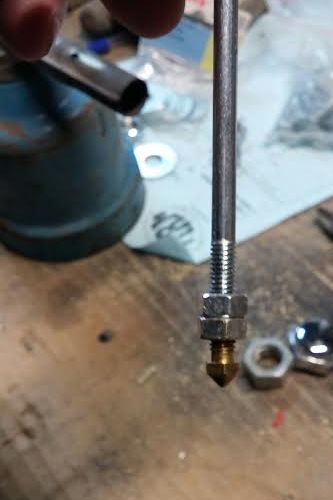
Bonjour,
Alors suite à ma bêtise j'ai du nettoyer l'extérieur et l'intérieur de ma buse au chalumeau
J'ai utilisé une tige filetée et 2 écrous.
Un coup tête en bas pour laisser s'écouler et un coup tête en haut pour récupérer dans le creux entre la tige et l'écrou
-
3
-
-
Merci Zizon
Je vais voir pour le Teflon
-
ok merci
Je vais essayer cela
Par contre j'ai pas imprimé l'outil pour pas serrer trop fort. La je visse à la main
-
qu'est ce que tu appeles roder ?
-
merci
-
merci rigs
Pour une fois la description est bien rempli. Merci Darkdvd
Pour le reste il s'agit peut être de ça :
-
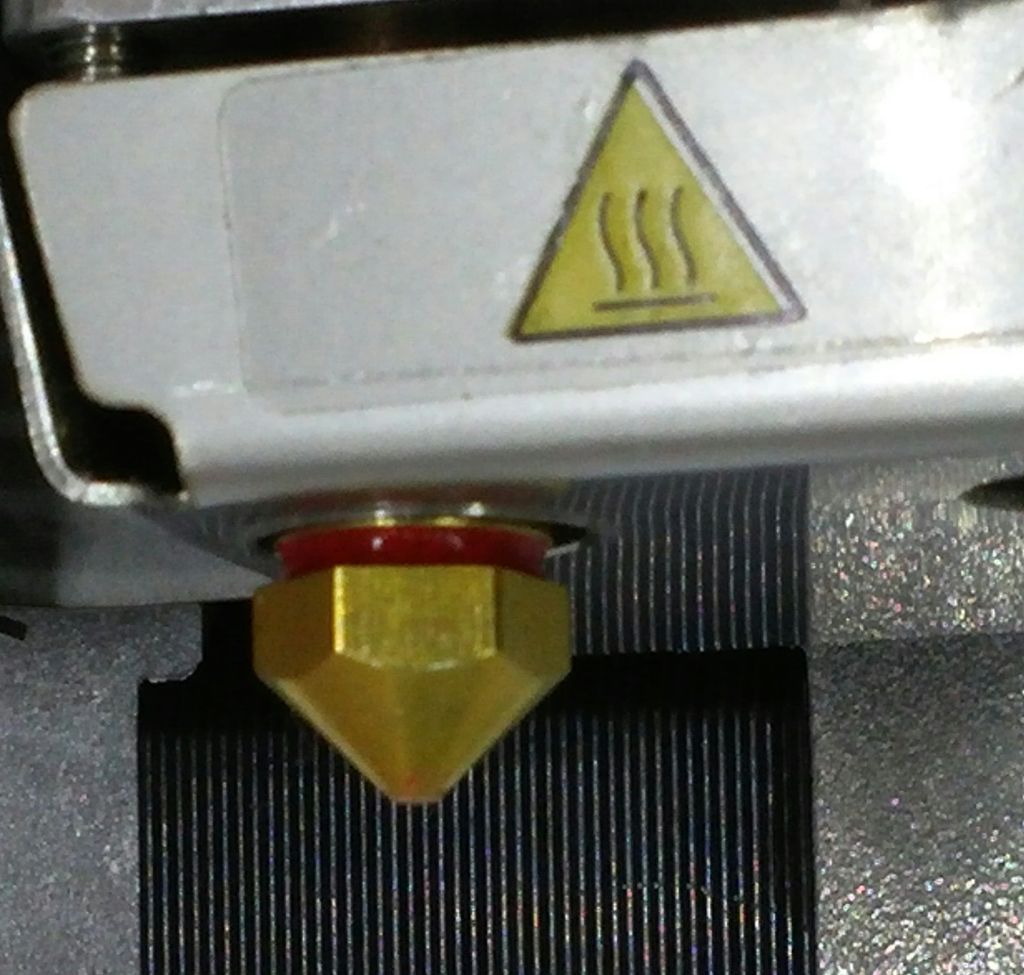
J'ai peut etre parlé trop vite
J'avais pas remarqué mais j'ai du PLA (rouge) au dessus de la buse ?
-
Oui ce serait intéressant. (avec l’épaisseur de l'epoxy)
Il y a plusieurs chose sur ta photo qui m’intrigue, la masse blanche qui protège la buse et la pièce noire.
-
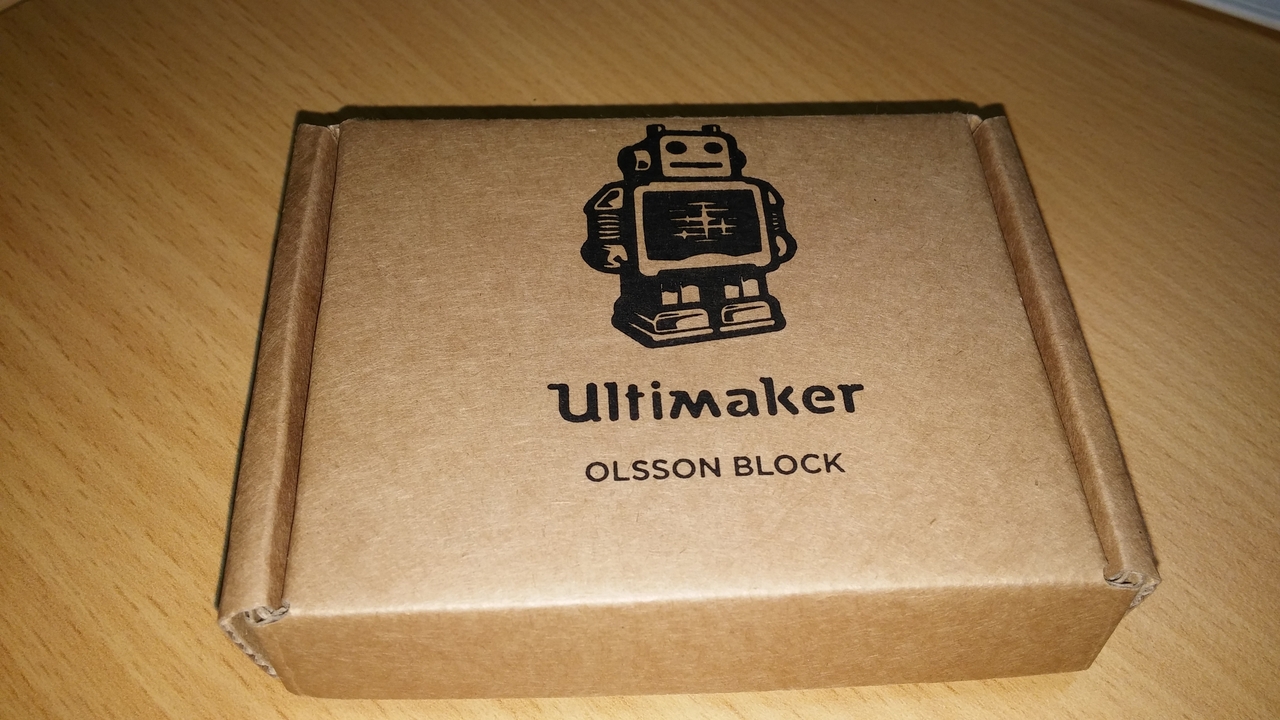
Bonjour,
C'était juste pour dire que la buse sortait de chez Ultimaker et pas directement de chez 3DSolex.
Sinon, montage terminé, calibrage du plateau, première impression de test terminée sans erreur.
Je vais reprendre mes STL pour modifier le gcode pour la buse de 0.6.
Merci à vous.
-
Alors c'est bien une buse ultimaker :
du coup j'ai préféré faire une entaille à l'arrière du support
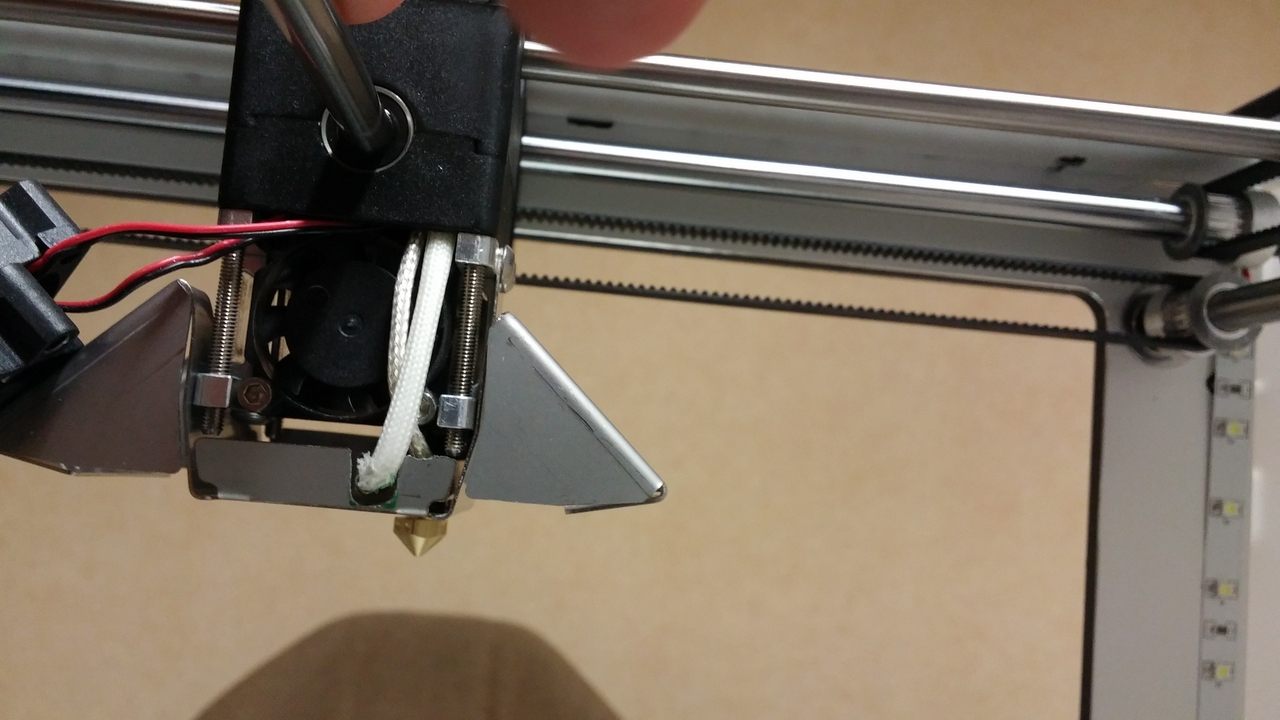
Par contre le trou n'est pas dans l'axe :
-
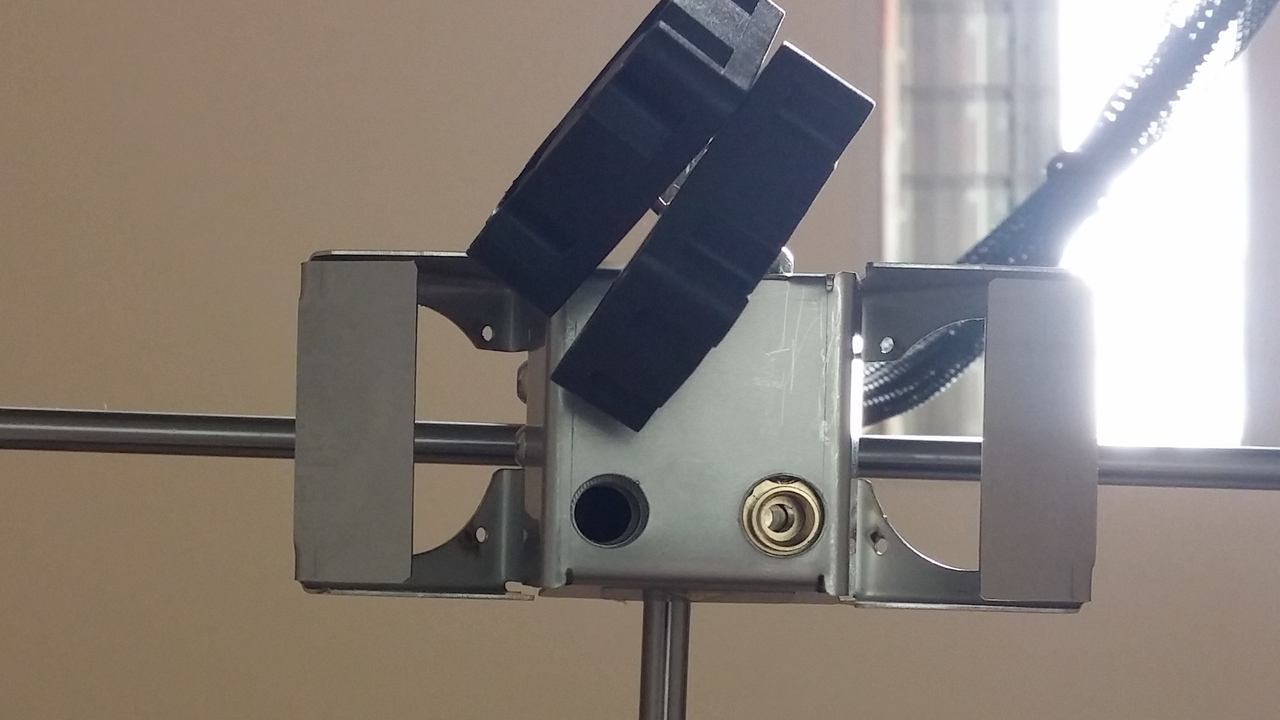
Oui.
Les deux sondes sont inversées par contre
-
inclus à mon achat de mon U2
-
Est ce que cela fond de partout ou seulement au point de contact avec le bloc supérieur?
-
C'est la plus grosse donc je présume la cartouche de chauffe.
J'ai déjà démonté et testé sans fixer le bloc de chauffe pour vérifier à travers les trous du bloc que c'était bien à fond.
-
Tu peux essayer de tordre légèrement l'arrière de la sonde en faisant très très très très attention, elle est particulièrement fragile.
Je vais pas prendre le risque.
-
Merci
-
Bonjour,
Vous utilisez le XT-Clear pour faire le support ?
Et le Ngen clear ?
Jean Pierre
-
Merci darkDVD.
Tordre juste assez pour pas toucher en fait.
Je me demandais si j'allais pas faire une découpe mais si la prochaine sonde est plus courte ?
Merci
Jean Pierre

parametrage Simplify3D
in Français
Posted · Edited by Guest
celui la : Holes and Gaps in the Top Layers
https://www.simplify3d.com/support/print-quality-troubleshooting/#holes-and-gaps-in-the-top-layers