


boukeg
-
Posts
12 -
Joined
-
Last visited
Never
Content Type
Forums
Events
3D Prints
Posts posted by boukeg
-
-
Water tight vases are easily done; Simply cheat and use PVC glue to coat em.
That is a very nice tip, thank you. I'll give it a try then. Thanks for your tips.
-
I know the spiralize option. The issue with that it not really a strong vase, looks cool, works great, however - too thin and certainly not watter tight.
To get an idea, I'm using model: http://www.thingiverse.com/thing:97401
-
Hi all,
I've been trying to search the forum for this quite some time, and in the past I've seen one post, but perhaps there is an update (I cannot find it anymore).
I'm printing a vase. With 0% infill and no top (switched off in expert setting). Also, set the width to 1,6mm (so should be printing 4 walls). When printing, my thought would be it prints only the 4 walls. However - it prints 'something' on the inner wall to. This takes more time, but also decreases print quality on the inner side.
Deeper examination shows also these extra 'printing' on the inner wall - I can clearly see the yellow parts, parts where it prints extra on the inner wall.
After fiddling with the setting in both expert settings found one solution:
- disable the bottom! YESSS! Great, yellow parts are gone, just printing 4 walls, low print time... but... I need a bottom in my vase, else water goes everywhere except staying inside and filling the vase with marbles will also give a nice effect when picking it up.
So... Is there a way to remove that extra printing without removing the bottom? One thing I also noticed, when enabling the top, the amount of extra material (yellow) is quite a lot more. In a way, printing the top and bottom influences this behaviour.
-
And by the way, I just remembered. I think the current TweakAtZ doesn't work out of the box. Check out the comments in this post: http://wiki.ultimaker.com/CuraPlugin:_Bedtempatz
Compare with PauseAtZ and there are some differences. Update those lines and it should work. If not, I can try to post my TweakAtZ contents.
-
The actual first layer is at 0.15 and you cannot tweak that. But if you've used 0.25 as the layer to change, it should use that new value.
So in Cura set 220 and @ 0.25 TweakAtZ should be able to change temp to 200 degrees.
You don't need to try print it every time. You can also save the GCODE and check with a editor.
Here is a little part from a print:
;LAYER:0
M107
G0 F2340 X64.74 Y42.96 Z0.18
;TYPE:SKIRT
G1 F2400 E0.00000
G1 F1140 X65.35 Y42.02 E0.01340
G1 X67.21 Y39.69 E0.04905
G1 X68.02 Y38.85 E0.06294
.
.
.
;LAYER:1
M106 S63
; Plugin: start TweakAtZ
M220 S100.000000
M104 S210.000000 T0
M190 S74.000000 T2
M221 S100.000000
; Plugin: end TweakAtZ
G0 F9000 X111.23 Y143.23 Z0.27
;TYPE:WALL-INNER
G1 F1980 X109.61 Y141.39 E47.98308
Note that all actions in GCODE from Cura is commented. Which is very nice. I'm using 0.18 as first layer, and 0.09 for the rest. Before Z0.27, TweakAtZ puts in new values. M220 for speed, M104 for nozzle 1 temp, M190 for my heated bed, M221 for flow. The cool thing is I've put flow in Cura to 110, but starting from the second layer (so in fact 0.27) it sets flow back to 100.
To answer your question: yes, you do need to count in the first layer too, else it won't work.
Just search for text 'TweakAtZ' and you'll know if it worked. If not, search for 'LAYER:1' and check out the Z value after that, in your case it should be 0.25. But perhaps you're printing a raft and you'll need to take that one into account too.
-
I work with TweakAtZ a lot. You'll really need to give the precise layer height where the change is needed, including the bottom layer. So for example if your first layer is 0.30 and all the rest is 0.15 and you want a change at the 5th layer, you'll need to set the tweak at 0.90. You can do really cool stuff with TweakAtZ, I've added a heated bed and flow control parameter.
-
@gr5 - that print look excellent! Wauw!
@illuminarty - I agree, guess 9000 was to high.
@AnthonyT - did you also switch to other firmware while switching Cura versions? I've also seen this on NetFabb sliced prints, so it isn't just Cura.
Great news to anyone facing the same issue. On the Ulticontroller I changed "Accel" to 1000, and "Amax x" and "Amax y" to 3000 (I'll try 5000 later). Now the infill touches the border *excellent* and I'm confident I can go back to 15% overlap. I think I do not need to change the bed, since the print comes out shiny flat, at 220 degrees PLA.
Thank you all very much for thinking together with me! I'm very happy now and print the full case tomorrow. Cheers!
-
Hi all,
First of all, thank you very much for taking time to look at this issue, I really appreciate it!
My thought were into backlash as well, I made belt tensions to make sure the pitch is quite high. I took this one this morning:
I honestly think these are tight enough.The short belts are less tight, so I've tighten them (a lot actually). Things improved a bit, but I'm still not satisfied. But why is the infill at 1, 2, 3 and 4 perfect (so in all directions), and infill on inner wall not.
@gr5, the smaller circles you suggest is actually happening. I've found Cura is not retracting on the first layer, it follows barriers. While moving from one circle to the other, retraction stops, then starts again running a circle. However, since PLA oozed out during the move from one circle to the other, there is not enough material to create a proper circle touching the first circle already there.
I also wonder if changing the settings would work. I used this link to build Marlin: http://marlinbuilder.robotfuzz.com/
The "Acceleration" rate for X and Y is 9000. I wonder what it is in your machines. I need to go off to work now, but I'll try to lower it to like 3000 and see what the difference is.
-
Hi all,
I hope you can help me out, this thing is driving me nuts for some time and I did quite some searching but couldn't find anything about it.

Please take a look at my photo. This is the first layer of a Galaxy S3 cover (http://www.thingiverse.com/thing:127344). At 1, 2, 3 and 4 the infill is covering the walls very nicely. I'm using a wall size of 0.8 (so with 0.4 nozzle two walls). In Cura, I've set the overlap to 25%.
My issue is quite visible I think: on most inner walls, the infill is not touching the wall. Besides that, there are other artifacts. Point 5 has a second wall way off. as well as 6, 7. At 8 the infill is overlapping the walls very nicely.
I think this is not a belt issue: print speed is the same everywhere, and 1, 2, 3, 4 are having good overlaps.
I think this is not a slicer (Cura) issue, since the visuals looking layer for layer, are looking great AND I also see these artifact with NetFabb slicer,
It is not the model, I have this on like every model. Especially when there are inner walls. I also have this with 1 wall (0.4 width) and I also have this when I slow down the printing (or speed up). It is not underextruding, since all infill is touching very nicely. I really don't know how to solve this... Please help...
-
Yeah, but also for printing in a different color without swapping the fillament. I really would like to be able to choose between which extruder to use. Also, the preheat option in the ulticontroller is great, but always preheats both heads. Would be nice to select which head to preheat.
-
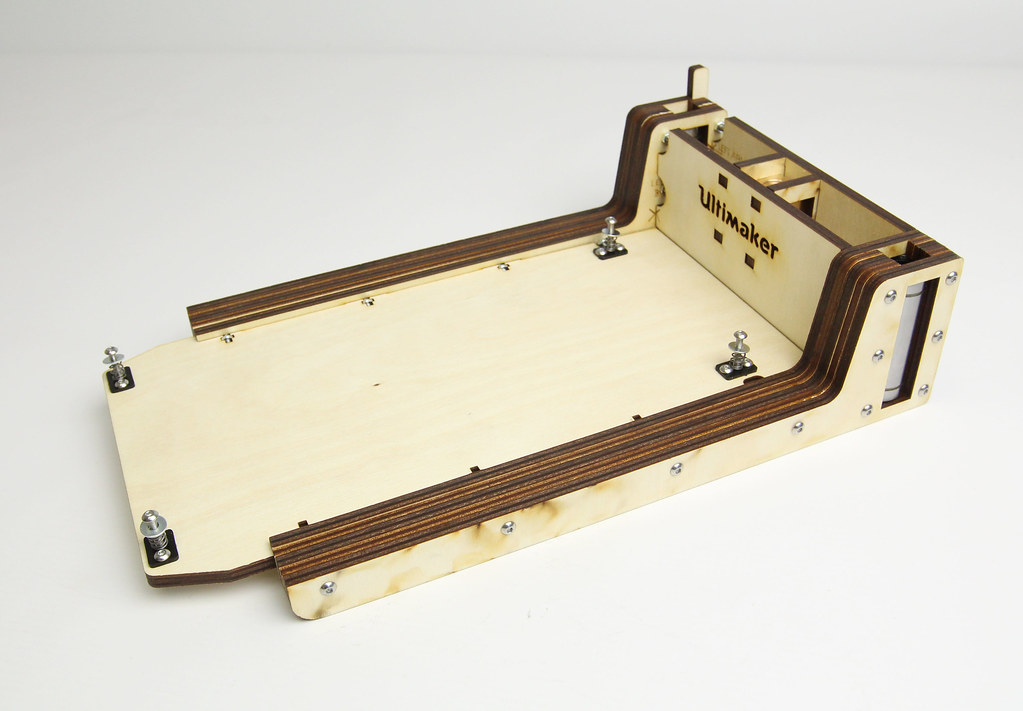
Doesn't that black thing needs to be top down, so basically the other way around - and yes, I've added washers.
Check image here:
Not only walls with 0% infill
in UltiMaker Cura
Posted
Not a problem at all! I was thinking about this and I now understand why this is happening... If the height on the Z-axis is lower than the bottom/top height anywhere on the wall, it will compensate by adding extra material. My feeling it was infill, but it is the bottom/top fill. I wished this could be turned of in a way, I like adding strength to the parts by adding extra walls and little infill, but the extra time and material just makes it useless.