


lennart-bruggink
-
Posts
143 -
Joined
-
Last visited
Content Type
Forums
Events
3D Prints
Posts posted by lennart-bruggink
-
-
this maschine is going to HAMMER OUT anything you THROUGH AT IT !!
heh, anything going through it

Seriously though, I agree everything is just too good.
Yesterday My girlfriend asked if I could fix her closet.
Of course 3D printing can!
result:

PS. I noticed that a horizontal top layer, Colorfabb XT needs more than 0.8mm shell thickness. Anyone can acknowledge?
Aw yiss this is awesome! The only problem is where to pick the parts up.
"more organic"
I really laughed more than I should after I saw you writing this, and then looking at the picture!
Thanks for making my day
Cheers!
-
Lennart, impressible quality.What is the source of this print?
Sigi
Hey Sigi,
Actually, it's form a site which offers a "sort of free with a limit" ( 10 a month iirc), it is made by Autodesk Premium ( user?).
have a look over at:
http://www.123dapp.com/123C-3D-Model/Bill-Clinton/865700
I just saw that the user created over 15000 models.. even parts like the liver, colons etc. Dig in my fellow printy buddies! I see 3D model loot!Yarrr!
But I digress..
Thanks for the interest!
Cheers!
-
Heh,
Well it is not an arc reactor that I made.., but nevertheless again stunned by the quality the machine delivers:


It was for the husband of the mother of my girlfriend, who's into american president..stuff..
Any how, I painted it, but forgot to take pictures.
I used Meshmixer to generate support so that it could be tilted about 30 degrees and the chin could be printed without support.
Cheers!
-
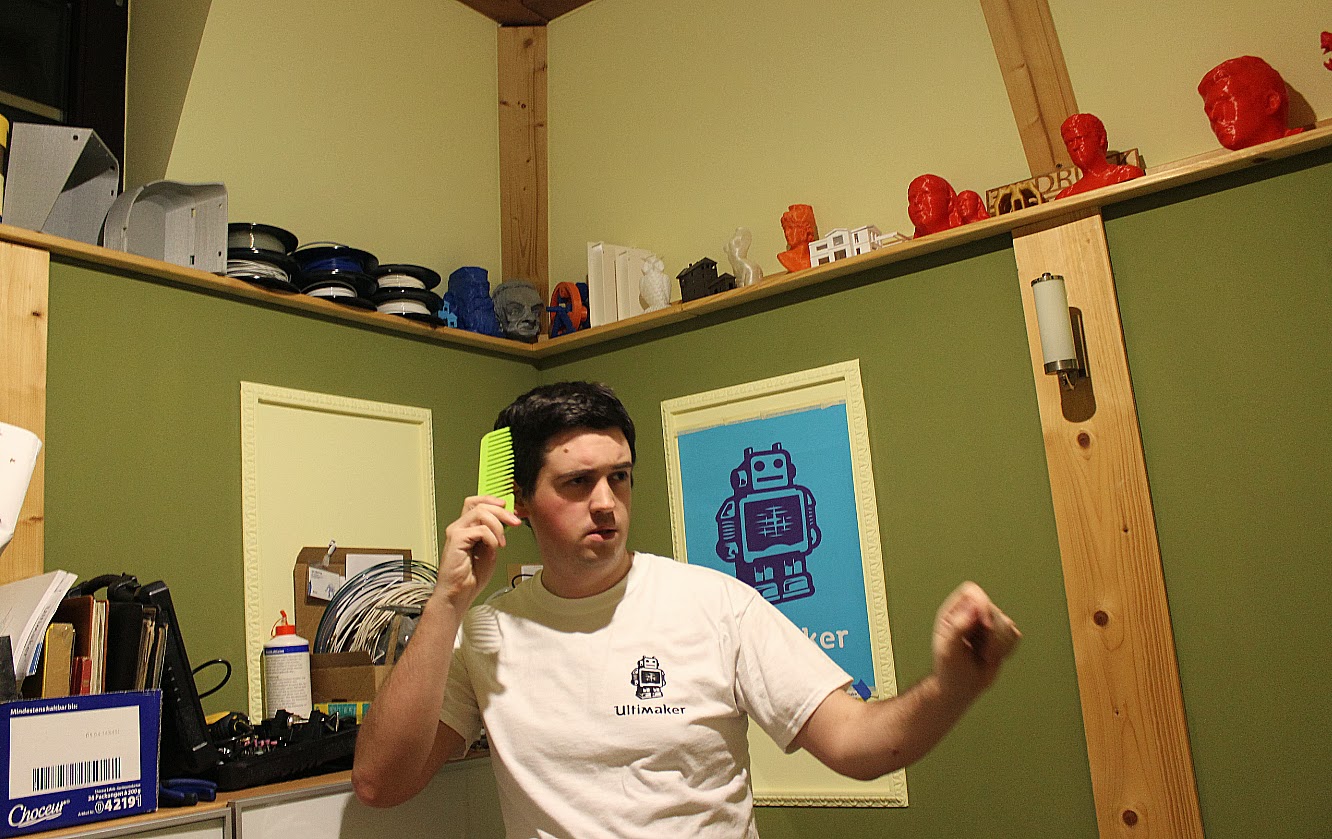
I know you guys wont believe me when I say this... but my beauty is not all natural !
I like many need sometimes a little help :wink:
Thanks to my ultimaker2. I can push back 10 years of aging and bad hair within an instant with my beauty ultimaker comb !
Ian :wink: LOL
Heh,
Strike a pose!
Actually, now that you can create your own comb, you could make it fit your own head;)
Round comb.. It should not become any crazier!
The plastic is Faberdashery Galaxy Blue (which has silver flecks in it), and the original model is from Thingiverse.
It looks like a model made with a DLP blue resin printer!
Very nice!
I think I'm going to do another try at something i wanted to do before: model/simulating water bouncing of an object and capturing it for 3d printing. Maybe blender can do that, any other ideas?
EDIT:this is not as easy as I thougth. I can make a brick explode, but I cannot make a fluid..hmm
Cheers!
Lennart
-
doing some nice prints for my new luxury toilet for my two little beloved bunny rabbits !... dont laugh !! :wink:
Ian :smile:

Hey Ian,
What did you use for design software?
Great print! ( foehnstrum, heheh also great print
 )
) cheers!
Lennart
-
Hi guys and girls,
I have got another Braddock- inspired work in progress.
A print I made earlier needed to get a nice finish and I wanted to do something cool with it.
Braddocks awesome metal finish looked...awesome.. on the were-chihuahua, so I wanted to make a start/test with it and bought some bronze paint, primer and patina.
In the pictures below the patina still needs to be applied, and also a second coat, but hey, it looks very nice!
(especially with flash;) )
Eye candy:


Cheers!
Lennart
Edit: my girlfriend said: "It is like a christmas ball.." Thanks..
-
It's a cool idea to have your own home as a model!
That is going to be worth a little project when i'm done doing Rhino;)
Cheers!
Lennart
-
Last print i made:
I wanted to have my prints somewhere where i could see them more often.
So I thought this would be perfect! I love my digital calipers for measuring!


Cheers!
(ps sorry for the bad quality photos)
-
...something fun..
Nudge nudge wink wink say no more say no more!
It came out a beautiful print, thats for sure;)
Cheers!
-
Wow Facere,
Big problems with your printer! Good that you found help at the forums!
I Have a Question for the mods on this one though:
Would removing the print head and placing it in a bath with acetone help dissolve ABS inside the print head?
(I have not removed the printhead myself though, so I'm not sure if this would be a possibility at least.)
Cheers!
-
I work in the video game business ...
Awesome!
What studios are you working at?
A Nephew of mine works at Guerilla games studios, I think thats really awesome. I believe he's Head of the lighting team.
I wish I could do something similar
however, first just do some rough designing with Rhino/zbrush etc to see what I can make that can also be used to print!Also, You are forgiven the rant at the start of your post, I agree , My UM2 was also not directly working out of the box, but the problem was quickly fixed and like you, love the quality of printing!
Cheers!
Lennart
-
I wish I could get that feeling again, the very first time you print something that you yourself have designed and hold it in your hand in the real world. It's a very special feeling

It's still cool now, but nothing like the first time.
Well, The feeling IS awesome..
you could always design something so complex, that no-one would be able to think of it ever being made, like braddock's were-chihuahua and finish it properly.
Yesterday I was really happy because I got positive feedback on my first welding blacksmithing workpiece of making damascus. Happy days!
Cheers!
Lennart
-
ooh another print!
As of 2013 i have an "Awesome-jar" in which I collect all the fun/awesome stuff that happened over the year.
so naturally, a 3D printed up-grade!
It's not perfect, but I designed, and printed it myself so I'm very proud!
Also, it is Colorfabb red, which is a very nice color!
Photoshoot:


Cheers!
Lennart
-
Hey Ian,
That's a bad wound! Is it better by now?
Ironically thought that you put this post in "The Art of Printing"..
But to be honest,
When I printed my Rammus Figure, I also had to use a sharp knife ( because I had no other tools available)
and Cut myself twice..
..within ten minutes.
The donkey never hits himself twice on the same rock!
(yet another dutch saying)
Cheers,
Lennart
-
56 projects in 3 days with zero problems.. zero rejected models...
And that's why i've bought an UM2
Keep up the good work!
Cheers,
Lennart
-
Great to see so much beatifil prints.... just awsome.
here's my latest, it's a end cap for one of the bed posts of my daugter's new bed. (as any girl she's fond of horses)
Hey Cor,
I like the beam next to it, It was iirc to let the layers cool down okay and to get a good top finish, is that right?
Cheers!
Lennart
-
Thanks for the quick reply.
Finally fixed the printer. Now it prints beautifully.
For future references there is a little bug in the firmware. Particularly in the leveling wizard.
This is what happened:
I read the full manual before even touching the printer. I was very impressed that there is an actual printed documentation and it is illustrated well. (In the manual it is missing the part where the new user has to install the glass bed, though, i would add that in the future releases).
The main problem I ran into: When I turned on the printer the bed moved up, and stopped about 2cm from the head. Even though I read the manual in advance, when UM2 was asking to position the bed 1mm to the head, I started turning the "knob on the screw" and I have seen right the way that there is no way to move the bed that close. I checked the manual and my eyes went to the screw turning section and did not notice the note on rotating the "jog-wheel" to position the bed closer.
So I turned off the UM2 and turned on again. That is when the real problem started. Because the bed was still in the up position, it started to move down. It moved down about 3 inches and stopped. Of course I still did not know that I had to rotate the jog-wheel. So I turned the UM2 off and on. The bed again moved down, touching the bottom plate, moved up an inch then moved down again and didn't stop there, it was pushing and pushing, but because there was nowhere to go it was just making loud noise and I felt really bad for my precious UM2.
After few power on and off it was not moving up but 1 inch and then again slammed to the bottom and was pushing and pushing.
I checked the micro-switch on the bottom, looked fine. Updated the firmware 2 times. Nothing helped. That is when I posted the message. When I saw the hint about the jog-wheel rotation I quickly checked the manual and find the mention about the rotation.
I turned on the printer and of course it was again slamming into the bottom I was waiting and waiting. FInally stopped the pushing and I rotated the jog-wheel and did the positioning. When the head was heating and I had to feed the material and the bed moved down, again slammed into the bottom. But at least the wizard was done.
The solution was: I had to go to the maintenance-advanced and reset to factory setting. That completely erased any memory information about the bed positioning and I re-started the leveling from start and this time I used the jog-wheel and everything went perfect.
So I think the bug in the firmware is:
- new UM2, new user starts leveling with the wizard
- if for any reason the user does not finish the leveling wizard and decides to turn off the UM2, next time the UM2 will move the bed to the bottom and will not stop there. And because there is no way to skip or cancel the wizard, the user has to wait until the wizard somehow finishes the bed slamming part and then the factory reset is reachable. When the reset is done, the bed moves to the bottom position and the leveling can be re-started and everything is fine.
Thanks again for the help.
Hey Zax,
here's my 2 cents on what could have happened:
My Ultimaker2 did roughly the same, but with the x axis instead of y.
I found that my problem was fixed then i adjusted the "clicker", which resets the position so the printer knows what the 0- position is.
Long story short, I believe that during transport, the clicker got loosened/ deformed just enough to let the zero-ing mechanism ( in my case moving the printhead to the left) disfunction.
After deforming a bit and adding some tape ( see one of my other posts) the zero-ing went well and printer was functioning properly!
I think that is what happened with your printer, but then at the z-axis.
However, This problem could indeed originate from firmware, since my guess is that it is designed to start to go down in the first attempt to reach the "zero- clicker".
again, just my idea. Listen to the mods
-
Alright!
After some hours fiddling, finally done! My best print so far! Also the longest.
The support I removed by using a knife heated in a waxine light ( improvising!) and cutting through it, Then removing it with small tool.
Only the knees and the face are a bit off, the rest is exactly awesome.
I really Love my Ultimaker! ( in a metaphorical way, don't get any ideas)
Showtime:


My brother is the lucky bastard who is going to receive it
Cheers and keep making awesome stuff!
Lennart Bruggink
-
Aww, I thought it was an Ultralisk first (and went "Ultraliskuuu!" in my head, man I'm such a dork...
 ). Still looks like a cool print though
 hah maybe i'm equally dorkness, because i know what an ultralisk is..
-
My first long print on Ultimaker 2. prints really nice I am impressed the small details are really good! :grin: I'm very happy with this machine some small issues with the 14.01 update when it finishes the print it just restarts and burns my print, why is this??? :rolleyes:
enjoy the video..
How long was the print?
the last one i did was 16 hours, but Really nice!
-
If the support structures work out could you post your Meshmixer settings?
Now that you mention it, I have scaled up the print to twice the size in Cura, not in Meshmixer, this makes the supports effectively twice the size.
Anyway,
the layer height was 0.1mm, the diameter 1.6mm. Actually, pretty much standard I believe except layer heigth
the key is to add your own support.
printed with Brim in cura @ 35mm/s
err, what else do you want to know?
-
aaand a latest update on a print: a league of legends character called Cho'gath:
After Illuminarti's dragon post i'd changed the supports with meshmixer and this is the third print.
Still need to remove the support, but until now only the knees are broken a little. ( lets hope i dont screw it up an break the part.


-
Very interesting thread. Please don't hesitate to meshmixer forum. As Illuminarti mentioned, I am actively working on this...actually I would say that what you are using now is probably best described as an early beta of the support generator. I can only print so many tests myself, I really do need people to describe their experiments so we can figure out what does and doesn't work.
So, I hope you'll keep digging for those "sweet nuggets of gold"...
Hmmm nuggets.. gonna print me some chickin' nuggets (ah that lovely futuristic sound)..
It would be nice to have some sort of direct watermarked overlay of all the functionalities, directly when you edit ( for people like me who want to rush into it
.I think from the forums here we can make some kind of preset for selection which is best for the Ultimaker ( 2 ), ask the guru's (them moderators) if they are willing to help.
I have noticed that the print I have done this night was too poor in thickness of support beams. ( ~0.5 mm is not good! I got a bit too optimistic on that one. Next time i'll keep to 1.6=>3.2 when scaled up double). There were a lot of beams that were ticking and some were flipped over. The print is almost finished though:


Cheers!
Lennart
-
And of course illuminarti's awesome blog posts..
Yeah, those are the ones ( dragon supports) which made me think that it should be possible to use the support again and that I try it again.
AAAnd off course the video you just showed me had a part in which it said how to add more beams..
I feel stupid yet happy that I discovered it
"RTFM"Cheers!
Lennart

 )
) 
 ). Still looks like a cool print though
Print error!! help
in UltiMaker 3D printers
Posted
Thiago,
Can you confirm that it is not caused by support structures being knocked over?
If you added the support in Meshmixer, I would advise to make thicker support beams, and more om them.
IMHO your support structures are not capable of carrying the load and the extruder head hits the print, showing some sort of displacement in the print.
More clear pictures would be appreciated.
Regards,
Lennart