


joelmongeon
-
Posts
52 -
Joined
-
Last visited
Content Type
Forums
Events
3D Prints
Posts posted by joelmongeon
-
-
Sorry for a dumb question. I just got my sunon replacement fan today. How did people wire it to their UM2. It only has two wires and not a plug.
-
Ok I must be tired... I was putting my nozzle in Roberts nozzle clip when I noticed I have my .6mm nozzle on my UM2 instead of my .4mm nozzle. I'm guessing my extrusion problems have something to do with that

I'll switch them out tomorrow and run some more tests. I'm guessing replacing the nozzle at temp (around 210C) is the way to go?
-
Thanks for the replies guys. Sorry for taking so long to reply, my little one has had a cold and I've not had much time for 3d printing.
So I think I just had some bad filament. It was some grey colorfabb pla that I used last year. I stored it in a watertight Tupperware with rechargeable desiccant packs so I thought it would be ok. I switched to a spool of black colorfabb pla and everything printed too hot. So I'm not printing back at a normal 190C without problems.
Labern, thanks for the links, I've just ordered that fan. I've got some colorfabb xt showing up tomorrow so I'll print out the cooling duct. I have used Roberts spool holder and Braddocks but ended up remixing my own so that it would fit into a small container with desiccant packs to help keep moisture out. I'm in Seattle and in the rainy season (now till April) temps hover around 5C-10C and humidity is usually 100%, so I try to make sure my filament stays dry as much as possible.

Dim3nsioneer, I do see some black particles on my X and Y steppers. Looking at the rods on the back on my printer I see they stick out about 1mm. Is this normal or should I loosen something up and push them in?

I've got a project in mind that will need my machine to be in excellent shape. I'm hoping I can get this kind of quality again after tuning and upgrades are done.

-
After neglecting my UM2 for about 6 months I decided to get back to it and do a bit of upgrading while I was at it. One of the reasons I stopped using my UM2 was because I was having issues with underextrusions. So after installing and a few test prints I think I have some more work to do, just not entirely sure what, and would appreciate some advice.
I first upgraded my feeder to Roberts feeder. I ended up cannibalizing some M3 bolts from my Printrbot metal simple as I've yet to find a good place to buy some without buying in bulk. The nut that holds the bolt and spring is too large for the opening in the printed part, so I can only loosen the tension so much before the bolt falls off. I think I've tightened it too much though as my last print ground the filament and the last few mm air printed.
I then bought an Olsson block, a new Bowden tube, Teflon insulator and I2k insulator. This upgrade went ok. I had to get a new heat sensor as i was not very gentle trying to remove the old one and ended up cutting the wire. I also had to use a spare steel coupler I had lying around as my original had deformed with the nozzle.
I got my new Bowden tube from gr5 and I think I need to reinstall it as it tries to lean into the print bed. I assume twisting the tube so that it wants to curve straight up and down is ideal before installing it on both ends. I found during testing with it leaning over, that my retractions didn't do anything with the default length.
I notice with printing the ultimaker robot that I needed my filament a lot hotter or else I would get underextrusions. I used to be able to print down to 190 C no problem, now I'm having to print at 220 C for a consistent extrusion. I'm guessing the nozzle from the Olsson block needs higher temp as it is way more exposed to the cooling fans with the stock fan shroud. If I print a new shroud that is designed for the Olsson block, I assume I can print much cooler again. 220C really seems to create strings and artifacts on retractions.
I'm also contemplating printing a replacement for the spring that pushes against the Teflon in the extruder, I noticed Labern had one up on youmagine. Am I missing anything obvious to upgrade next? So far on my to do list is, loosen tension on my feeder, reinstall my Bowden tube, print a new fan shroud to better work with the Olsson block, and possibly print a replacement for the spring in the extruder.
-
Thanks! That did it.
-
I have a sample of some new wax filament from www.machineablewax.com I'm really excited to try out.
After a few months of not using my printer I fired it up and tried to print a test cube and nothing came out of the nozzle.
The recommended temp for the wax filament is 140C with a bed temp of 70C. I set this up as a filament profile and the extruder motor never turned.
I then set the material setting back to PLA (210C) and tried printing the same file without the wax filament in the bowden tube and the extruder motor started to move again.
This makes me think that there might be a failsafe somewhere that won't let me extrude below a certain temperature. Is this the case? Everything else seems to be working just fine on my UM2. During my exploration I even reset to factory default settings. Nothing helped if my temperature was set to 140C which is what I need for the wax to print and not burn.
Any thoughts?
-
Great suggestions!
It's been humid and mid 30's here for a few weeks and my prints have been failing no matter what I do.
I'll try adjusting stepper current and retractions. I'm also going to put my filament into a watertight box so it's not absorbing moisture during 20hr prints.
I also tried a roll of white colorfabb xt but kept getting massive warping off of the bed. I might try some pet+ or petg as well.
If nothing else works, I'll stick to printing in the fall and winter and spend the hot summers designing new models.
-
There is a thread going on right now dealing with the same thing with a custom 3d printer.
Seems very technical and over my head: https://groups.google.com/forum/m/#!topic/3dprintertipstricksreviews/AYLkqbn5-k0
-
I know you already bought another printer but I've been meaning to print your test on my UM2.
There is a bit of clean up to do with an exacto, but I thought I'd post what I got directly off of the printer without clean up.
Printed at .04 mm. Have you received your printer yet? How do you like the Rapid Lite?


-
 1
1
-
-
Maybe on a related note, a few months ago I posted some prints on the tips and tricks Google group.
One of the contributors noted the moiré patterns on the print and had the following to say:
"Severe XY stepper clipping, showing up as a distinct moire pattern (eg look in first pic above eyebrows and at forehead and above clavicle) -- probably improper stepper driver current tuning"
No idea if this is correct or how to diagnose and fix if it is.
-

Here is my last Benchy. Rotated at 45 degrees and the stripes are gone.
2 shells, infill at 15%, 20 mm/s @ 180 degrees.
I also switched from my black colorfabb pla to my go to Toybuilderlabs cool grey pla. It just always seems to print better for me.
Interesting that it seems like a microstepping issue. I'll be following this thread with interest!
-
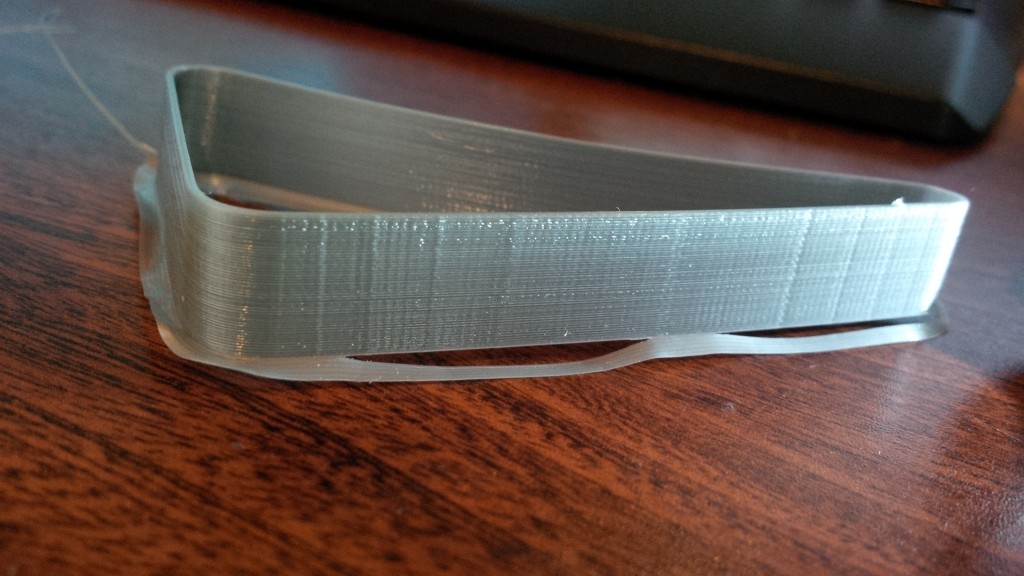
Here is my test piece. I printed a few. It does this with the UMO+ and Extended so far. The UMO+ is much more pronouced than the extended though, but same thing.
It looks a lot worse than it is in the picture because I used a flashlight to highlight the issue. But none the less it's there in both prints. Cura 15.01.
Someone have a different slicer they want to try on the same object?
I just printed your test:

Yep I get ugly artifacts. Both vertical and diagonal.
I'm not going to complain as I mostly print organic models and am happy with results like these:
(except for a lot of bad overhangs on the underside, which you never see anyway).
-
Well I kept my infill the same for all of my prints. Just messed around with acceleration and jerk on the firmware side and orientation of the print on the software side.
Sorry I didn't actually jot down which one didn't have the zebra stripes but I'm assuming it was the one I printed on a 45 degree angle since I only did that once and there is only one print I've done without the zebra pattern.
Can't reprint right now as I've got a few prints in queue already. Maybe in a few days I can come back to this.
-
Looking back at what I had printed there was one print that did not have the stripes, but had horrible overhangs. I think I printed that one on a 45 degree angle.

I printed a lot of these and kept no notes (shame on me I know).

I was really hoping to get rid of the artifacts on the hull of the boat so it came out nice and smooth.
-
I'd be interested in your findings. I've been trying to figure out those zebra stripes on my 3dbenchy test as well.
Reducing acceleration and jerk are helping. I'm doing a test with very low settings now.
-
No problem.
397,711 tris for the version that didn't slice at .06
258,350 tris for the version that did slice at .06
Somewhere between those two values is the cap

-
Thanks Daid,
I tried it on the file that wouldn't slice and same results. If I kept my layer height above 1 mm, Cura sliced. Python was 293,484K. If I change the layer height to a lower number (0.06 mm), Cura doesn't slice and Python is at 163,429K.
I remeshed my model in Zbrush and decimated it quite a bit and it printed in Cura 14.07 and 14.09. Weird thing was 14.09 wouldn't save out the generated Gcode for me last night. Slicing in 14.07 did allow it so that's what I used to generate my Gcode for this model.
Hope that helps. Let me know if you want me to test my file on another version of Cura.
-
Thanks guys!
I must be tired, I forgot that my original sculpt had a mouth bag which is completely unnecessary. I remeshed the whole thing in Zbrush and reduced the poly count to 250k triangles and Cura is slicing it at .06 mm like a champ.
I'll post my finished print later.
.
-
I have a model that I am trying to print at .06 mm layer height but Cura stops slicing the model almost right away. With a bit of exploring I found that Cura will slice this model at .1mm but anything below and it won't do it.
I've used Cura to slice many other of my models at .09 mm layer height so I know it can do it. I'm just not sure why this paticular model won't go bellow .1 mm.
Any ideas?
https://onedrive.live.com/redir?resid=59606A3E0C40358%2124376


silent ventilators
in Third party products & modifications
Posted
I desolate red the wires from both fans and resold red the one with the plug on the new fan. Just peel the sticker back a bit but It's easy to do and the neatest option.
Thanks, just picked up a soldering iron