

yellowshark 153
Sorry it was late when I posted and my brain was not engaged. What I said may work. But it is not really the solution because I do not understand why Cura would do that. If you want to send me your STL file I will have a look.

Sorry it was late when I posted and my brain was not engaged. What I said may work. But it is not really the solution because I do not understand why Cura would do that. If you want to send me your STL file I will have a look.
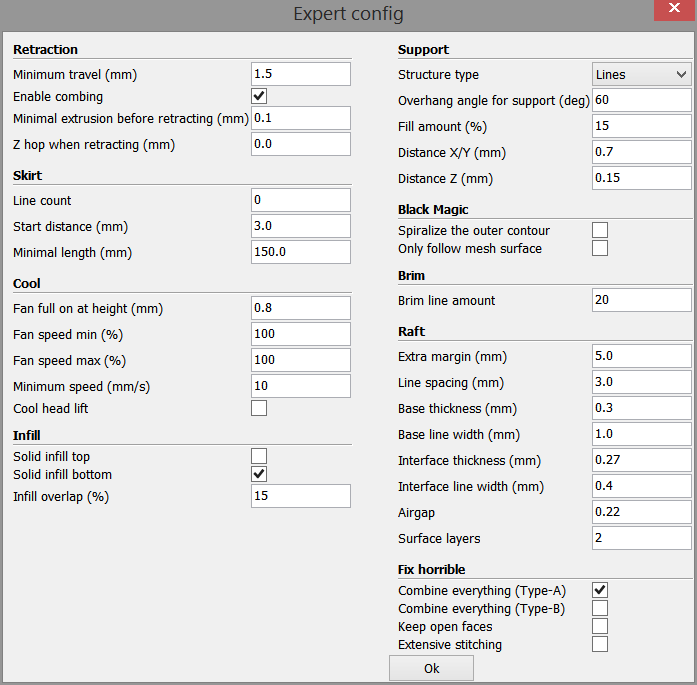
Do you have any of the a-b combinations on ?
in your case I think they should both be off
(bottom right)
Thanks for the advice, turning both a-b off results in this error though. 
Any other thoughts? Thanks
OK I loaded you .obj fie into Cura 14.07. Probably a different version to you and I got a different result, albeit wrong


I then loaded the .obj file into Meshmixer and ran Inspector

No idea what all those pointers are but presumable errors.
I saved it as an STL file then loaded the STL into Meshlab and visually it looked fine. I displayed non-manifold edges and got 1668 non manifold edges over and 5961 faces over the non-manifold edges. As you can see they all seem to be around the top of the model.
(edited to correct the picture)

I then loaded the STL file into Netfabb Basic and got an error during loading

I tried loading the .obj file and that loaded successfully. Doing a health check though reported that the mesh was not closed and was not orientable.
In the background whilst all this was going on, I had loaded the STL file into Repetier Host; it was hung during or at the end of the intersection tests.
I tried fixing the model in both Meshmixer and Netfabb but failed. Playing around with meshes is not my strong suite – hopefully someone else can help!
I loaded the mesh into InStep which reported 7,545 errors including 1950 pierced facets, 4000+ unattached edges.
There are 122 bodies in the mesh. I am guessing that all the bits of corn are separate bodies and where thay have all been joined together, it has not gone very well.
Cura's X-Ray view will most likely help you idenfiying the issue as well.

ArunC posted a topic in UltiMaker Cura,


ArunC posted a topic in UltiMaker 3D printers,


Recommended Posts
yellowshark 153
Set infill to 100% Go to Expert tab and select Expert settings... At bottom left under Infill do not check the box for Solid Infill Top.
Link to post
Share on other sites