Jump to content

Brains!


Axe

Recommended Posts

New to 3D printing, but not to modelling (experienced with Rhino, ZBrush, C4D, among others....).  This, however was a bit of a new experiment for me.  Printing my own brain from a 3D MRI dataset.  Always wanted my brain on my desk.....

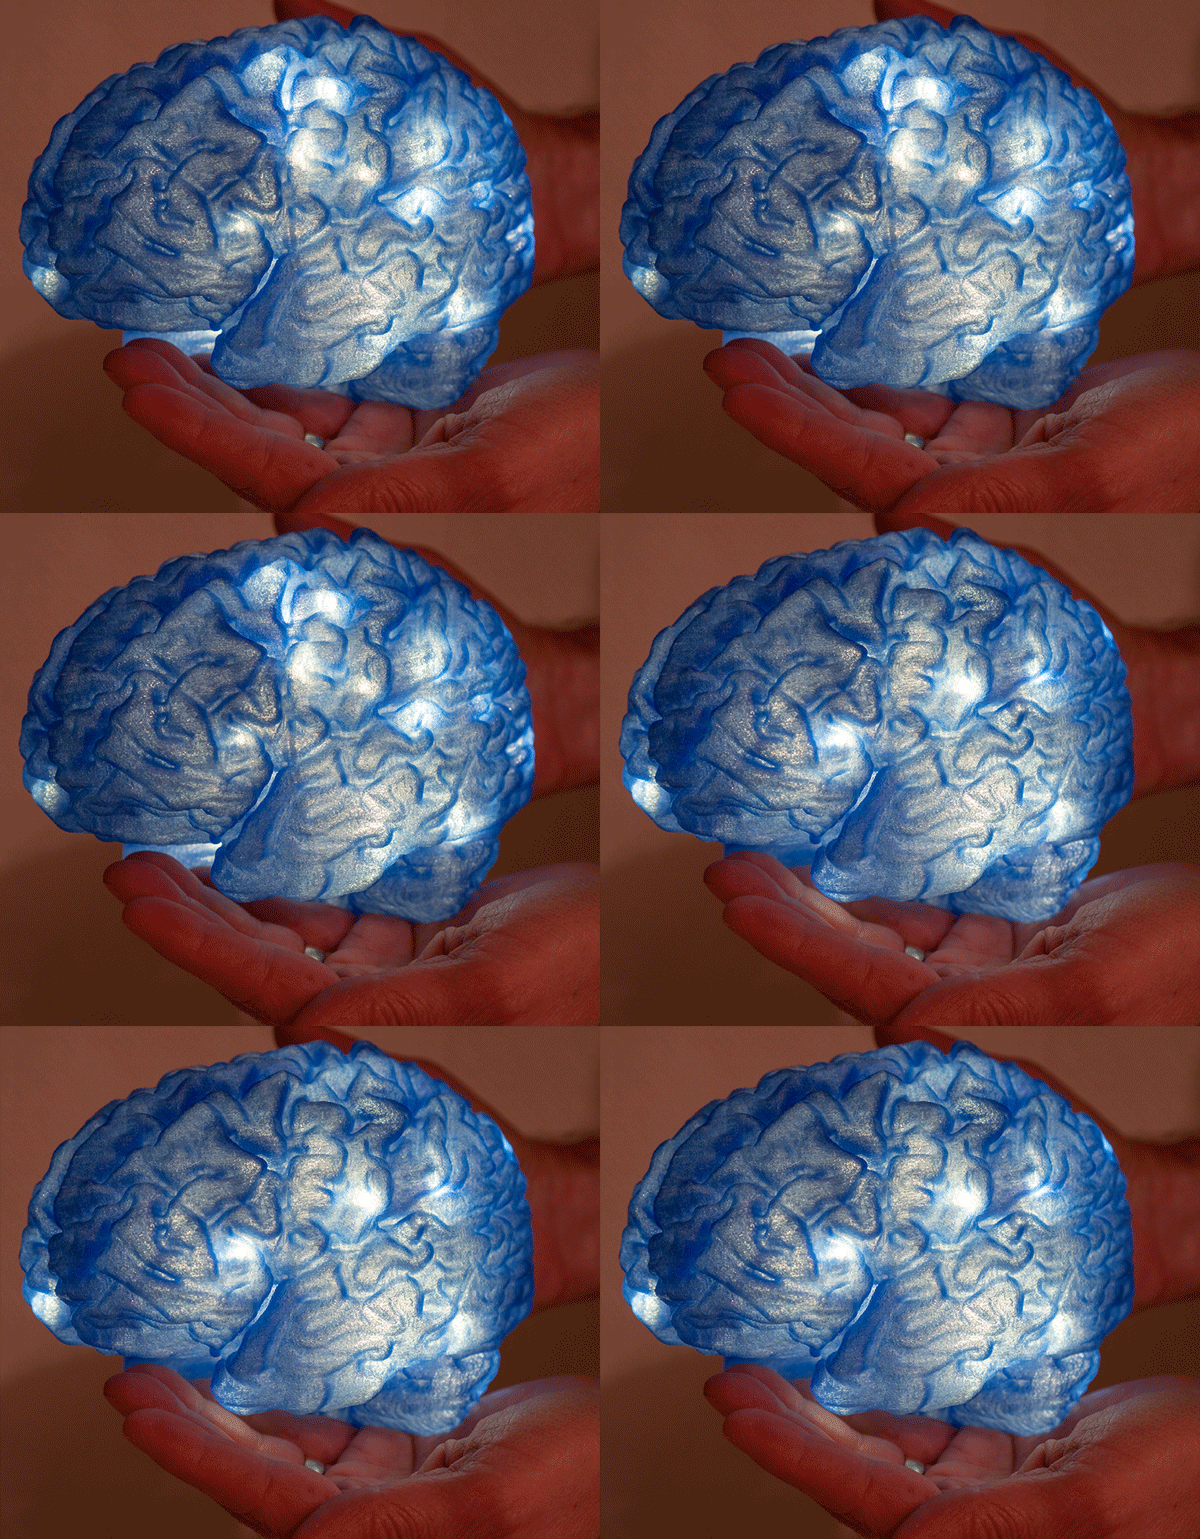
This first one I sent to Shapeways to get printed through laser sintering.  Expensive, so I only got it printed 80% of actual size (and hollow).  Figured it would nice with lighting inside, and I couldn't resist putting the lightbulb over it - for when I want to signal I had a good idea!


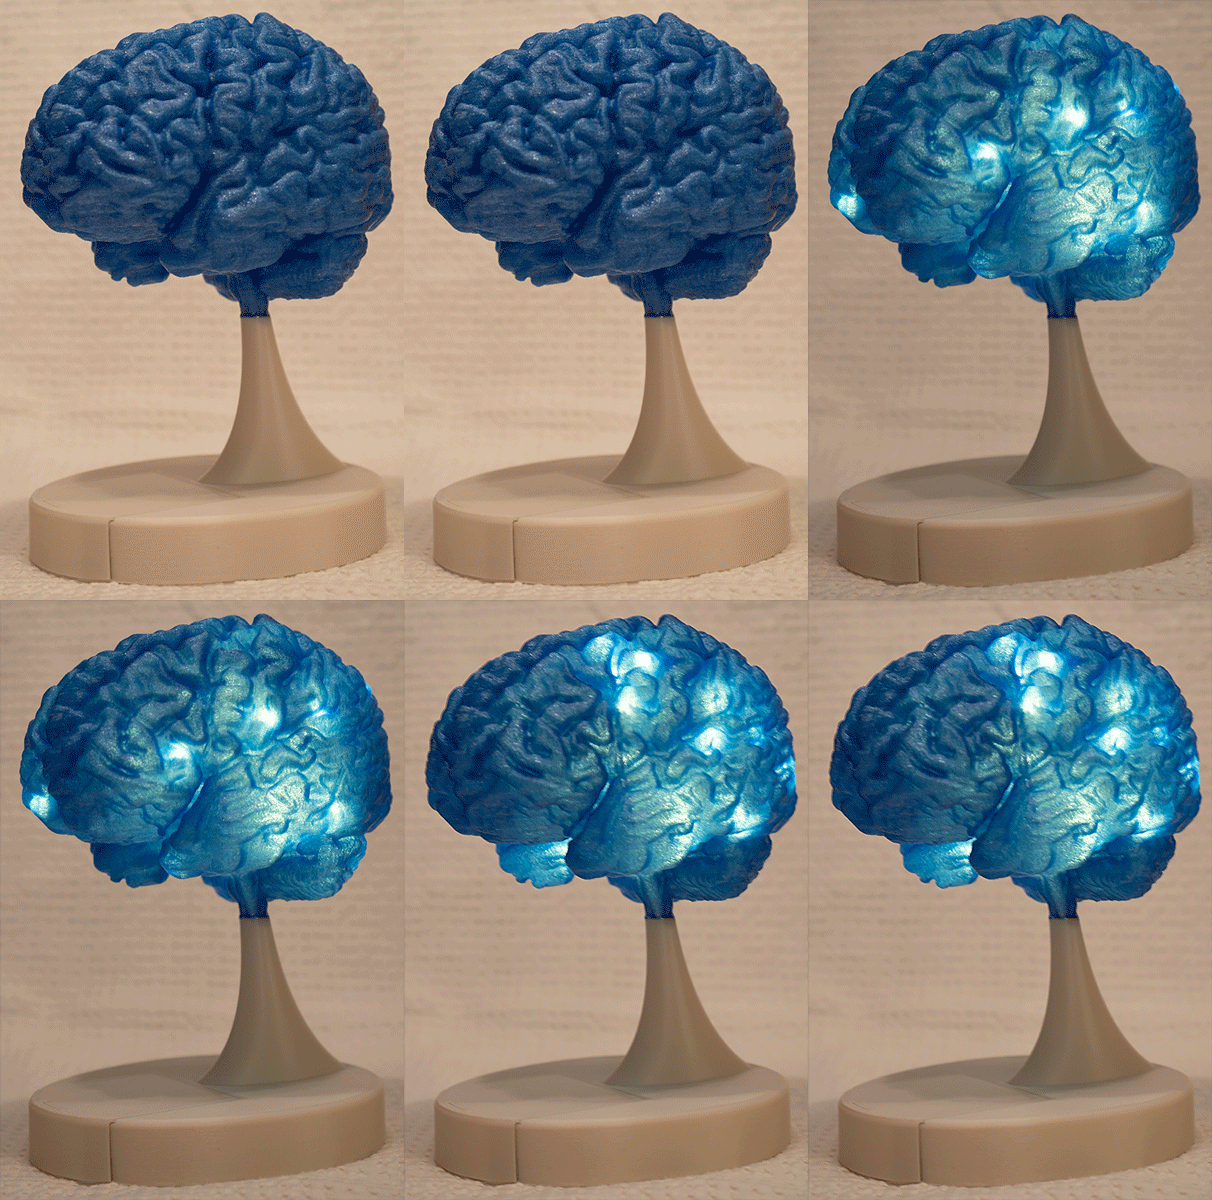
I now have a Ultimaker S5, so I printed the second one full size out of Translucent Blue PET/G.  The most expensive part was filling the hollow structure with PVA.  Used half a spool for that!


Hope these animated GIFs attach properly - haven't posted before......

Brain_02.gif

  • Like 4
Link to post
Share on other sites

I'l love to put the other GIFs here, but I keep getting error "-200" even though they are under the kb size limit.  Anyone know what that means?


  • Link to post
    Share on other sites

    Posted (edited) · Brains!

    Ok, here's another try....  Had to upload them to my website then link them here.


    Brain_03.gif

    This is the first one showing how I made it into a lamp.


    3 different intensities depending on how "bright" my ideas are..........

    Edited by Axe
    added info
    • Like 1
    Link to post
    Share on other sites

    And on its stand (stand printed in Ultimaker Pearl White PLA).  The stand has a compartment for the battery pack/controller for the LED lights with a sliding cover.


    Brain_13.gif


    I think my wife might get tired of my brains spread around the house......


    • Like 2
    Link to post
    Share on other sites

    Posted (edited) · Brains!

    I loaded the DICOM file onto a proprietary workstation and used the MRI vendor's software to export an STL file.  I needed to do quite a bit of editing/segmenting to remove the skull, vessels and other soft tissue before generating the model.  I may try using "Slicer" next time as I understand it has pretty decent segmenting tools and is free (so I can do it at home instead of at the MRI site).

    After export I loaded the model into ZBrush to do some further clean up before re-exporting from ZBrush as another STL.  Fairly labour-intensive. 

    Also used ZBrush to hollow out the model, leaving the walls just under 2mm thick.

    Edited by Axe
    added info
  • Link to post
    Share on other sites

    Create an account or sign in to comment

    You need to be a member in order to leave a comment

    Create an account

    Sign up for a new account in our community. It's easy!

    Register a new account

    Sign in

    Already have an account? Sign in here.

    Sign In Now
    • Our picks

      • Introducing the UltiMaker Factor 4
        We are happy to announce the next evolution in the UltiMaker 3D printer lineup: the UltiMaker Factor 4 industrial-grade 3D printer, designed to take manufacturing to new levels of efficiency and reliability. Factor 4 is an end-to-end 3D printing solution for light industrial applications
          • Thanks
          • Like
        • 3 replies
      • UltiMaker Cura 5.7 stable released
        Cura 5.7 is here and it brings a handy new workflow improvement when using Thingiverse and Cura together, as well as additional capabilities for Method series printers, and a powerful way of sharing print settings using new printer-agnostic project files! Read on to find out about all of these improvements and more. 
         
          • Like
        • 26 replies
    ×
    ×
    • Create New...