

valcrow
-
Posts
732 -
Joined
-
Last visited
-
Days Won
4
Content Type
Forums
Events
3D Prints
Posts posted by valcrow
-
-
But why does only 1 side warp funny? And then how does it eventually re-attach slowly?
-
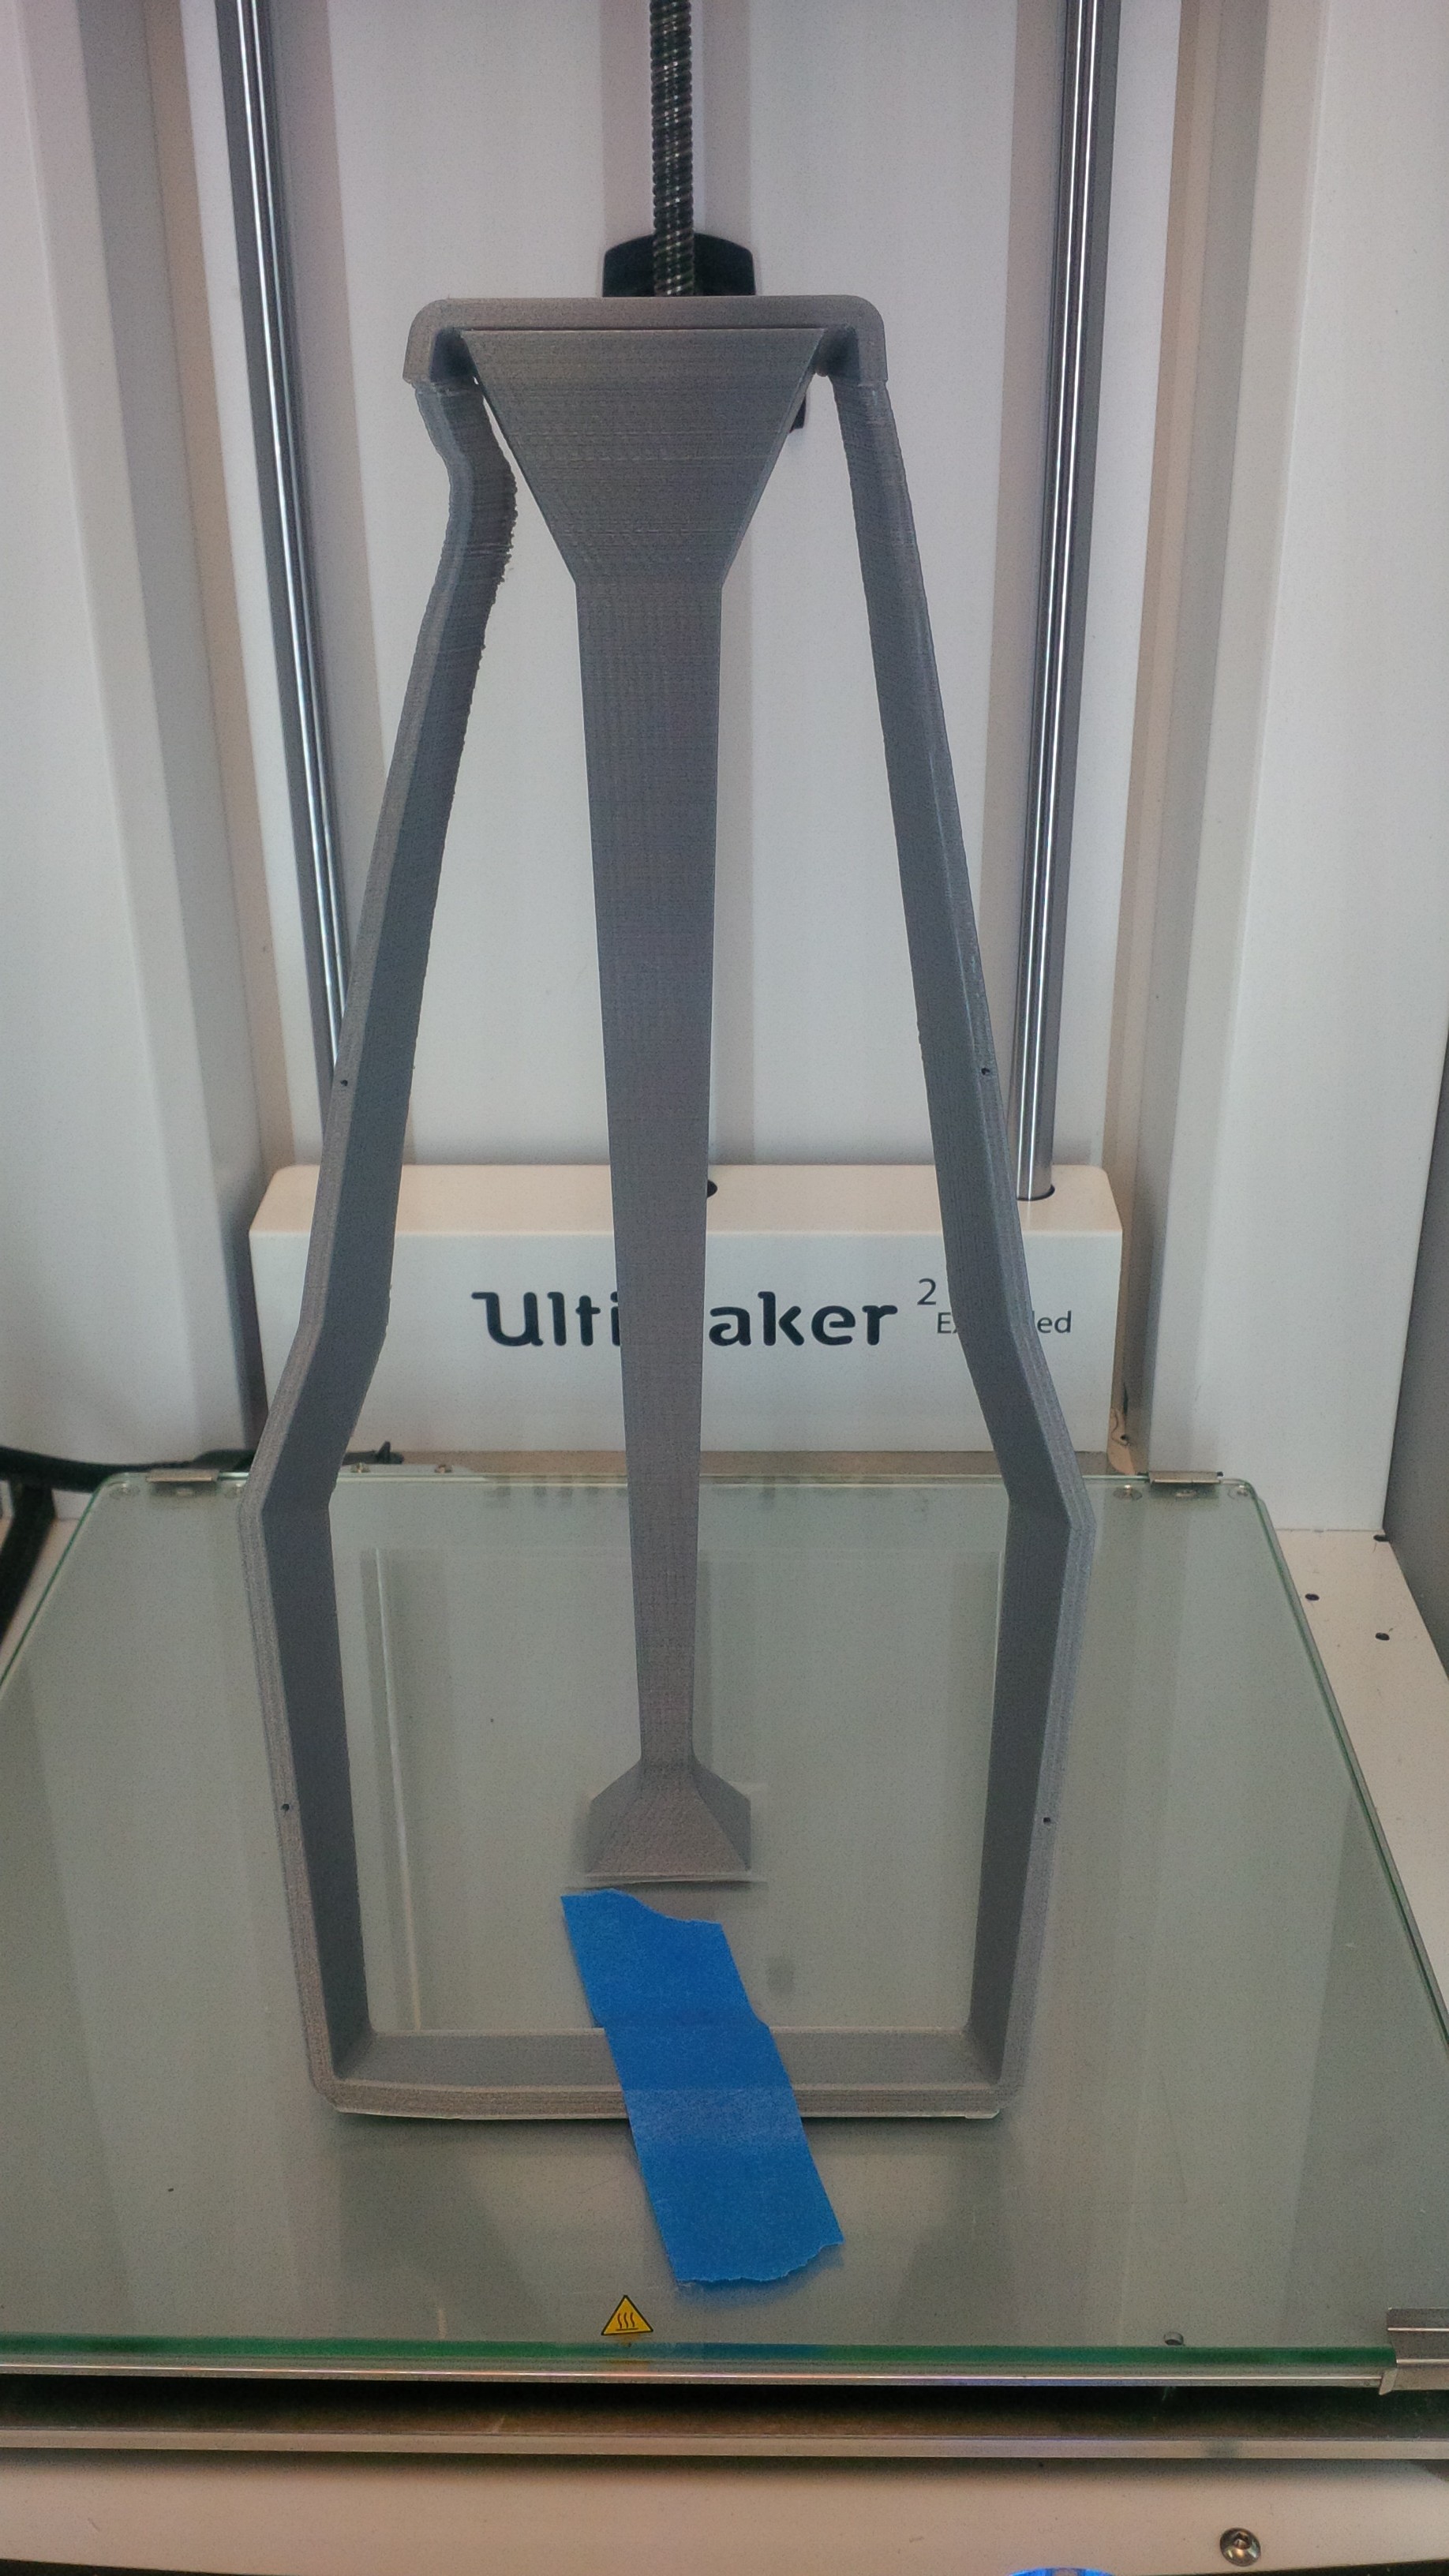
I have also a strange one, similar problem I can't explain:
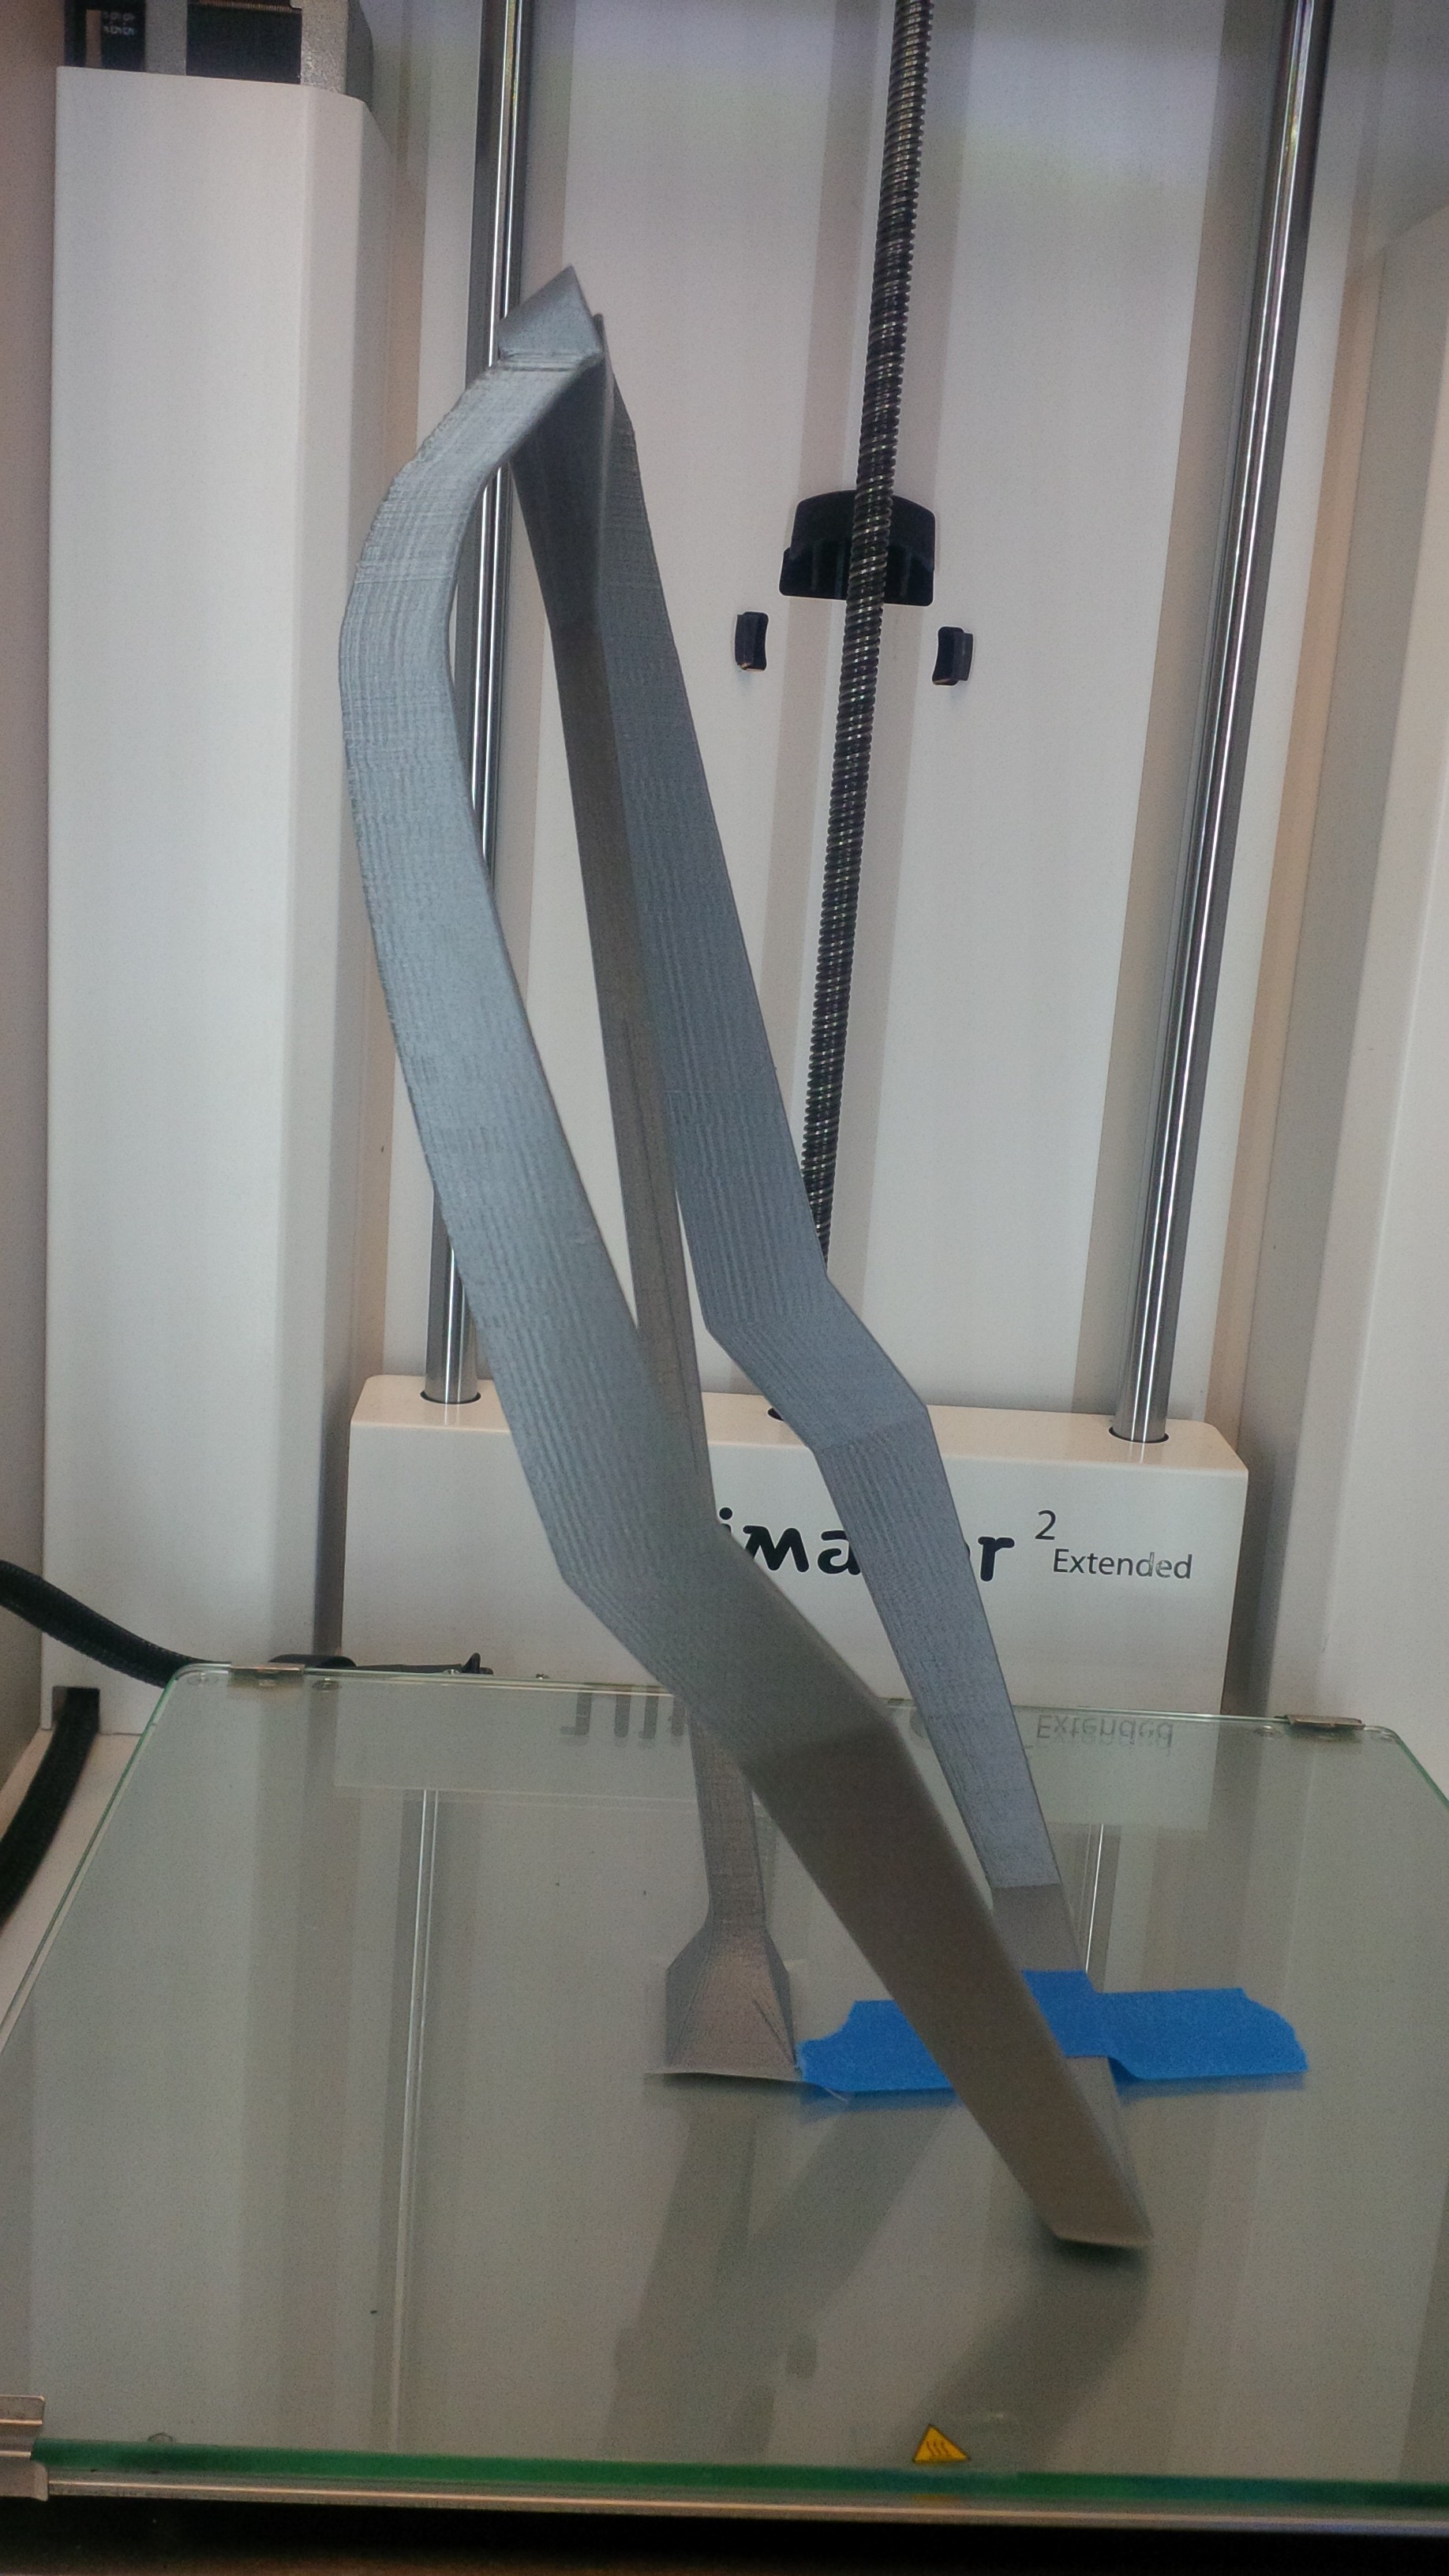
It's suppose to be straight, but for some reason it's curved and somehow connected back to where it was suppose to.
Here's another angle. This object is suppose to be symmetrical.
-
That one's got some of those old school pink LEDs.

-
A mechwarrior!! :mrgreen: +like for Daid

I print lots of small parts and attach them together with small printed pins. Not quite as small as Daids, but I mirror his comments.
Low temp + slow speed is the way to go. Also there's some PLA that's more viscous than others, I find the viscous ones work well for small parts as they don't ooze as much. I print small single parts like pins at 40mm/s @ 30%-50% on the controller.
Orientation is most important for details for small parts I think.
How big is this part and what size nozzle did you use?
Thanks
Whoa, Blast from the past. It's about 2.5" tall, certainly larger than most mini figs. On a standard 0.4 nozzle on an UMO. (not even a plus.) Did we even have 0.25 nozzles back then?
-
I usually level by eye, if you watch the reflection and guestimate 0.5mm you'll be in a good place. Do a print and fine tune the adjustment as it prints and done!
One problem with the paper method is sometimes people forget they actually slightly push the bed down just a touch at the extremities (front left and front right) resulting in slight inaccuracy. (I say slightly lots because its like 0.02mm or something)
One way I use to remember which direction to turn the knobs, if you tighten screws, things get closer, so logically the glass will get closer to the aluminum thereby moving away from the nozzle. If you loosen the opposite happens. Keep this in mind the next time you do it and it will become intuitive soon enough!
Or perhaps I've just leveled one too many beds...
-
Oh, I'm not ready to take my new printer apart...
It's actually quite friendly to take apart and put back together. But I hear ya. Glad to hear it's printing!
-
This is almost certainly bad geometry, missing, double or interpenetrating faces. You should plop your STL into a dropbox or similar service and have someone check it out.
-
What likely happened is you missed the instructions on screen. When you insert the material and it does the slow crawl, you're only suppose to wait until the filament gets into the clear tube. Then you press the button. It will then Fast forward the filament all the way to the nozzle. If you wait until your filament slowly reaches the nozzle and THEN you hit the button it'll grind the crap out of the filament since it thinks it needs to forward it all the way to the tube.
To remove the filament on the new feeder, it's much easier than the old feeder actually. Heat your nozzle up to 210, there's a little lever on the side of the feeder push and hold that up while you pull on the filament to take it out.
Little patterned diamond notches on the filament is completely normal. This is the bolt biting into the filament in order to move it forwards or backwards.
When you pull the filament out you will likely see a big semi-circle chewed out of the filament. You'll need to cut it off right before this area before trying again.
-
 1
1
-
-
It looks like your left wall has no thickness
-
Are you leveling with the nozzle on top of the 3 point screws? You shouldn't be leveling the back left and right or you'll go insane since you'll be leveling 4 points with 3 point leveling.
This is what I would do:
Level the Center back position first, with the nozzle directly over the screw. Tighten the screw until you feel a bit of the spring tension. You want this somewhere in the middle in terms of tension so you can loosen or tighten later.
Adjust your Z-end switch so that it approximately clicks at that position.
Now fine adjust the leveling screw in the center back so that the glass is paper length away.
Do the same for the front left and front right corners (again directly over the screw)
This should get you pretty level. Print this pattern and fine tune the screws until you get your nice smoosh, and proper sticking. (scale by 2x) https://www.youmagine.com/designs/bed-level-pattern
-
When does the error occur? When you start a print as it's heating up?
To remove those screws, lift the bed up and use the screw driver/allen key on the top side, and hold the nuts in place on the bottom side (as in your picture)
-
I'm gonna take a wild guess and assume this is about print settings. Sorry I can't type german or dutch? I dunno...
Anyways, these are the settings I've had success with:
Layer Height 0.15mm
Shell thickness .8
Fill: Top/bottom thickness 0.6
Fill density: 0
Print speed 40mm/s
No support
nozzle 0.4
Initial layer thickness 0
Travel speed 170
Bottom layer speed 15
All other advance speed values: 0
minimum layer time 10
Here's the catch though. While the above prints better for a visual model, it makes it too heavy... Ideally you print with 0.4 perimeter, and hollow (even better on 0.25). But it is much more difficult to get a good print.
Obligatory picture.
-
1
-
-
I like innofill, started using them recently and it's been great! did 4x 30 hr prints with black (usually my most troublesome color) and printed without a hitch. Because of PLA's glossyness, every imperfection shows up like a glaring error so I'm glad it printed nicely.http://www.redicubricks.com/wp-content/uploads/2015/12/IMG_20151214_181243-686x1024.jpg
There are only a few filaments I would trust to leave for 30 hrs and be somewhat confident that it would finish without random underextrusion. and that would be innofill, colorfabb and Ultimaker filament. (heh, all dutch filaments)
I've also heard good things about Atomic and Faberdashery filaments but haven't tried them myself.
Lastly, make sure you get 2.85mm filament. Some 3.0 exists and can give you a hard time as it gets tight in the bowden tube if it's on the high end of the tolerance.
Oh yeah, and colorfabb & innofill spools fit natively on the spool holder on a UM2. Faberdashery comes in loose coils (which makes it a bit of a write off for me)
-
1
-
-
It really depends on the size of the model you're printing. You should import your model into cura, and zoom out until it's almost real life size. If you see large facets, you will likely see them in your print. If it looks mostly rounded/detailed, you're good to go.
Generally zbrush models are already way high in polycount for 3D printing.
If you have too many polys it will simply slow down your slice and you won't gain any additional detail in your print. So judge by the size you're planning on printing and adaptively decimate.
As a guideline, if you imagine a 4cm diameter cylinder, 160 segments would be a good place to be to make it round and not facety. You need less for mechanical shapes.
-
Have you done an atomic pull recently? If you have, post the result.
Usually you can tell by the shape of the pull if you need to replace the PTFE coupler. If you have trouble doing an atomic pull at 90C, as in the whole nozzle assembly moves with the pull, then you've likely got a pocket in your PTFE and needs to be replaced.
4-5 months of use is probably around the time where you have to change it out.
-
So let me make sure I completely understand...
Olsson Block - Already got it (just not installed yet - Christmas present)
Improved Shroud - Have a similar printed model
Removal of spring - Have a similar printed model
TPM coupler - Have a small supply of TFT coupler from gr8
Improved glass clips - ehh
35W heater - Already got it (just not installed yet - Christmas present)
Improved PT100 - can buy as replacement part
Feeder - only available in upgrade kit
man, I really love what you guys decided to do. When I got my 2, there were a lot of parts I needed to print to make it work as good as I needed it to. Looks like it's all part of the 2+ . I'll be interested to see how well the feeder holds up as that seemed to be most of the issues with my PLA printing. Cheers, will upgrade soon

The new feeder is really nice. It allows you to manually decouple the tension so you can yank or feed the filament manually. (something I miss from the UMO days).
The other thing is it feels much more consistent and reliable. I think the print quality is up a wee bit probably because of more consistent extrusion rate, and it feels much more reliable to an already reliable machine. When doing those long 24hr overnight prints, I feel much more at ease with the +.
My UM2 occasionally does a layer or two of slight under extrusion when I have a lot of retractions going on, but the + seems to handle that a lot better.
It's also a little bit quieter, but this could be because I have an older UM2.
-
Funny how everyone says that filament absorbs moisture and goes bad. and here you are dunking it in hot water.

I have a few spools that are crackly as well. You guys are doing some great science over there.

-
Aww you could have at least given the dog the proper credit
I think Hayley the dog is mentioned in most of the videos descriptions. She got plenty of credit!
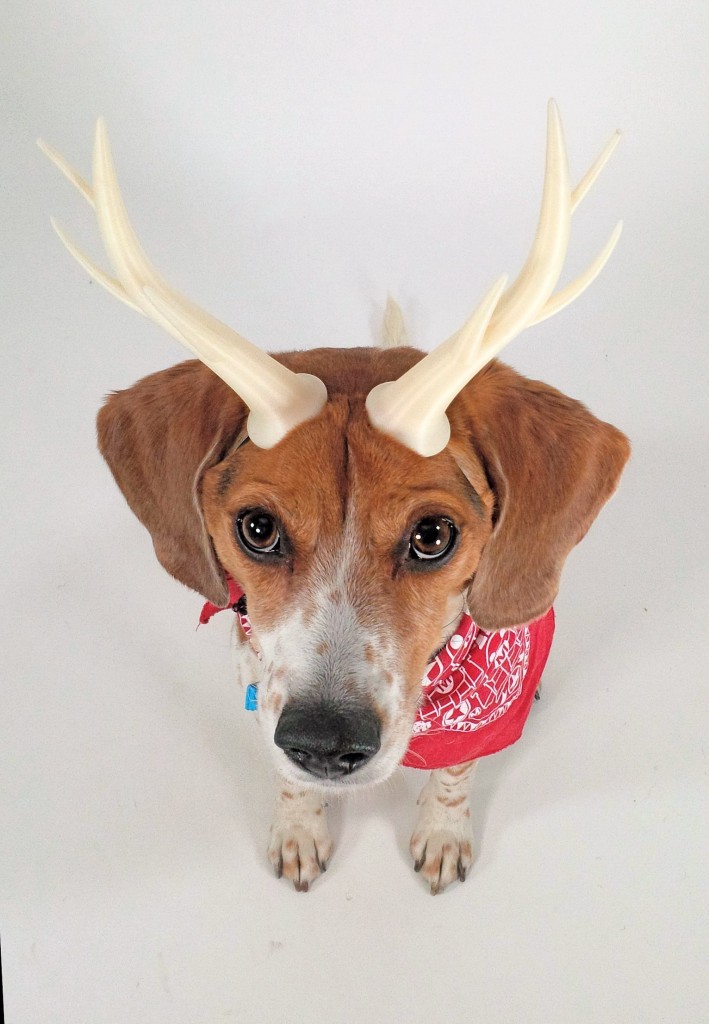
Hayley is an 8 year old field beagle. She's a barrel salesdog, and a part time theif/escape artist.

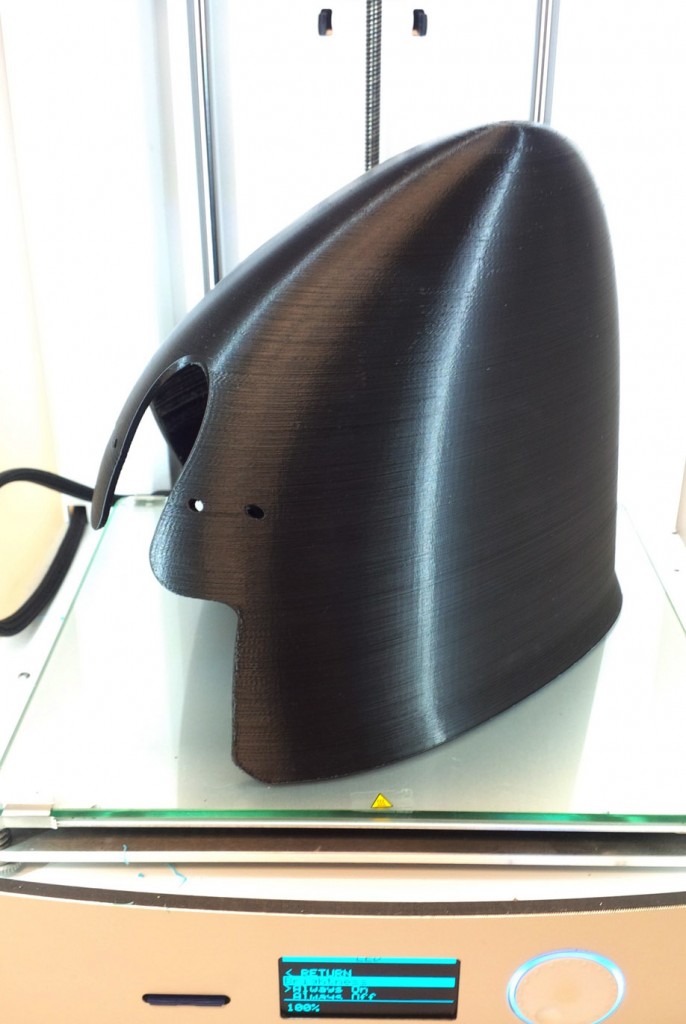
Unfortunately, she recently lost her vision. (sudden degenerative disorder)
My crude attempts at making her a 3D printed collision halo. While it works... she doesn't like it. and would rather bump into things herself and figure out where they are. (it's a beagle independent spirit thing)
But that doesn't stop her from being a star!
 ha ha , so you glued that on the poor creature.... you better hope PETA won't see it
It was stretchy cord! the fur helps hide it.
You guys know how difficult it is to get a blind beagle to sit on a moving apple box, on a turn table and 'look' at the camera without sniffing? Hayley goes to great lengths just for you guys.
Hope everyone had a wonderful Holidays!
-
7
-
-
Does the ulti-controller show anything/respond?
-
I tested the UM PLA FLEX a few days ago. And was very impressed! It is FAR easier to print than Ninjaflex, but not as flexible.
I printed on a stock UM2 with standard feeder, and it printed great first time with PLA settings. I printed at 15mm/s, but I think it could have gone faster. I never had any luck with Ninjaflex at anything faster than 15 so thats where I started.
I printed a hollow ducati tire, and it came out flawless. Looks better in real life than the picture.
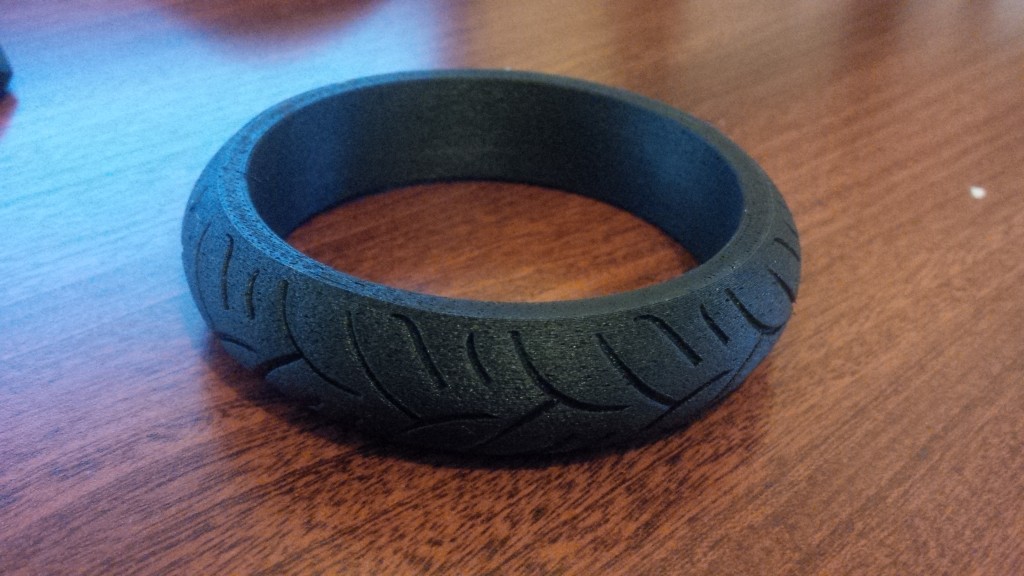
The layer bonding doesn't seem quite as strong as ninjaflex (it tends to crack along the grain if its bent sharply) but it certainly has a much better finish. Slightly harder than Ninja flex as well. But at least it requires no additional tinkering of your machine.
-
Thanks Valcrow, think I'll give it a shot. What's the worst that could happen
Really annoying clogs. When it does clog it's not quite as easy to clear as normal PLA because of it's stretchy nature.
-
You can do it. I printed it on a stock UMO+. It's kinda like a wet noddle inside the tube. but it somehow works. You need to slow it down to about 20mm/s however. And it feels like you're printing with nozzle ooze. but it works.
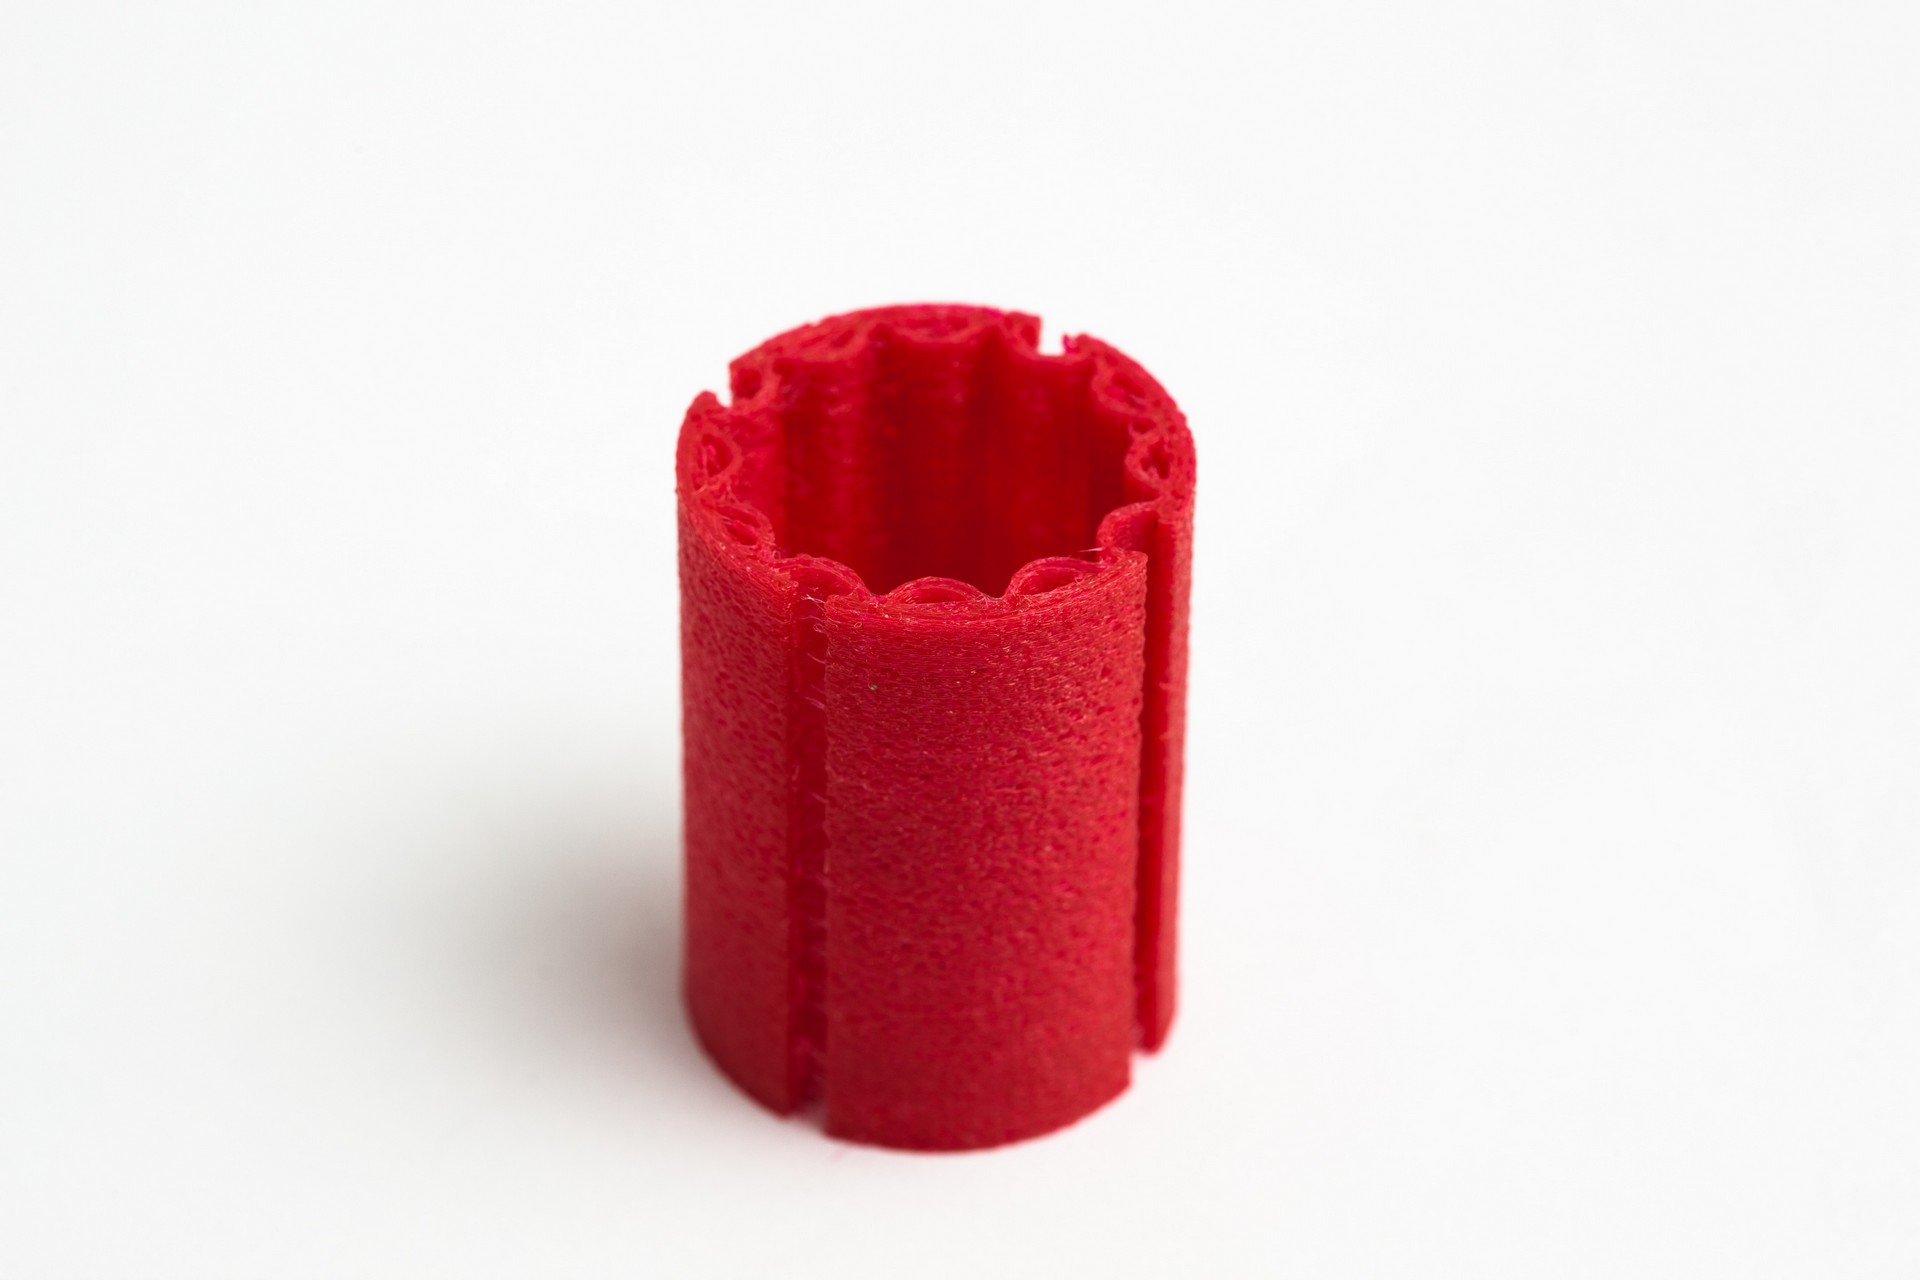
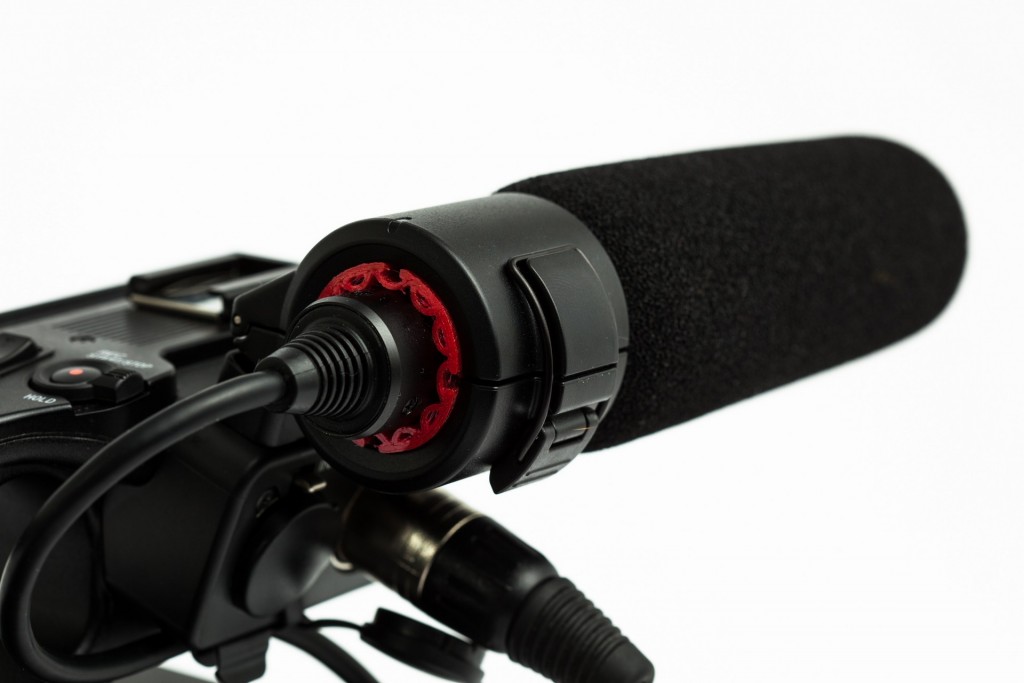
Here's a Mic Shim I made for an FS7
And a bency (middle)
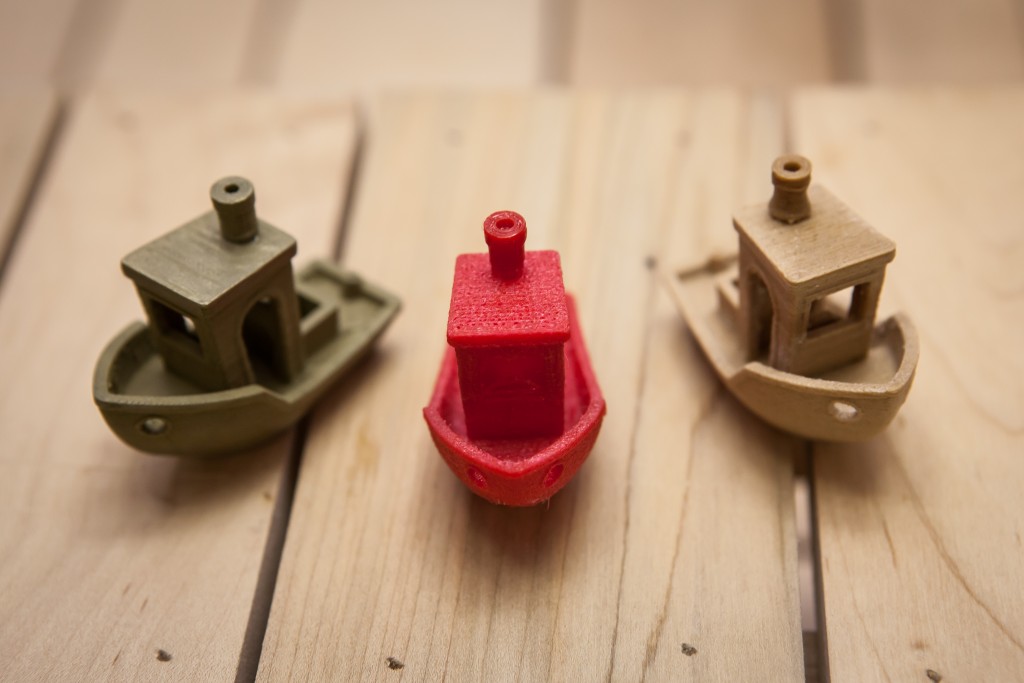
The others are woodfill and bronzefill.
The finished texture is like a slightly pourous rubber. I could be under extruding or going a little too fast however so mine has a bit more air gaps than normal.
You can use this to your advantage though. If you purposefully under extrude you get an even softer shape. It's also quite strong, it stretches a decent amount and difficult to rip.
Most people recommend Rober's extruder if you plan to print on a UM2.
-
1
-
-
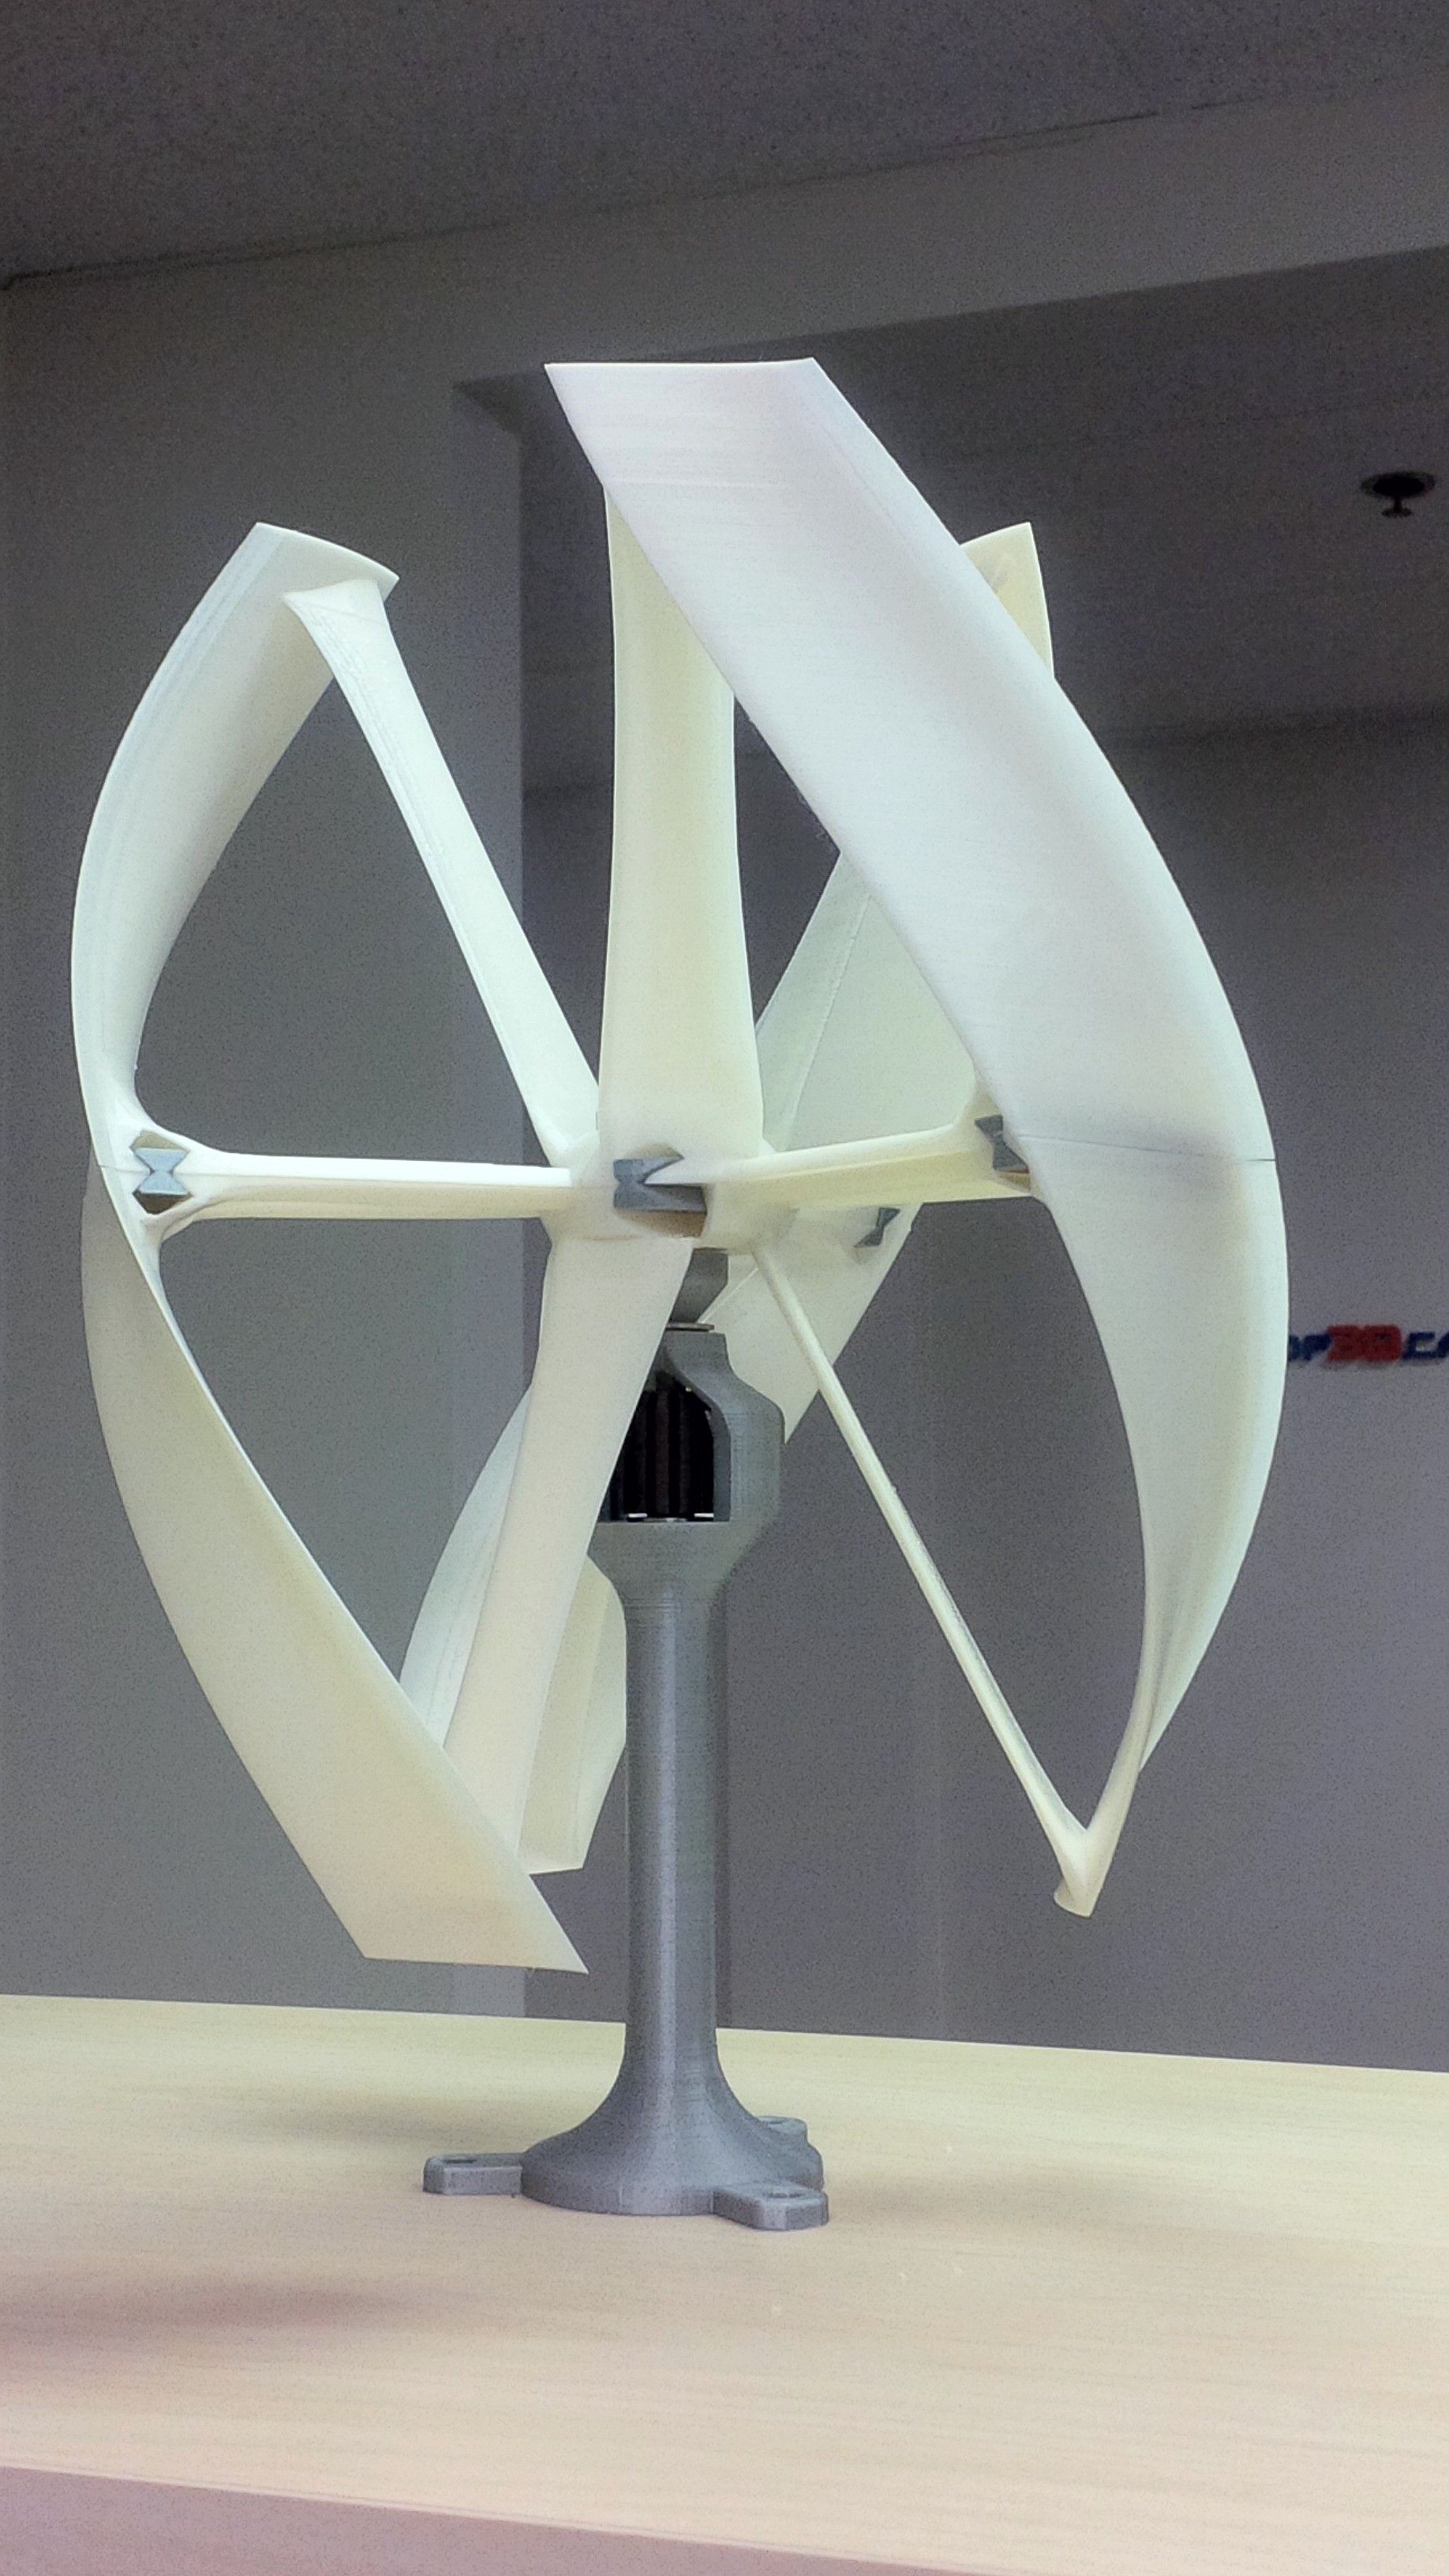
ksn-arts
Looks superb!! awesome design and print.
Are you left handed? Cylinder swings right?
-
Those are some strange symptoms... Is your motherboard fan OK? the older UMO's have some notoriously bad mobo fans, and the lack of cooling on the stepper drivers make it do some crazy things that I would not have thought possible.
On a side note, this is the cleanest 4yr old UMO I've ever seen. Mine was more mess by the first week.


Community Contest, let's hear it!
in Coffee corner
Posted
How about a custom support modelling contest? Where you get a really difficult to print model and have to design, mesh mixer, or tweak cura settings in order to obtain the best results.
Support is something that I see every printer still struggling with (and Cura too) A lot of the times I still end up creating my own supports to ensure a good clean break/print. And it would be quite informative to see what other people are doing to combat difficult prints.
Winner goes to the one that can produce the cleanest print with the least amount of support material. And you can include everyone into the mix, people who model, who use mesh mixer, or even just cura.
an example: