Jump to content

Best strategies to counter ooze-related "toolmarks" on smooth, flat top surfaces?


Recommended Posts

Posted · Best strategies to counter ooze-related "toolmarks" on smooth, flat top surfaces?

Hey folks!

I'm fighting "toolmark" scratches that can happen on flat top surfaces with bowden-based printers when using the marlin-targeting slicers like Cura and could use help. The slices don't tend to actually be toolmarks from the nozzle, but are from tiny bits of ooze that cool in place below the nozzle and can scratch the piece if the toolhead is moving with enough force.

MaterialsSwatch-Toolmark.thumb.JPG.59a6fa8b3746f09bafc09154461c8a29.JPG

I'm printing a whole host of smooth flat objects like the file above (designed by Michael Curry), and would love to hear the strategies that you folks are using to get around this!

#1 - Activating Combing, Increasing retraction length, Trying z-Hop (ie what didn't work for me yet)

My first guess was that I needed to ACTIVATE combing, tune retraction, and try z-hop -- but talking with some hardcore slicing optimization gurus like George and Simon, I learned that most folks are actually finding that doing the opposite of expectations because the current cascade does not produce the intended results.

Also, what elements of combing and retraction + z-hop in Cura are currently in active development? I'd like to troubleshoot with a lot of printing and bracketing, and don't want to mess up and find a workaround for a feature that is actively changing!

IMG_9181.thumb.JPG.b1b436548149d3a0b0236eb188d7e230.JPG

#2 - Hiding scratches in other skin strategies

The suggestion to jump to concentric skin top/bottom layers does help (as you see above) but does feel like a cheat because there really are still tiny scratches.

#3 - Injecting manual gcode for either skin-only z-hops or to redirect the travel away from part without using combing

This seems promising -- I have tried this a bit, but am feeling like I should either use or try to create a plugin. Because this is frustrating with so many materials to experiment with, with different profiles to open!

#4 - Cura slicing tool sorting hacks

This is beyond my skill set, but i've heard that fixing this for flat objects in specific can work in tools like Cura and Slic3r by flipping the order of the slicer tools related to retraction and travel -- and that a large part of the issue are complexities introduced by acceleration strategies making it more difficult to make sure that ooze is not an issue. If anyone has an active experiment working along these lines, i'd love to learn more!

  • Link to post
    Share on other sites

    Posted · Best strategies to counter ooze-related "toolmarks" on smooth, flat top surfaces?

    If using z hop then it doesn't really matter if you have combing on or off. But you would want to set the height of the Z hop higher then the length of the amount of ooze.

    In saying this z hop can add it's own flaws. But this is down to what you deem acceptable.

    But you could use retract while combing plugin.

  • Link to post
    Share on other sites

    Posted (edited) · Best strategies to counter ooze-related "toolmarks" on smooth, flat top surfaces?

    I can't seem to find the article now. But there was one guy who printed a 1 layer thick box as a top surface over everything. This obviously filled in the holes, but gave a nice enough consistent top finish with a bit of exacto work required to cleanup. (not sure if it's practical since you're mass producing these things)

    I know you'll wanna hit me for suggesting it, but vertical print? :D

    IMG_20160216_175128-1024x576.jpg

    Hear me out! So you can print like 4 of these on a buildplate at a time right? vertically, you could run 10 or more stacked per printer. Optimize for ~16 hr runs overnight and you may get around the same number of prints per day with better quality.

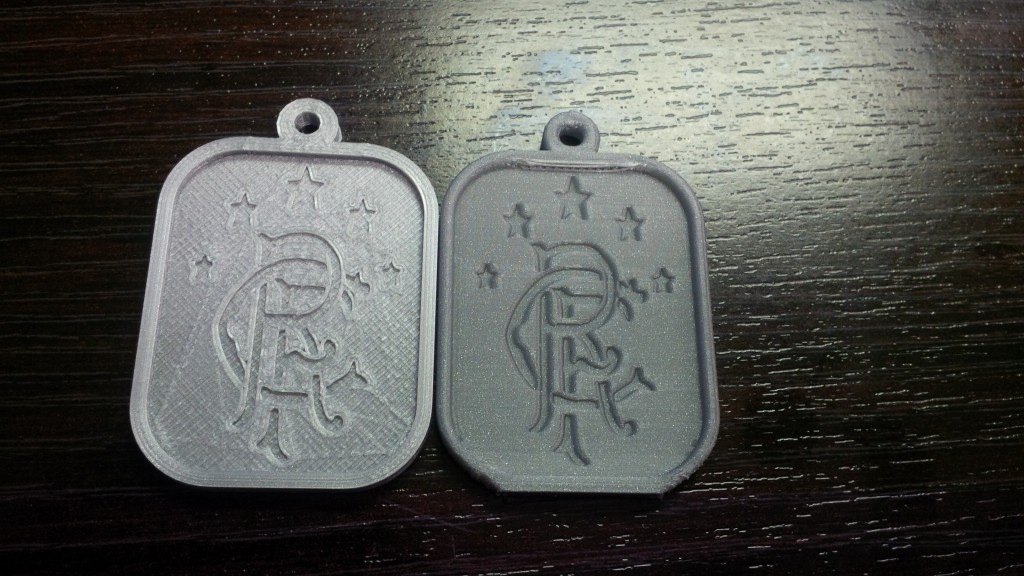
    In some cases, (the image included) the print times are not dramatically different from vertical to flat.

    Want me to take a look at the STL?

    Edited by Guest
  • Link to post
    Share on other sites

    Posted (edited) · Best strategies to counter ooze-related "toolmarks" on smooth, flat top surfaces?

    We have a support article on this since a long time ago, perhaps it helps? It also describes and links to the thick box trick that Valcrow references. Start here:

    http://support.3dverkstan.se/article/23-a-visual-ultimaker-troubleshooting-guide#scratches

    Edited by Guest
    • Like 1
    Link to post
    Share on other sites

    Create an account or sign in to comment

    You need to be a member in order to leave a comment

    Create an account

    Sign up for a new account in our community. It's easy!

    Register a new account

    Sign in

    Already have an account? Sign in here.

    Sign In Now
    • Our picks

      • Introducing the UltiMaker Factor 4
        We are happy to announce the next evolution in the UltiMaker 3D printer lineup: the UltiMaker Factor 4 industrial-grade 3D printer, designed to take manufacturing to new levels of efficiency and reliability. Factor 4 is an end-to-end 3D printing solution for light industrial applications
          • Thanks
          • Like
        • 3 replies
      • UltiMaker Cura 5.7 stable released
        Cura 5.7 is here and it brings a handy new workflow improvement when using Thingiverse and Cura together, as well as additional capabilities for Method series printers, and a powerful way of sharing print settings using new printer-agnostic project files! Read on to find out about all of these improvements and more. 
         
          • Like
        • 26 replies
    ×
    ×
    • Create New...