


owen
-
Posts
675 -
Joined
-
Last visited
-
Days Won
1
Content Type
Forums
Events
3D Prints
Posts posted by owen
-
-
Yes, your print looks good. It will be interesting to see how your experiments go.
Did you mean my print, or did thedudevt post pics somewhere?
Yep, your Yoda print in this thread.
-
I think this calls for an experiment! I will slice (NetFabb) and print Yoda at 190, 200, 210, 220 to see for myself what the differences are in that range.I will then slice Yoda with SkeinPyPy and print at the best temp from the first experiment.
Kyle
Yes, your print looks good. It will be interesting to see how your experiments go.
-
It looks like you're getting somewhere. Thanks for keeping us all informed. I notice your fill is fairly sparse. Was that the same as your first prints?
-
When i set fill spacing to 0.0mm i still get the hatching (filling) rather than solid layers which you get on the top and bottom layers.
I am not sure what up and downskins are, i am still pretty new to all this
 if its the top and bottom layer maybe, then these layers are
 solid, but the top layer is thicker than the bottom layer, would be nice to have them the same thickness.
Jonathan
Hi
If you have calibrated correctly the cross hatching will almost totally fill but could be made to fill totally by turning it up more in the rpm setting in Netfabb, but if you go over than you get a bad print.
Downskins = bottom layers, Topskins = top layers also adjustable when editing a style.
-
I've been using 220 after getting some delamination at 200
I can't imagine you could go much lower if you are getting delamination.
Like Daid said your actual temp might be lower than your reading.
I used to print at the lowest temps but have raised mine to 210 now with more consistent results and better prints.
I have found Marlin firmware seems to give a much steadier and smaller temperature range which helps too.
I get a lot of warping though and although I've tried a lot of the things to help, which haven't been helping, I think it might come down to the particular filament more than anything.
-
I have now got Printrun working, so i plan on trying Daid's "Build-my-marlin" firmware which i understand does not
work with Rep26, but works fine with print run.
I have not tried this myself. But the "build-me-marlin" firmware might work with RepG26 if you change the baudrate to 57600 and disable software endstops. The marlin inside RepG26 is quite a bit older then the "build-me-marlin". But both work a lot better then the default 5D firmware.
Hi
I use it with RepG26 at 115200 with software endstops enabled.
-
Seems like a good idea you probably still need to use a gear between each motor and it's gripping part. It will be important that the gripping parts are made with the right amount and size of teeth to grip without stripping filament or squashing it out of shape.
Wiring should be easy, you should be able to wire the the same coil on each motor in series.
Good luck.
-
If you are still interrested with those test, I will post my next attempt !
Didier.
Yep, keep them coming.
-
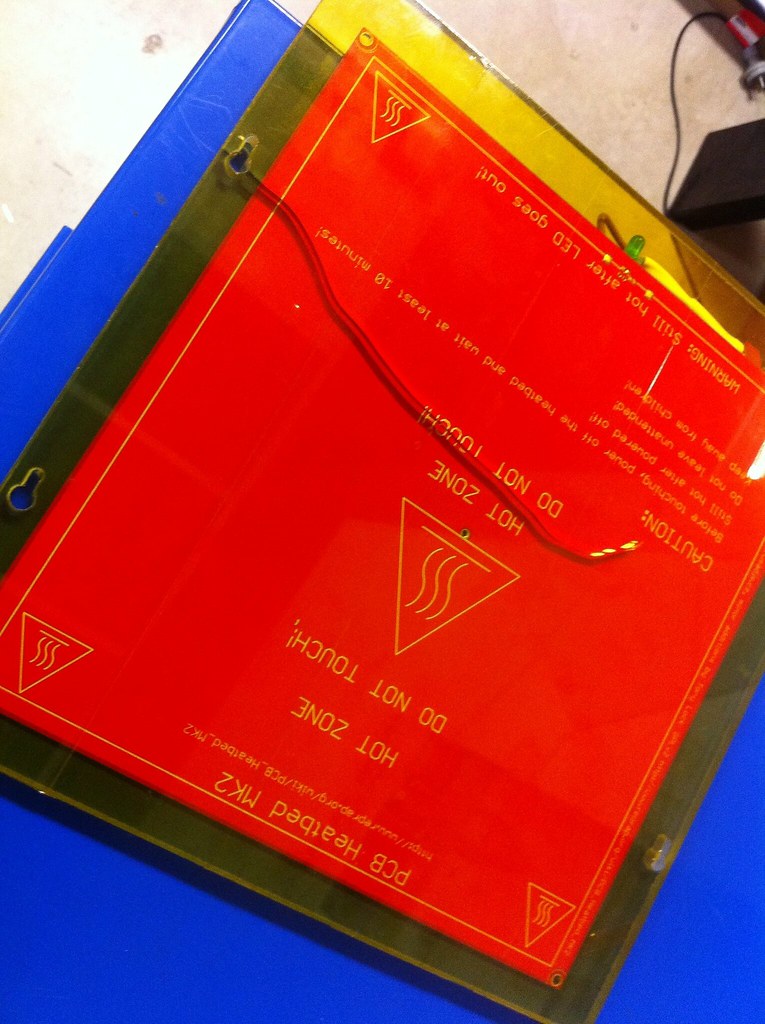
Got to be careful with glass and heater see
-
The mounting screw isn't shorting it out is it?
-
Ok Daid ! so you confirm that shape matters !
How much plastic was used for the big octopus ?
The squared shapes I tried to print was for a friend that make models for architects, he asked me to try if it's possible to make what he calls a "ground-plane" that could help him in his work (and then considering to build/buy his own machine). It seems like that kind of shape would generate too much warping !
I have been printing cylinders and getting warping. They are feet for furniture to go on carpet.
They are about 5cm across and 4mm thich with a 2.6mm external wall that rises above an extra 2mm
It has been with 100% fill
To make a ground plane you could make a top surface flatter than a bottom surface, probably more so if you have less than 100% fill.
Daid that is some monster squid!!!
-
I did a similar mod to Owen's. Mine is working great without clogging, however I did find on prints with large filled downskins, filament back pressure will still build up and pop the bowden out of the Owen's clamp. If I loosen the tension on the extruder drive clamp, when pressure builds up enough, the filament slips somewhat, but the bowden clamp holds.
Gooday Brad
I had mine pop initially too and found I had to tighten up the Bowden Clamp a bit tighter to the limit of what it can handle probably.
I have still been having a very good run with it and have basically just been printing stuff lately and not mucking around with my machine anymore.
One small issue I get quite often when changing filament is if the filament has a slight lump in it when I retract it, it gets stuck at the bowden clamp and I need to undo the clamp and snip the end of the filament off there.
-
Hello,
I also decreased the temperature for about 20° in RepG (however, I'm not sure whether it's RepG that set the temperature up, or if the temperature is defined in the Netfabb generated GCode).
In the RepG window where you see 2 lines near the top that start with M109 the next number is the temp that is set by the GCode and is the one you need to change.
I'm liking seeing your experimenting and results. I'm getting very similar results with different variations not making much difference.
-
Yep it came up earlier on a tab I already had open. Haven't had a good look so can't give you any feedback sorry.
-
That link isn't working for me.
-
If you're using RepG, click on the live tuning button at the start and turn the speed down to say 50% for the first few layers or so. Haven't tried it myself yet, just deducing that it should work. Please let us know in this thread how it goes.
-
It's fairly common. Warping caused by plastic shrinking as it cools. I found the other day that I got it much worse for a small part when I printed faster than normal so I guess it stands to reason if you printed slower for the first few layers at least you may not get so much warping.
-
Hi
Great first prints. Thanks for your kind comments.
I like how you've went straight to Marlin. You probably won't ever need that part as it looks like you won't be needing to pull your hot end apart anytime soon.
Happy Printing.
-
Mainly to edit GCode in the Window and this mainly involves removing M109's. I also have a bed levelling routine that moves the nozzle around to the 4 corners and I need to edit it to do the next corner and so on. I can't see a good way to do this in Pronter. I also prefer the control panel slightly. I think it's better looking too.
I use pronter for bigger prints when RepG can't handle them, though I have had one big print crash from Pronter at 121mm z height. When I tried the same print but altered a bit later on it crashed at the same height. The thing at that height had no major change in structure. It was sort of a funnel. The black command window had some message about an error with the serial port but unfortunately I lost that window before I could write down what it said.
What is it you prefer about Pronter?
-
Our new UltiRepG 0033 will have it. We hope to release it next monday. We will hopefully have a version for beta testing on friday.
Looking forward to it. I'm a fan of RepG myself.

-
Hi
It should be close
Make sure though that your settings on the 'Print' tab match.
For example if you are using one of the 'High Quality' styles in the 'Print Quality' Dropdown you need to use 'PLA - High' in your 'Configuration' box, else it will be way out. Other than that you should calibrate as soon as you can.
-
I use a feeler guage and adjust between 0.0 to 0.3mm when printing with High Quality style in Netfabb which is a 0.12mm layer height and 0.06mm half layer height for outer contours. I find if a print just doesn't start a couple of times in a row I adjust it down a small amount.
-
What firmware are you using. Marlin should help a bit I think. Other than that it's normally loose belts but could also be a loose pulley.
-
Yep
Click on 'Ultimaker'
Click on 'Machine'
Click on '...'
Click on 'Ultimaker specific'
Put M92 E14 into 'GCode Header'
Click OK
 if its the top and bottom layer maybe, then these layers are
Build-Me-Marlin
in UltiMaker Cura
Posted
Yep