
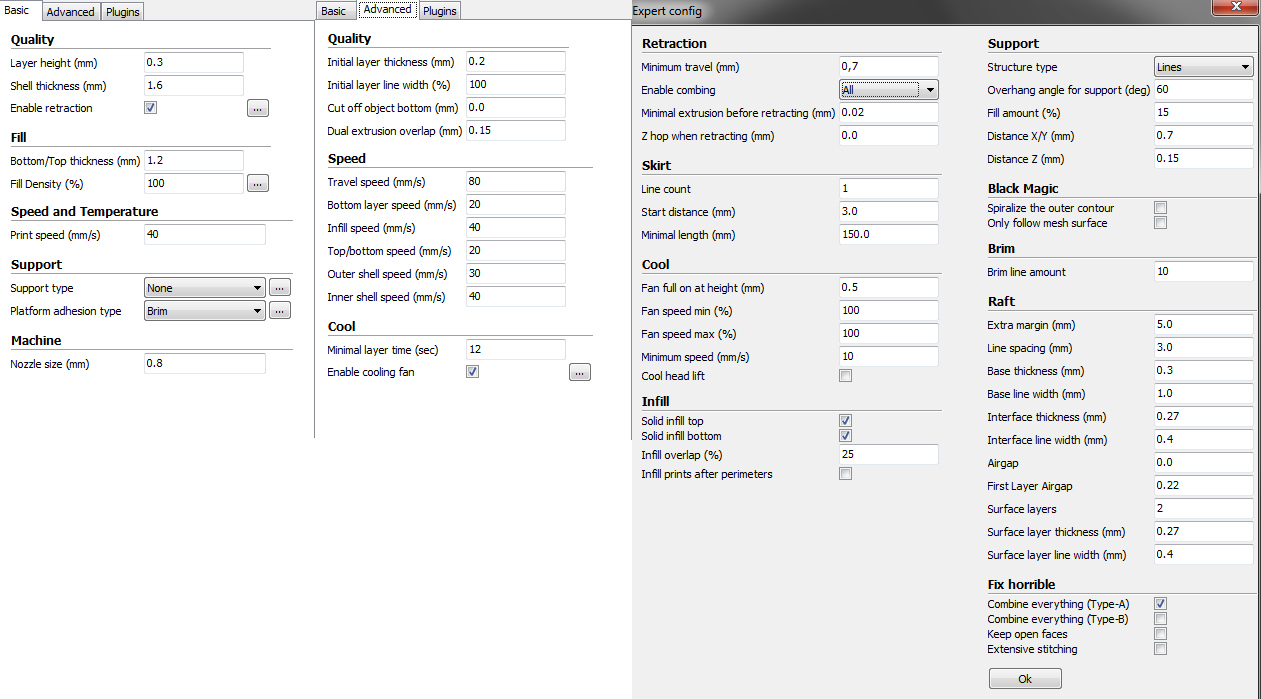
Here the new settings with the same result:
temps 210C
fill is 40% not 100%


Oops. Yeah. Those things shouldn't affect this anyway. I still recommend you make a tiny 3 minute-to-print part that exhibits this problem.
I would try 190C (on the test part! after trying 220C on the test part). Also make sure your bed is only getting to 60C. White PLA filaments for some reason seem to be less viscous and can be printed cooler than other colors. They tend to string more also and have more difficult overhangs. So I'm doubling down on "print cooler".
This issue you show I really haven't seen much of before - not like this where the rest of the part looks so good. I have seen issues similar where the belts were loose (but only on UMO) that were similar due to backlash. But in those cases it was always a combination of blacklash and underextrusion yet you seem to have no underextrusion. Also the fact that you have all these speed changes can cause underextrusion so make all the shell speeds the same for an experiment (at the lower speed).
 1
1
So new settings with better result but rlly slow.
Temps: 190C, how fast can i print with this? I would try it but i didn't have enough filament. 
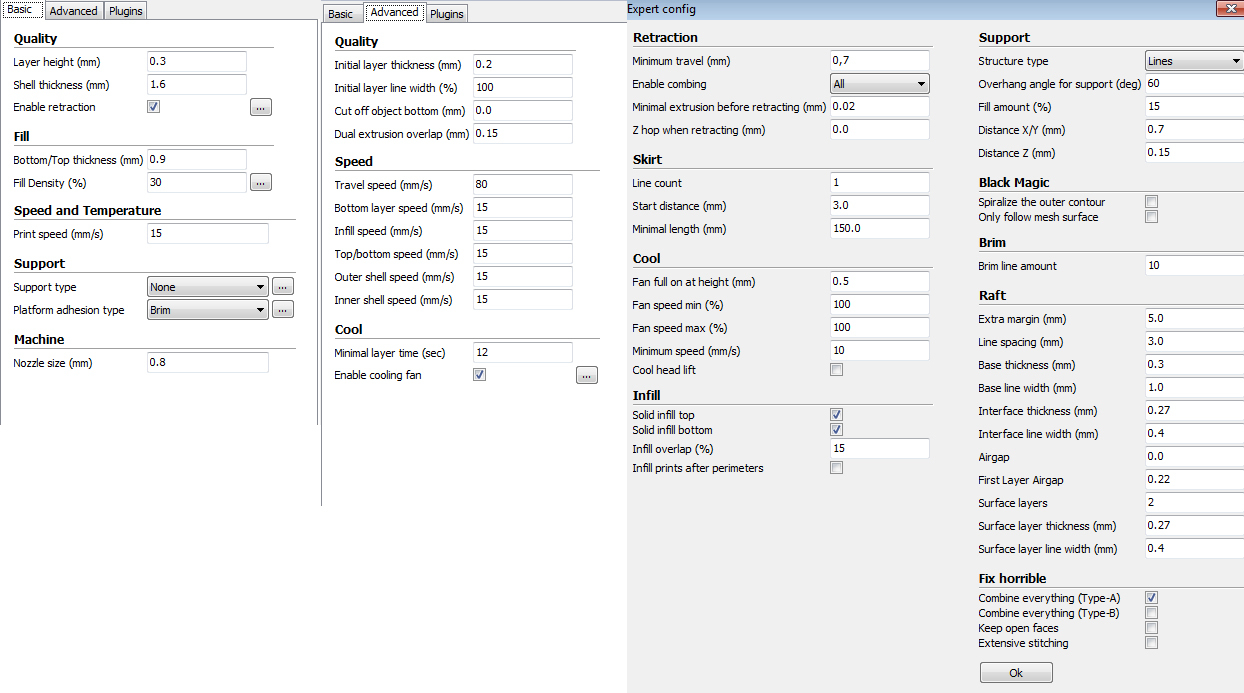
Looks good! I don't think you need to go down to 190C with other colors. And if you do go down to 190C the other colors will be much more viscous (like toothpaste) and you will have underextrusion. But this white color seems to print better cooler.
1
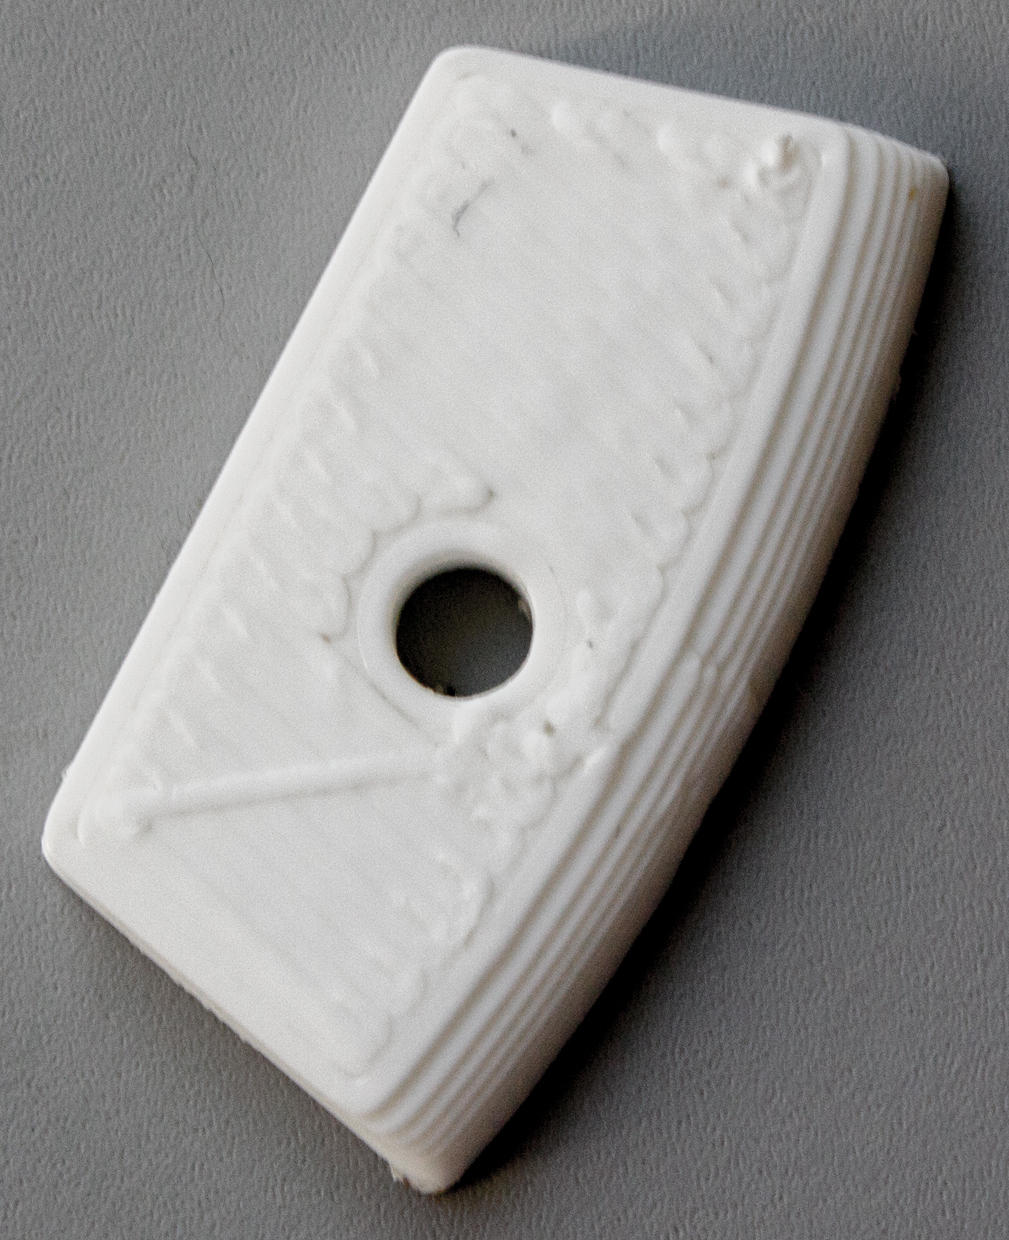
Oh man, now i tried the normal version with the same settings like the small test piece
and i have the same problem like before.
Can you just add a few drops of cyanoacrylate glue for now (aka superglue)? Even though there is a slight gap on the top layer it might still be extremely strong.
That sucks. what's different about your test piece? Location on bed? Support? Are you sure they were both at 190C? Usually when I do a test piece I run it at several settings changing things like temperature on each layer and taking pictures and changing speed and so on. I'm wondering if it does this on every layer. I guess now you need to make the test piece fail. I would try high temps and fast speeds. Maybe. I don't know. The nice thing is you can change most of the crucial parameters from the TUNE menu while it's printing so each layer can be different settings (temperature, speed, flow) to see their affect quickly (within a minute and sometimes within seconds). I always have paper and pen ready to take notes live so I can do maybe 10 tests in 10 minutes.
1
Yes everything was the same even the position.
I googled a bit and some say they print with 80-90% fill overlap and i tried this and
it worked rlly good. But not sure if that is a good option.
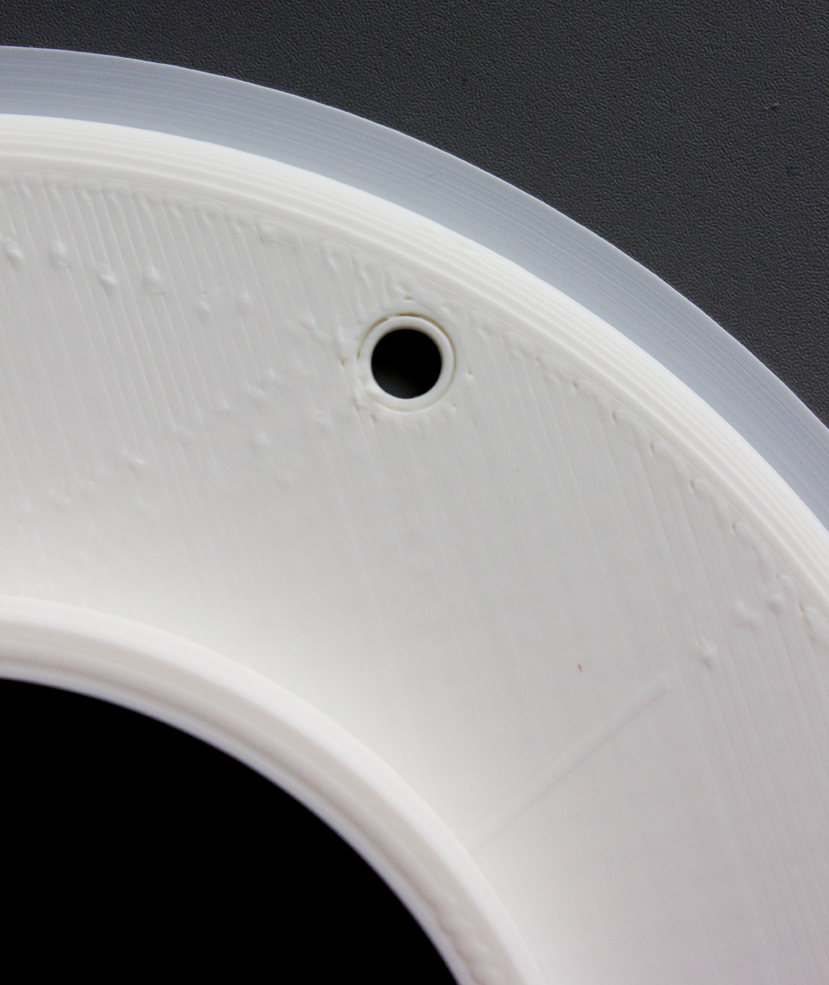
Edited by GuestAt least i made it.
With the same settings and normal fill overlap (15%).
I just used another software to create the 3D-model.
Although I find no fault in the blender file but whatever.
Btw: is there a way to reduce the moving lines?
Did you measure the filament? It might be that it's actually smaller than 2.85mm
1
I'd be really curious if you try Cura 2.1.3 and the coasting feature, what the results would be
You can get rid of those surface lines by unchecking "combing". This will turn retraction on for those moves but will slow down the print slightly as you will be retracting on internal moves.
1

ArunC posted a topic in UltiMaker Cura,


ArunC posted a topic in UltiMaker 3D printers,


Recommended Posts
gr5 2,210
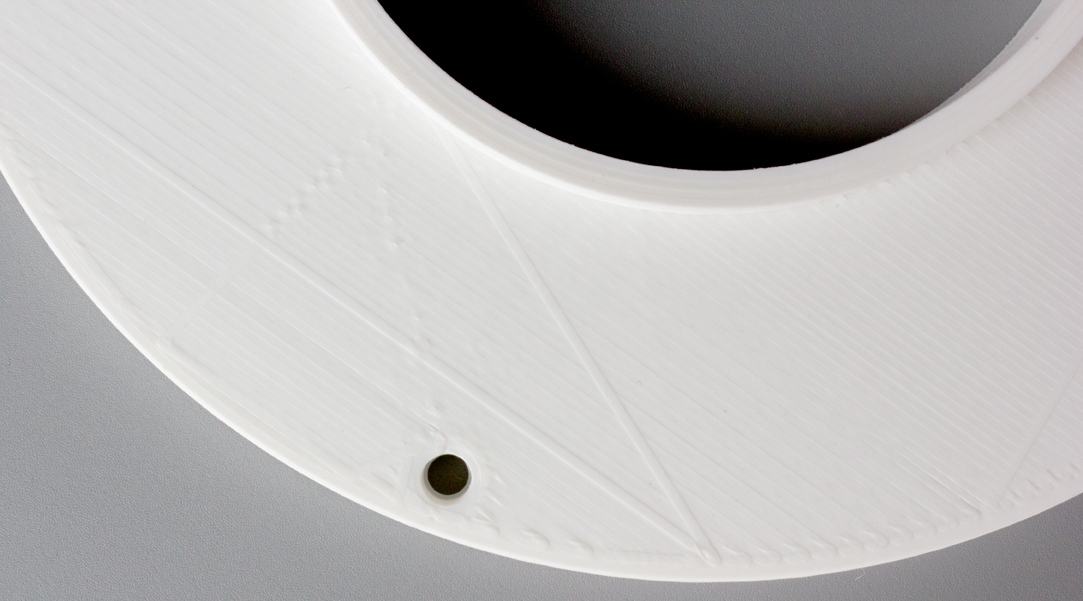
Your top/bottom thickness isn't a multiple of your layer thickness. It will only make the layer thickness one layer. But that's not your problem I think. or is it? Is this the top layer in the region of the hole? Maybe it's not supported very well with infill? Although it doesn't look underextruded.
Your overlap is also too high at 50%. It's so much overlap it's completely covering the inner shell and it makes it look like you only have one shell pass when you actually have 2 passes.
The problem as I assume you know is that your outer shell and your inner shell are not touching on these small holes.
The only thing I can think to try is to print cooler (which may mean also printing slower) to get these holes a little bigger. The problem is that PLA acts like a liquid rubber band (like snot) and is pulling as the tiny circle is being printed. Pulling inward such that the circle is smaller than it's supposed to be even before the filament has a chance to cool. Printing with cooler filament makes it stay in place better but makes it so you may have to print the whole part slower - not sure - you will have to experiment with printing speeds when the second layer starts up - just play with it in the TUNE menu.
If it was me I would try printing at temps like 210C and 190C and print a tiny sample that just has this hole in it with all the same settings otherwise.
Link to post
Share on other sites
DudeUser 0
I might be wrong but for me 1.2mm is a multiple of 0.3 or i don't understand what you mean.
I will try this things.
Link to post
Share on other sites