

Hi, thanks for the feedback, Cal!
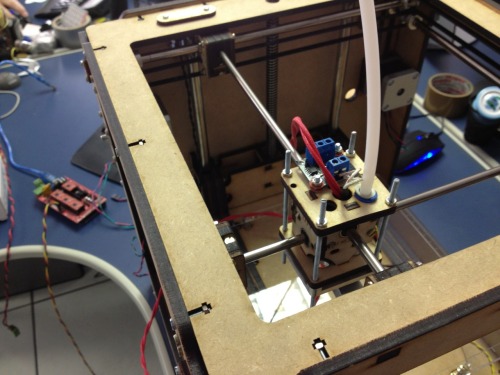
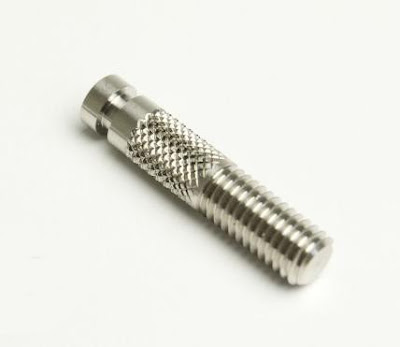
I already had some LM12UU bearings and there's indeed some noticeable play with those rods. I've had little luck with my local hardware sources for smooth rods, though. I'll keep looking for sure!
But even if I end up assembling the whole thing with less than ideal parts at first, I expect to learn more as I replace those parts. We'll see!
Red.

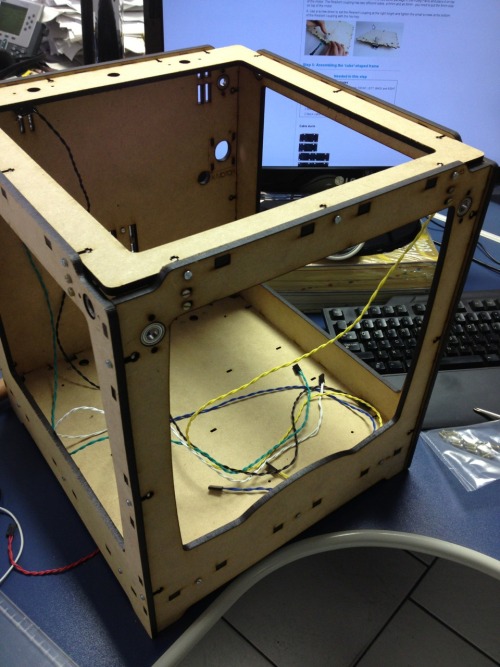


 But hey, given the terrible quality of plywood I found here, I'm pretty positive I could make better stuff.


Recommended Posts
calinb 11
Yes--I wish you luck, Red! I wish I had the time to build my own UM. I noticed this from your blog:
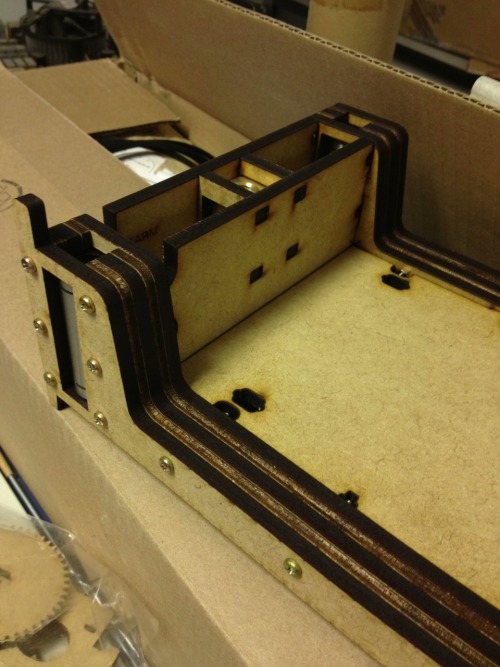
Everything came from printers, the 12mm rods are actually 11.90mm wide, not perfect, but those should do for now.
Can you find some bearings or bushings to fit these rods? 0.100 mm is actually a lot of play, when you consider that the UM is capable of printing layer thicknesses well below 100 microns (and I usually do!).
Given the scope of the project and the potential to have a machine that's even better than machines built from the kits, I think I'd spend more and get rods that fit the bearings/bushings very well.
BTW, the chrome plated rods in the kit are very high quality but, if I were building from scratch, I'd match the end quality at lower cost by using drill rod and a good low friction and wear-resistant conversion coating.
I'm looking forward to following your progress.
-Cal
Link to post
Share on other sites