Jump to content

Tapping new Industrial Power Supply for Heated Bed Upgrade


drumrboy44

Recommended Posts

Posted · Tapping new Industrial Power Supply for Heated Bed Upgrade

Okkkk, finally got the last pieces for my heated bed build (I have the Mk3 Prusa RepRap aluminum PCB - http://reprap.me/epages/reprap_nu_4149051.sf/en_US/?ObjectPath=/Shops/reprap_nu_4149051/Products/%22RepRap%20Alu-Heatbed%22), and determined that a 360V PSU at 24V should work fine. I picked up an industrial PSU on ebay that should meet my requirements. More or less as expected, when I received the PSU, the back looks like this:

Industrial PSU


I have seen these before, but have not messed with them in any capacity. I was planning on just stripping an extension cord or something and hooking up ground to ground, but not really sure what to do with the N and L, or which other connection points to use. And should I actually solder the wires in, or just use the provided screws and screw the wires down?


Any input of how to approach, or things to keep in mind would be much appreciated.

Thanks.


  • Link to post
    Share on other sites

    Posted · Tapping new Industrial Power Supply for Heated Bed Upgrade

    There are shrouds made for this power supply on Thingiverse. I would print one of these first and then take it down to an electrical place and as them to attach the power cord and the low voltage wires for you.


  • Link to post
    Share on other sites

    Posted · Tapping new Industrial Power Supply for Heated Bed Upgrade

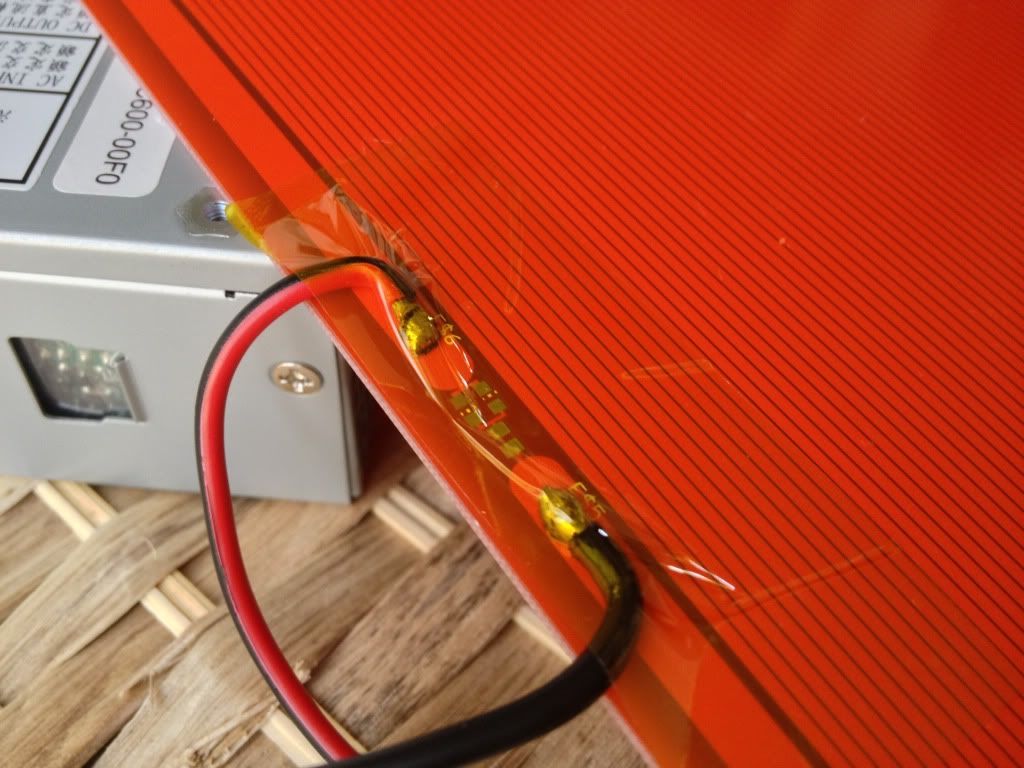
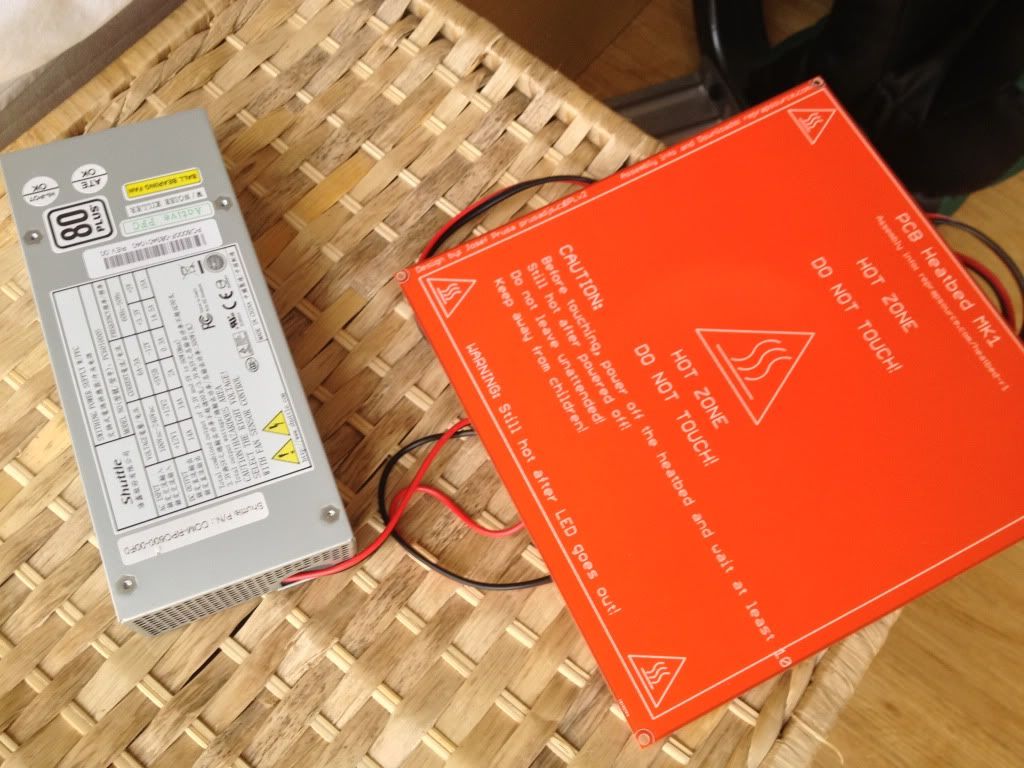
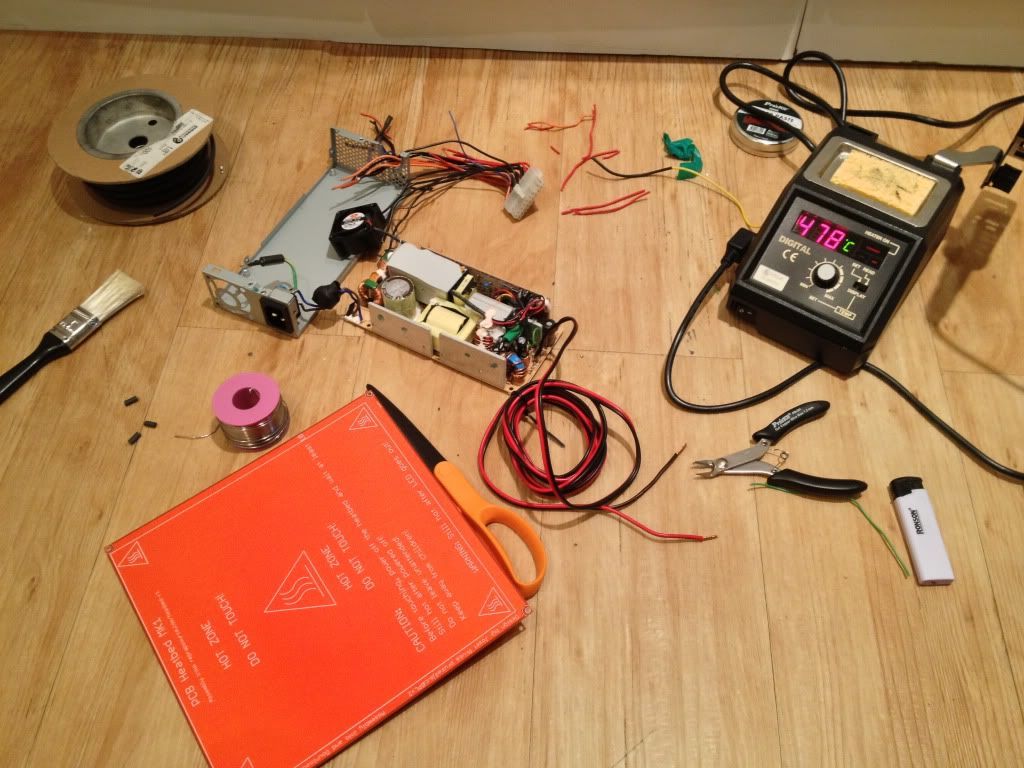
    Here is an old PSU used in these Shuttle computers, this one is 3 years old and only rated at 300W with 14A at the 12V+1.

    I had to remove all the cables as I wont use them & wired Pin 14 to GND to auto start for now. It worked out really well, I don't have a temperature reading yet but in 3 minutes It got close to 80C I would say.

    null_zpse5de0650.jpg

    null_zpsb5807bc2.jpg

    null_zps66cf7214.jpg


  • Link to post
    Share on other sites

    Posted · Tapping new Industrial Power Supply for Heated Bed Upgrade

    Definitely don't solder when you can screw it down as this is safer.

    N is neutral from your house power (white wire)

    L is power from your house power (black wire)

    Third one is ground from your house power (green wire)

    You can use any old junk extension cord and screw it in there.

    Make damn sure there are no tiny wires anywhere shorting between any of these 3 signals.

    The 24V comes out of the + and - terminals. You might have to short them together as possibly one each are for "sense" where it senses the voltage and adjusts as necessary. Meaning short the - terminals together and short the + terminals.

    You want to use the largest wire that seems reasonable to fit under those DC terminals. Anything laying around the house that fits that description is fine. After you hook it up to your heated bed and run it for 5 minutes, feel the temperature of the wires. If they are quite hot then you need larger diameter wires.


  • Link to post
    Share on other sites

    Create an account or sign in to comment

    You need to be a member in order to leave a comment

    Create an account

    Sign up for a new account in our community. It's easy!

    Register a new account

    Sign in

    Already have an account? Sign in here.

    Sign In Now
    • Our picks

      • UltiMaker Cura 5.7 stable released
        Cura 5.7 is here and it brings a handy new workflow improvement when using Thingiverse and Cura together, as well as additional capabilities for Method series printers, and a powerful way of sharing print settings using new printer-agnostic project files! Read on to find out about all of these improvements and more. 
         
          • Like
        • 23 replies
      • S-Line Firmware 8.3.0 was released Nov. 20th on the "Latest" firmware branch.
        (Sorry, was out of office when this released)

        This update is for...
        All UltiMaker S series  
        New features
         
        Temperature status. During print preparation, the temperatures of the print cores and build plate will be shown on the display. This gives a better indication of the progress and remaining wait time. Save log files in paused state. It is now possible to save the printer's log files to USB if the currently active print job is paused. Previously, the Dump logs to USB option was only enabled if the printer was in idle state. Confirm print removal via Digital Factory. If the printer is connected to the Digital Factory, it is now possible to confirm the removal of a previous print job via the Digital Factory interface. This is useful in situations where the build plate is clear, but the operator forgot to select Confirm removal on the printer’s display. Visit this page for more information about this feature.
          • Like
        • 0 replies
    ×
    ×
    • Create New...