


gr5
-
Posts
17,293 -
Joined
-
Last visited
-
Days Won
354
Content Type
Forums
Events
3D Prints
Posts posted by gr5
-
-
I think you want tensions somewhere between these two - more like the one on the right.

By the way, that's from an ultimaker feeder on 2.85mm pla. I don't remember which printer. Probably UMO or UM2 classic. This diamond pattern is typical of UM printers. UM claims that the diamond shape knurl is less likely to clog the feeder gear with plastic and that the diamond knurl allows powder and small chunks to fall out (self clean). I'm skeptical. Non ultimaker printers are more likely to have a horizontal lined pattern.
-
.5% across 200mm is 1mm and is huge. I doubt you have that much error. 0.5% across 20mm I believe. How did you measure the error? Did you print something and then measure it with a caliper? Better to measure such that you avoid the corners as those tend to be off due to slowing down and other reasons.
There are so many things that cause errors, e.g. if the Z axis doesn't move enough, then that layer will be overextruding and it will stick out in both X and Y, or one of the pulleys could be out-of-round and you get +.3mm error and then as the pulley rotates you get -.3mm error but over the course of the print area it should average out. These are only 2 of about 50 things.
Before trying to compensate e.g. Y scale, I'd first check if the movement of the print head is also off by 0.5% and is it off by that much from one end to the other or does the error vary (e.g. the pulley thing).
-
I'm not sure what I'm seeing but I don't think I'd call it "warping". It's really hard to say what I'm seeing - yes the blue and red areas look "different". Not sure what I'm seeing. Maybe the blue area is underextruded a bit?
Some things that can cause a small amount of underextrusion:
- If you messed with the feeder tension (keep it in the middle - don't mess with it)
- If the front fan failed (not side fans). It can get clogged up with strings. Heat the nozzle, by the time it gets above 60C the front fan should start spinning - it's very easy to hear. Open the door and look at it.
- Print cores get partially clogged. Try some "cold pulls" from the menu.
You might not have any underextrusion. It's hard for me to diagnose from this photo.
-
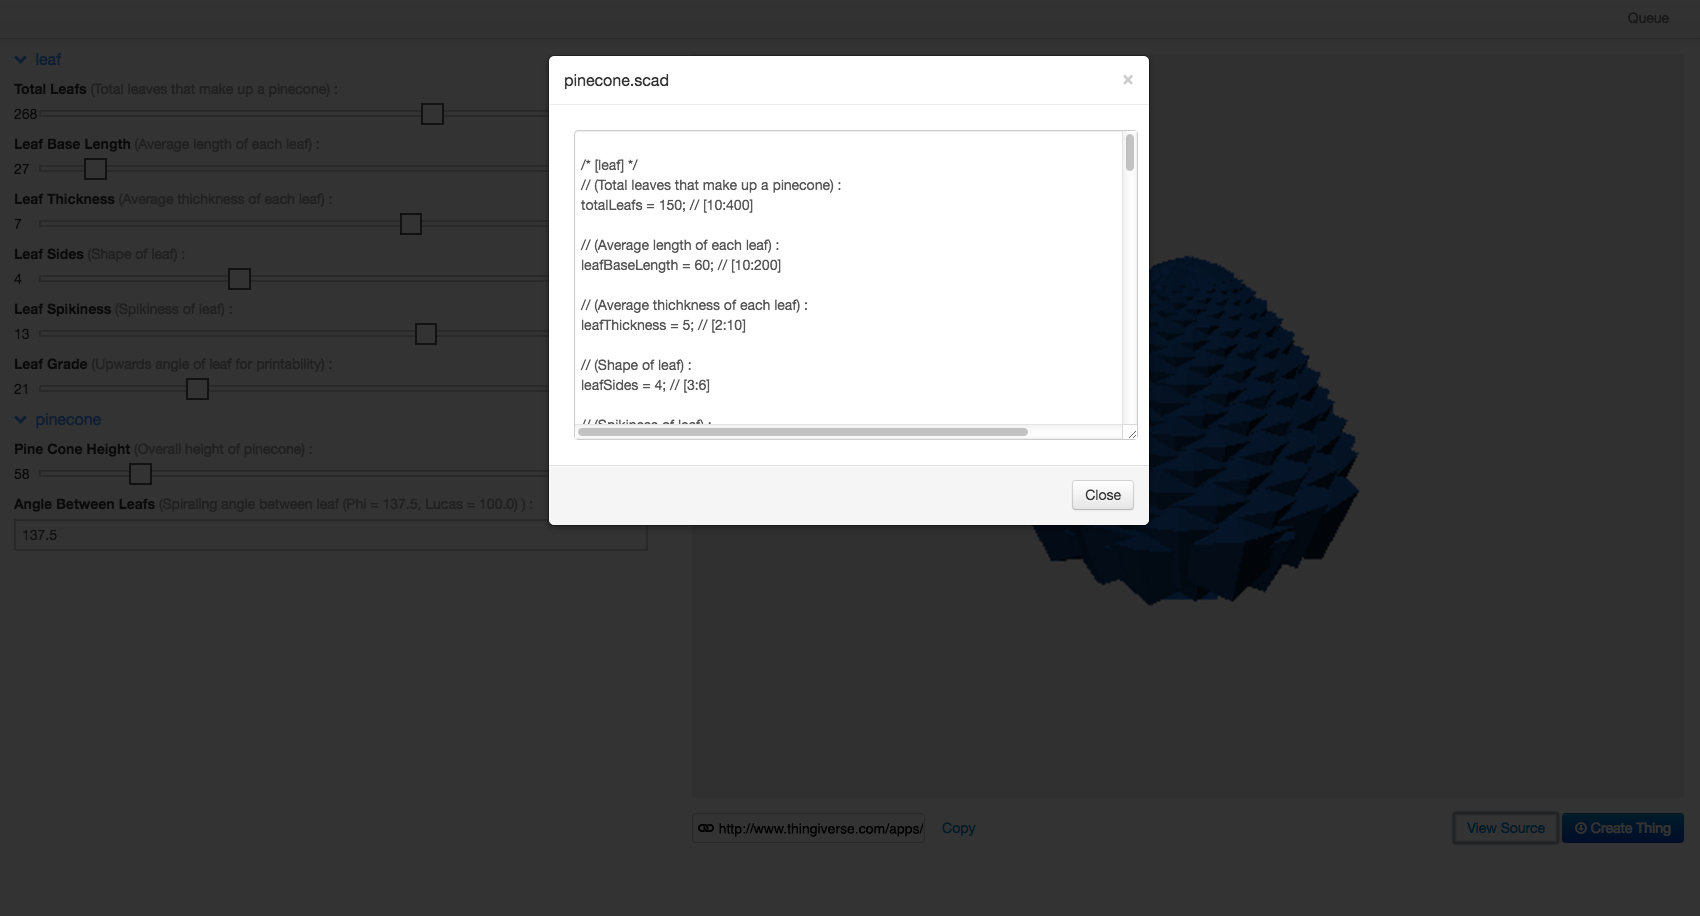
If you ever choose to post this on thingiverse - this one screenshot shows you what comments to put around variables you want in the customizer and in the faint background on the left you can see what those comments generate:
https://cdn.thingiverse.com/assets/da/03/ff/97/ff/Screenshot-02.jpg
-
I'm so glad you were successful with openSCAD. Now you can change one variable value to make it a different inner diameter or qty of holes or whatever.
-
17 hours ago, Adventurehill1 said:
Also, the settings on this profile produce some pretty disastrous results...
yes. No idea what is going on there.
I have seen .06 layer height with .4mm nozzle and it looked pretty damn good. But not every printer can do that - the Z axis in particular will likely move .07mm one one layer and then .05 on the next and this creates a lot of ugliness. In my opinion .2mm layer looks the best but on a really well made printer with super clean and well greased Z screws and with a highly accurate extruder, 0.06mm can look better than 0.1.
I would try thicker layers (start with 0.2) and every other setting the same to see if the issue is indeed layer height. Instead the issue could be print speed - no idea. Or crappy printer - no idea what causes that weird mess on your "calibration cube".
-
@newdeal99 - have you heard of openSCAD? It's free and open source. It's a programmatic way of making things from parameters. I like it quite a bit but can be tedious for complicated shapes. For your shape it shouldn't be too bad. You have "for" loops and all primitive shapes have variable number of faces so you definitely won't have the resolution issue. Like tinkercad you can add and subtract (and other binary options) shapes. There are also free libraries for things like threads.
As a bonus, if you upload your scad file to thingiverse, thingiverse will let users fill in the parameters and thingiverse will create customized STL files on the fly for people and they don't even have to know how it works.
-
 1
1
-
-
I can't really comment on settings unless you post the project file. Also a photo of your print showing the strings would help. Please post your project file - do menu "file" "save project" and then post that here.
Also you should know that PETG needs to be kept dry or it will string quite a bit. Wet PETG prints 10X better than wet nylon filament but PETG if left out in normal air will absorb water after a few days and then be "stringy".
If your printer has a heated bed, unwind enough for the next print, put that on the heated bed, put the spool on top of that (in other words no need to cut the filament). Set the bed temp to below the softening temp. So 55C should be safe. Cover all that in a blanket/towel or box. Let it sit for 2-8 hours like that. Then print again and you should see a big improvement in stringing.
Store your PETG in a 2 gallon (6-8 liter) bag with 1 cup or 1/4 liter of color-changing desiccant. I recharge the desiccant when it starts changing colors or about once per month.
-
1
-
-
Can you post your STL as it stands at this point?
There are some free services that can try to repair your STL. You could also search on youtube for "blender make my model manifold". Manifold is the more common word used to describe what you want. In addition to makeing the part manifold/water tight, you have to get the normals correct. The normals in the STL tell cura which side of each triangle is *inside* the part and which side faces air. Maybe reading this will help?
https://www.sculpteo.com/en/tutorial/prepare-your-model-3d-printing-blender/
Some auto repair services:
Cura has an amazing plugin to test your model to see if something is wrong with it and can repair a very few of the many potential problems:
In the upper right corner of Cura click "marketplace" and make sure you are on the "plugins" tab and install "Mesh Tools". Then restart Cura. Now right click on your model, choose "mesh tools" and first choose
"check mesh", then "fix model normals" and "fix simple holes" to see if that helps. Cura doesn't fix most issues so...netfabb free repair service is here (you have to create a free account first):
https://service.netfabb.com/login.phpHere's another service - drag and drop mesh repair service:
https://3d-print.jomatik.de/en/index.phpSome people recommend tinkercad - it's free - you import your stl into tinkercad and then export it to a new stl and tinkercad will fix many issues.
-
1
-
 1
1
-
-
This is great. I may try this myself. I have some 1.75mm filament to use up and it's so simple.
You aren't really using the heat break feature. It keeps the ptfe around 100C and cooler but for you it is right in the nozzle at ~200C and so it will degrade faster. You should replace it often. Maybe every 500 hours of printing? Maybe 100 hours. The PTFE will degrade at 200C and even faster at 220C.
Heat break below. It's steel but it's not much thicker than aluminum foil and the most common place to break a print core. Even during just regular printing, sometimes the nozzle hits the print hard enough to break the heat break.

-
Do you own a printer?
-
Yes, warping can cause a part to lift off the print bed. You need to learn how to make PLA stick like crazy to the bed. It's not hard. I made a video explaining exactly what's going on with the warping and the common ways to fix it. It's a bit long but I tried to pack as much information into that video as possible. With PLA this problem is pretty easy to fix.
-
It looks like you are in USA so contact fbrc8.com. I'm not sure what their role is with Ultimaker lately and I know it has changed but I think they are your best bet for the fastest response. email support@fbrc8.com, repeat your question and include the serial number of your printer (to save time). Almost everything has a part number which can be ordered from ultimaker.com so any reseller can take care of you but fbrc8.com is probably faster. Some parts are assemblies so it may be that you can only order the entire door assembly.
-
So now you got me curious. I see rasp pi 4 B from adafruit for $35 and a case and power supply for $16 on amazon. beelink I see for $170. I know prices vary considerably around the world. Also I think octoprint came out before the raspi 4 and before I think the 3 so if the 4's are expensive maybe you can get an older model for less? I wouldn't know.
-
I believe all the plugins are written in python so you can look at the code. Try to find a plugin that also asks for data similar to yours and then look at the code. Maybe @ahoeben can help as he has written lots of plugins.
Is your code posted somewhere (e.g. github?) so that we can look at it to give more detailed answers?
-
You can load images into cura. Remove any models and do "file" "open" and just choose an image file like the ones above.
You can make the white areas "high" or the black "high". you can make the "low" so low there is no material printed. You can do grayscale as well. You can adjust the "base" (which you probably want as zero) and the height, etc.
-
1
-
-
Actually another "solution" might be to reduce retraction amount. for you in particular I think it's important not to let the filament EVER go upwards in the tube as it can then stick to that inner tube of yours. Once at the end of the print is okay as that may cause a clog at the very start of a print but having a clog half way through the print is much worse.
-
53 minutes ago, waizman said:
So took it all apart, removed any PTFE tube that was there, and just put a single one from top to bottom.
What keeps the thinner tube from moving upwards during retractions? Is it in there nice and tight somehow? Oh - is the aluminum heatsink holding it tight? Or is it even passing through the heat break? Is the heat break holding it from retracting upwards?
A little history...
People have tried to make all ptfe or all metal hot ends. It's difficult for PLA because it sticks to all known metals and ptfe gets soft at 220C and even 200C after 500 hours at temp and loses it's mechanical ability to not slump/crush the filament when under a little pressure.
For metal hot ends there is some region where the pla is only barely above melting point and when it freezes it can stick like hell to the metal around it and then your print fails part way through. Especially with retractions you are pulling heat upwards when you retract (potentially) although an ideal retraction should not pull anything out of the print core - it should simply release pressure.
Anyway Ultimaker's solution is the heat break where the PLA will indeed get stuck in the heat break occasionally but it is only 2mm long and the feeder can just break the plastic there. The teflon is just above the heat break where the temp rarely gets above 120C such that the teflon can last years. Sometimes the temp gets high enough at the teflon for the PLA to stick to it but nothing really sticks to teflon.
Back to your issue
If instead of teflon you have a PFA tube (I suspect your thin "bowden" is made from PFA), the pla can stick to it occasionally (especially if you have lots of retractions and especially if the retractions are pulling the filament upwards in the print core (which they shouldn't)). You can buy both PFA and teflon tubing. PFA is transparent. Teflon will probably work better for your situation but you'll probably have to replace it quite often - maybe every 100 hours of printing. Plus it's so damn slippery you might want to 3d print something to keep the teflon from getting retracted.
The design of a printcore is complex and there were over 100 iterations before the testing people were happy. Some of the problems were not noticeable unless you printed over 100 prints with the printcore. They would have 10 successful prints and thought they had the final design. And then more issues came up.
-
The settings are in the gcode file and you can retrieve them. Read on...
After you slice something and save the gcode, if you don't save the project and you change some settings, then the original settings are somewhat lost. That's why I always (ALWAYS!) also save a project file when I save the gcode file. The project file contains your STL, your printer profile, your slicing profile, your overridden settings, the position you placed the STL, filament settings and more.
HOWEVER, there are comments at the end of the gcode that contain most of what you need to know to repeat the settings. Usually it says what printer and profile you used and which settings you overrode and to what values. These comments are meant to be human readable although no one spent a great deal of effort to make it easy to read.
-
Just print what you need to print. Everyone has completely different needs. You may need to print something smaller than a grape. Or bigger than a shoe. You may need something that doesn't need to look good but needs to be strong. Or you may be making artwork. Everyone cares about different things and every requirement requires making choices. e.g. you can print fast, accurate, or pretty but each one of these desires hurts the other 2.
So instead of thinking of this as a precious posession, think about what you need to print.
-
3 hours ago, waizman said:
I live in a pretty dry place (Eilat) and the humidity level usually stay under 30%.
In my experience, petg gets a little worse as it absorbs water. Nylon and PVA get MUCH worse as they absorb water. PLA and ABS don't care. I don't keep my PLA dry. It can be in a humid environment for years and no big deal. I have 7 year old PLA and ABS and they don't seem to need any drying or anything. Unlike petg.
3 hours ago, waizman said:Any thoughts?
Yeah, print 2.85mm aka "3mm" filament.😜
I don't understand how you are printing with 1.75 then. You did zero modifications? 3dsolex.com used to sell a conversion kit. I'm not sure that they still do. It involved a different printcore and a bowden-in-a-bowden like you describe (3OD/2ID). And a 3d printed "plug" that you put in the feeder end to keep the inner from getting sucked into the feeder.
This solution only worked in the left core because the right core goes up and down so the inner bowden needs to stretch/shrink. I know someone who solved this with a 3OD/2ID spring that could compress when the right core went up.
-
So wait - you are using 1.75mm pla through smaller bowdens. Does the bowden go down inside of the print core? I guess that's fine. I can't think of any reason it would get hung up.
How do you keep the smaller bowden from retracting into the feeder on retractions and chewing up the bowden in the feeder?
-
Unlike some filaments, PLA tends to be able to last forever. It doesn't need to be kept dry. Although if you unspool "old" (even just 1 year old sometimes) PLA into the bowden and leave it in the bowden for 24 hours, many PLA formulations will crack. If retract the PLA back onto the spool before turning off the printer it's usually fine. "old" PLA does not like to be straightened out for more than a few hours.
So that could be it. You can kind of tell because sometimes you can see the PLA has cracks in it when looking through the bowden. And when there is a retraction, sometimes you see where the crack is closest to the feeder which could be anywhere along the bowden.
One fix is that if you leave filament in the bowden for more than 8 hours, take it out and cut off the last meter and throw that away. You can test the filament by bending it and it should not break. It should just bend in a knot. The longer you leave it unspooled, the more brittle the filament gets.
Then the breaks in the filament reach the print head and sometimes they pass through but other times they get stuck in the printhead and your print fails. Once you get past the first meter (typically an hour or so) you are usually fine.
I imagine 1.75mm filament isn't as bad because bending it is much less stressful for the plastic.
-
oh! I totally misunderstood the graph. Okay so the orange graph is very flat. That's fine then. I was trying to figure out how the temperature was dipping. But it wasn't. It's the brown graph that is dipping - that's how much power is applied. For some reason it needs less power as you go. Probably extruding slower - or actually as you get farther from the glass bed, there is less bouncing up of the moving air around the nozzle so less nozzle cooling. That's probably it.
Okay so there's nothing wrong with the temperature profiles. A red herring. Well... not much wrong. Something is loose I suppose and it measures infinite resistance and interprets that as 700 ohms, then kills power to nozzle, then temp retruns and it has to compensate for a bit for the lack of power but briefly enough that nozzle doesn't deviate from goal temp by much.
So your print failure might have nothing to do with temperature.


Bowden is pushed out of feeder
in UltiMaker 3D printers
Posted
This part of the forum is in English only please. There is a german and a dutch langauge section.
The clip that holds the bowden in place has 4 tiny razor-blade-like knives. One or more may be broken. By now you have scraped the outer part of the bowden a few times.
Do you still have the horse shoe shaped clip? Remove that, then push down on the collet (outer ring) and with other hand remove bowden. Then cut off 1-2mm off the end of the bowden so that when you insert it, the knives will be able to touch fresh bowden.
Also consider taking apart the feeder (2 screws - watch instructions on assembly as almost everyone messes up the tension screw). Remove the bowden collet and look inside at the blades. If one or two are not sticking into the center as much you can push on those firmly with a tool or buy some new collets.