


i just had this problem last week when printing with abs i had layer shifting like this. i contacted a us retailer for support and they notified me that the new boards were having some kind of power issue and i needed to reduce stepper current. it solved my problem i hope it solves yours too. the way i changed my current was to add the g code M907 X1100 Y1100 Z1100 E1250 in my slicer..
m907 is the code for current in milli amps to each of the motors the letter corresponds X motor Y motor Z motor and E for extruder motor.
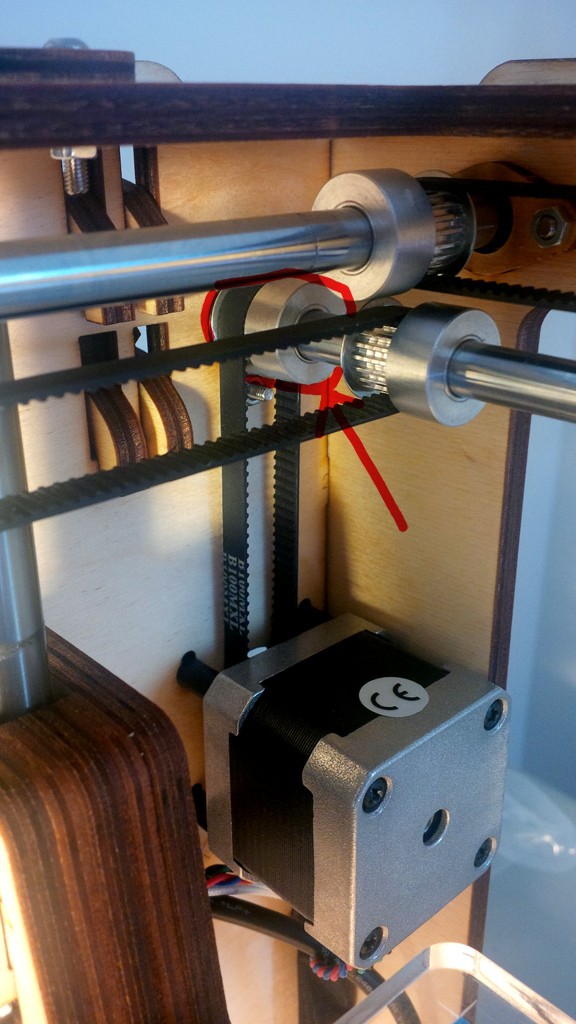
the code i have here just changes current for x and y from 1500 to 1100. the motors do run alot cooler now but i think i still might do active cooling..cant hurt.. btw i was having layer shifts on my y axis for a few days and had to wait at least half a week for anyone to help me...
for some added info i use simplify 3d and have this code at the beginning of my startup script, you can do the same in cura under start/end code. since the slicers have "sticky parameters" once this code is read, the motors will be set to these values for the duration of that print. so just make sure if you change slicing profiles remember to add this code at start.
Btw Etix, the electronics for the UMO+ (which i also have) are the same as the UM2 which dont require any active cooling and those motors are rated to withstand allot of heat like 70C or more i think, i dont think it would be a heat issue for you
Edited by Guest


Recommended Posts
etix 4
I have the exact same issue on my brand new UMO+ (with the white control board). All prints start nicely but after 2-3 hours the z-axis misbehaves (supposedly because of the heat of the stepper / main board) and messes up all my prints in the same way as yours. I don't know if you experienced the same thing but when the printer starts doing strings "in the air" it seems the bed is off 1-2 cm from the nozzle.
I'll try to add a fan on the bottom of my UMO+ to cool down to the z-axis stepper + board tonight and see if I can see any improvement. But I suspect overheating is the reason since the board is really close to the z-axis stepper which can be very hot since there is no active cooling.
Link to post
Share on other sites