


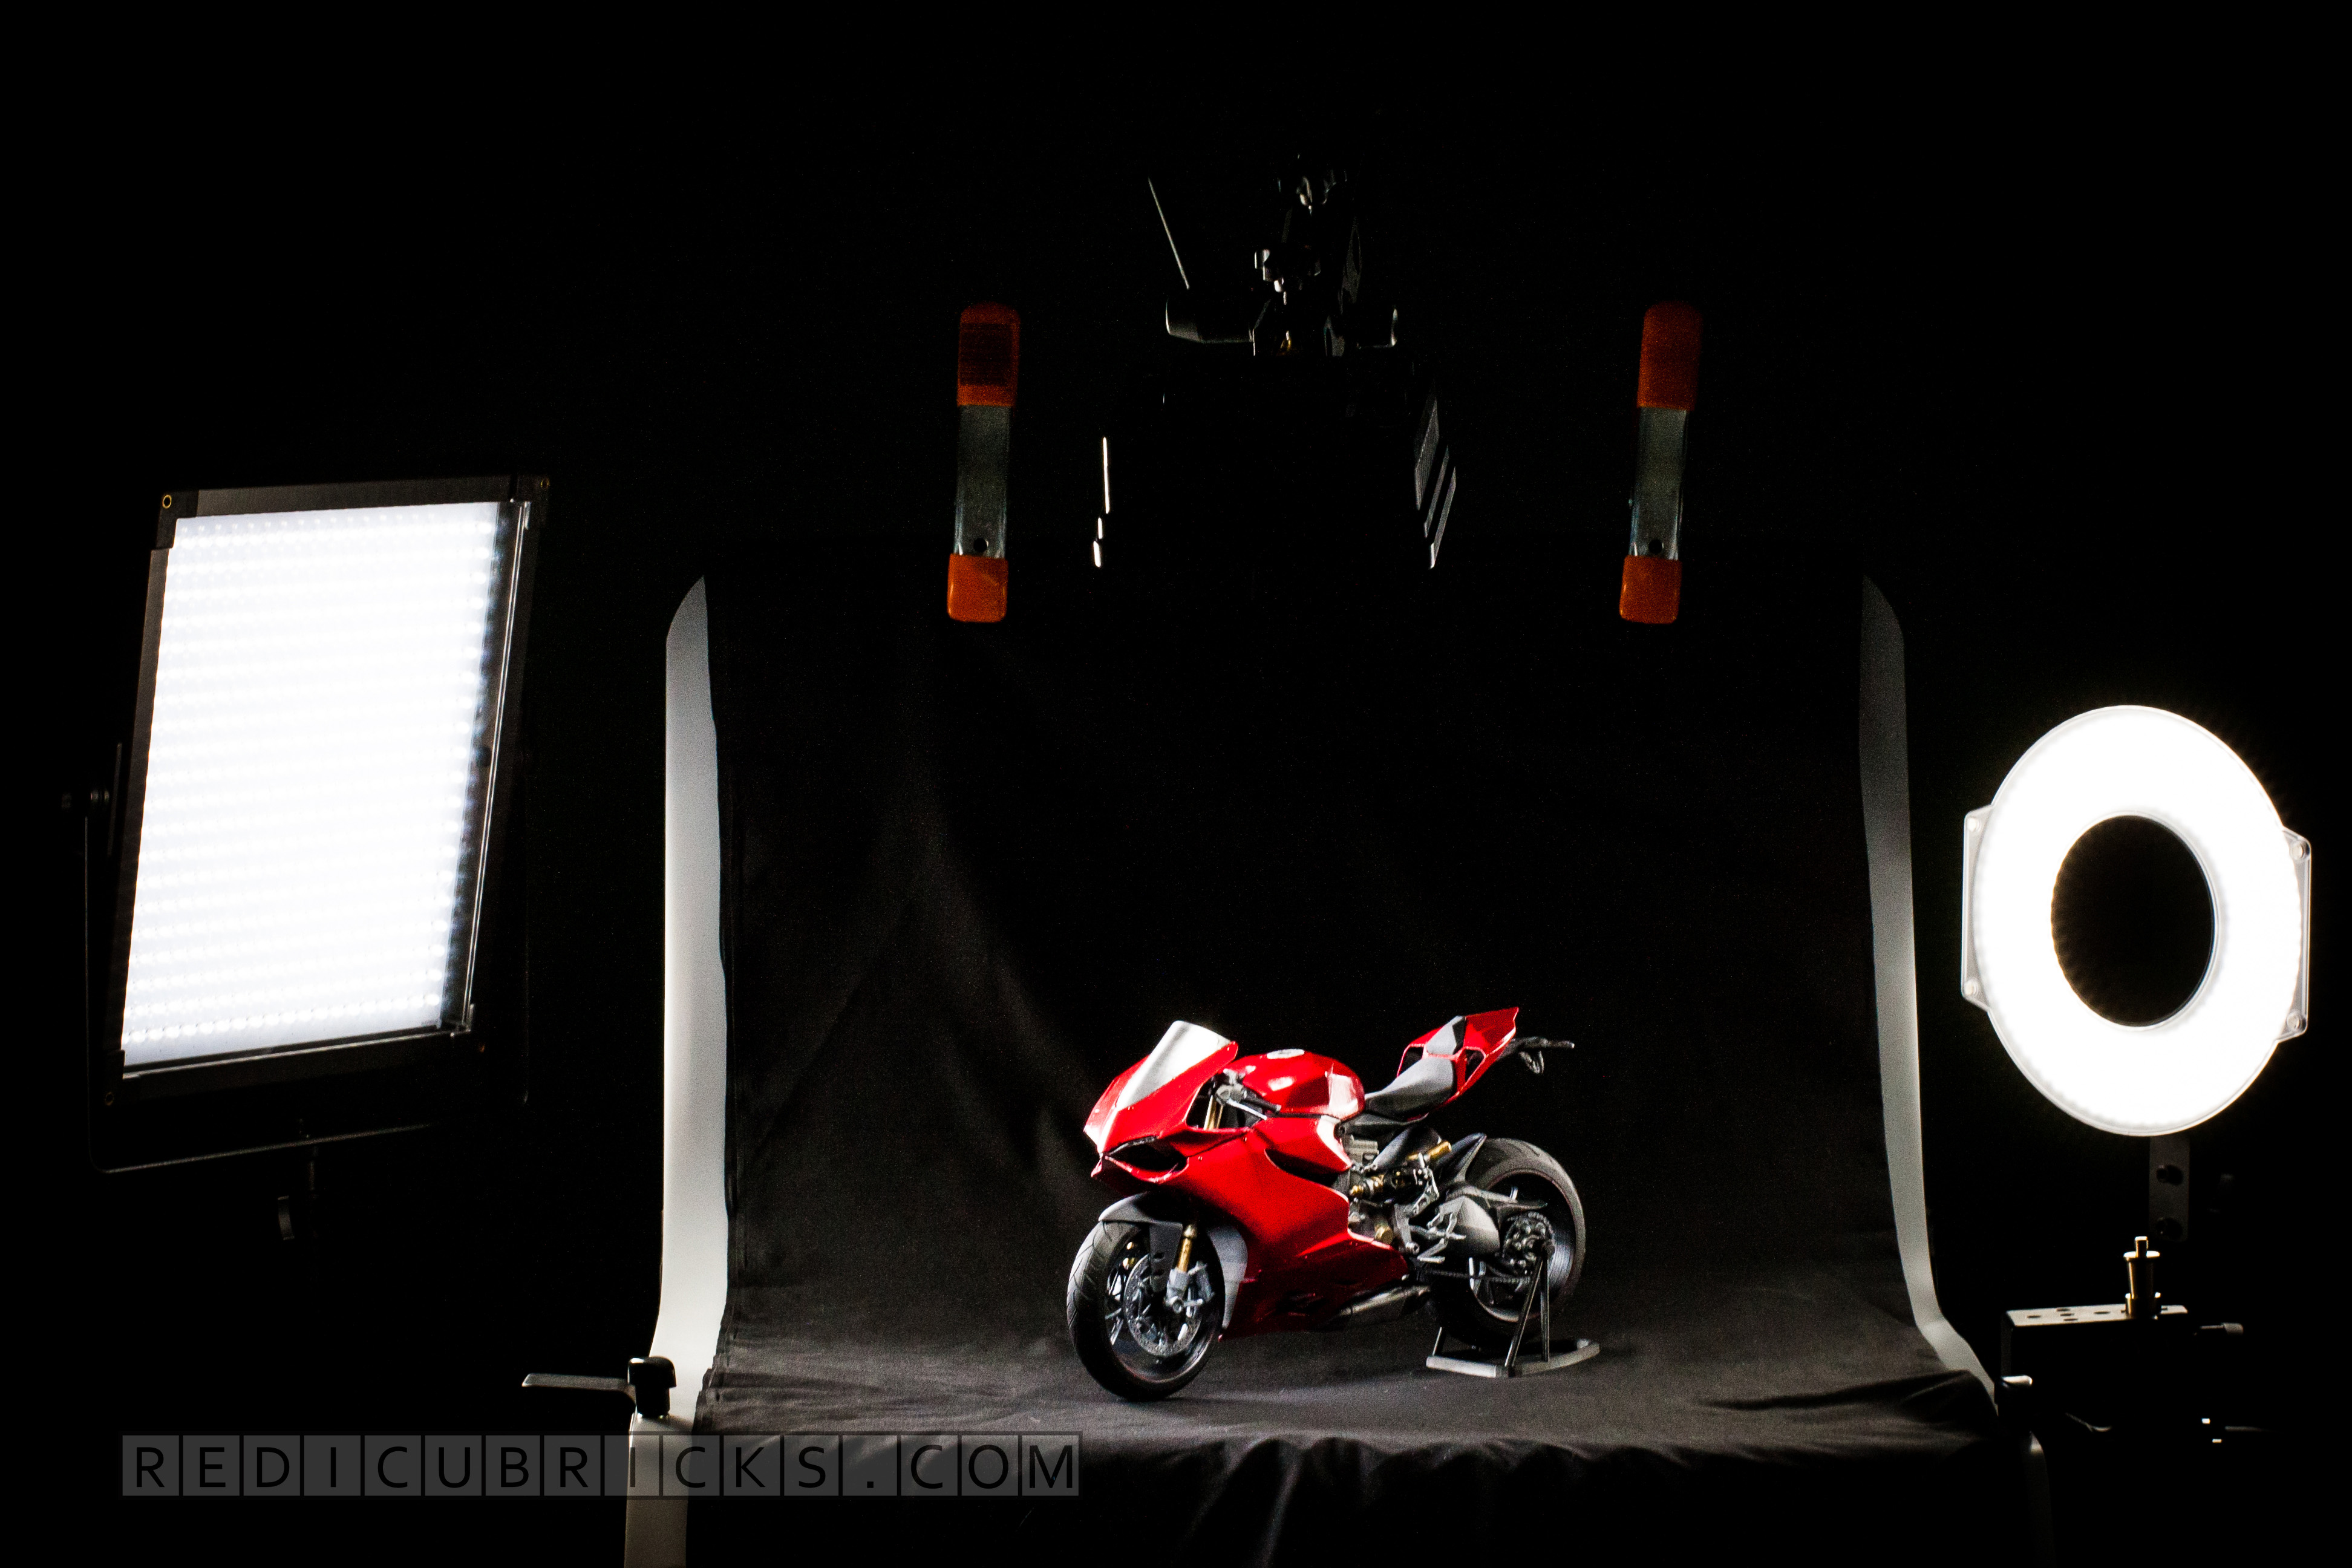
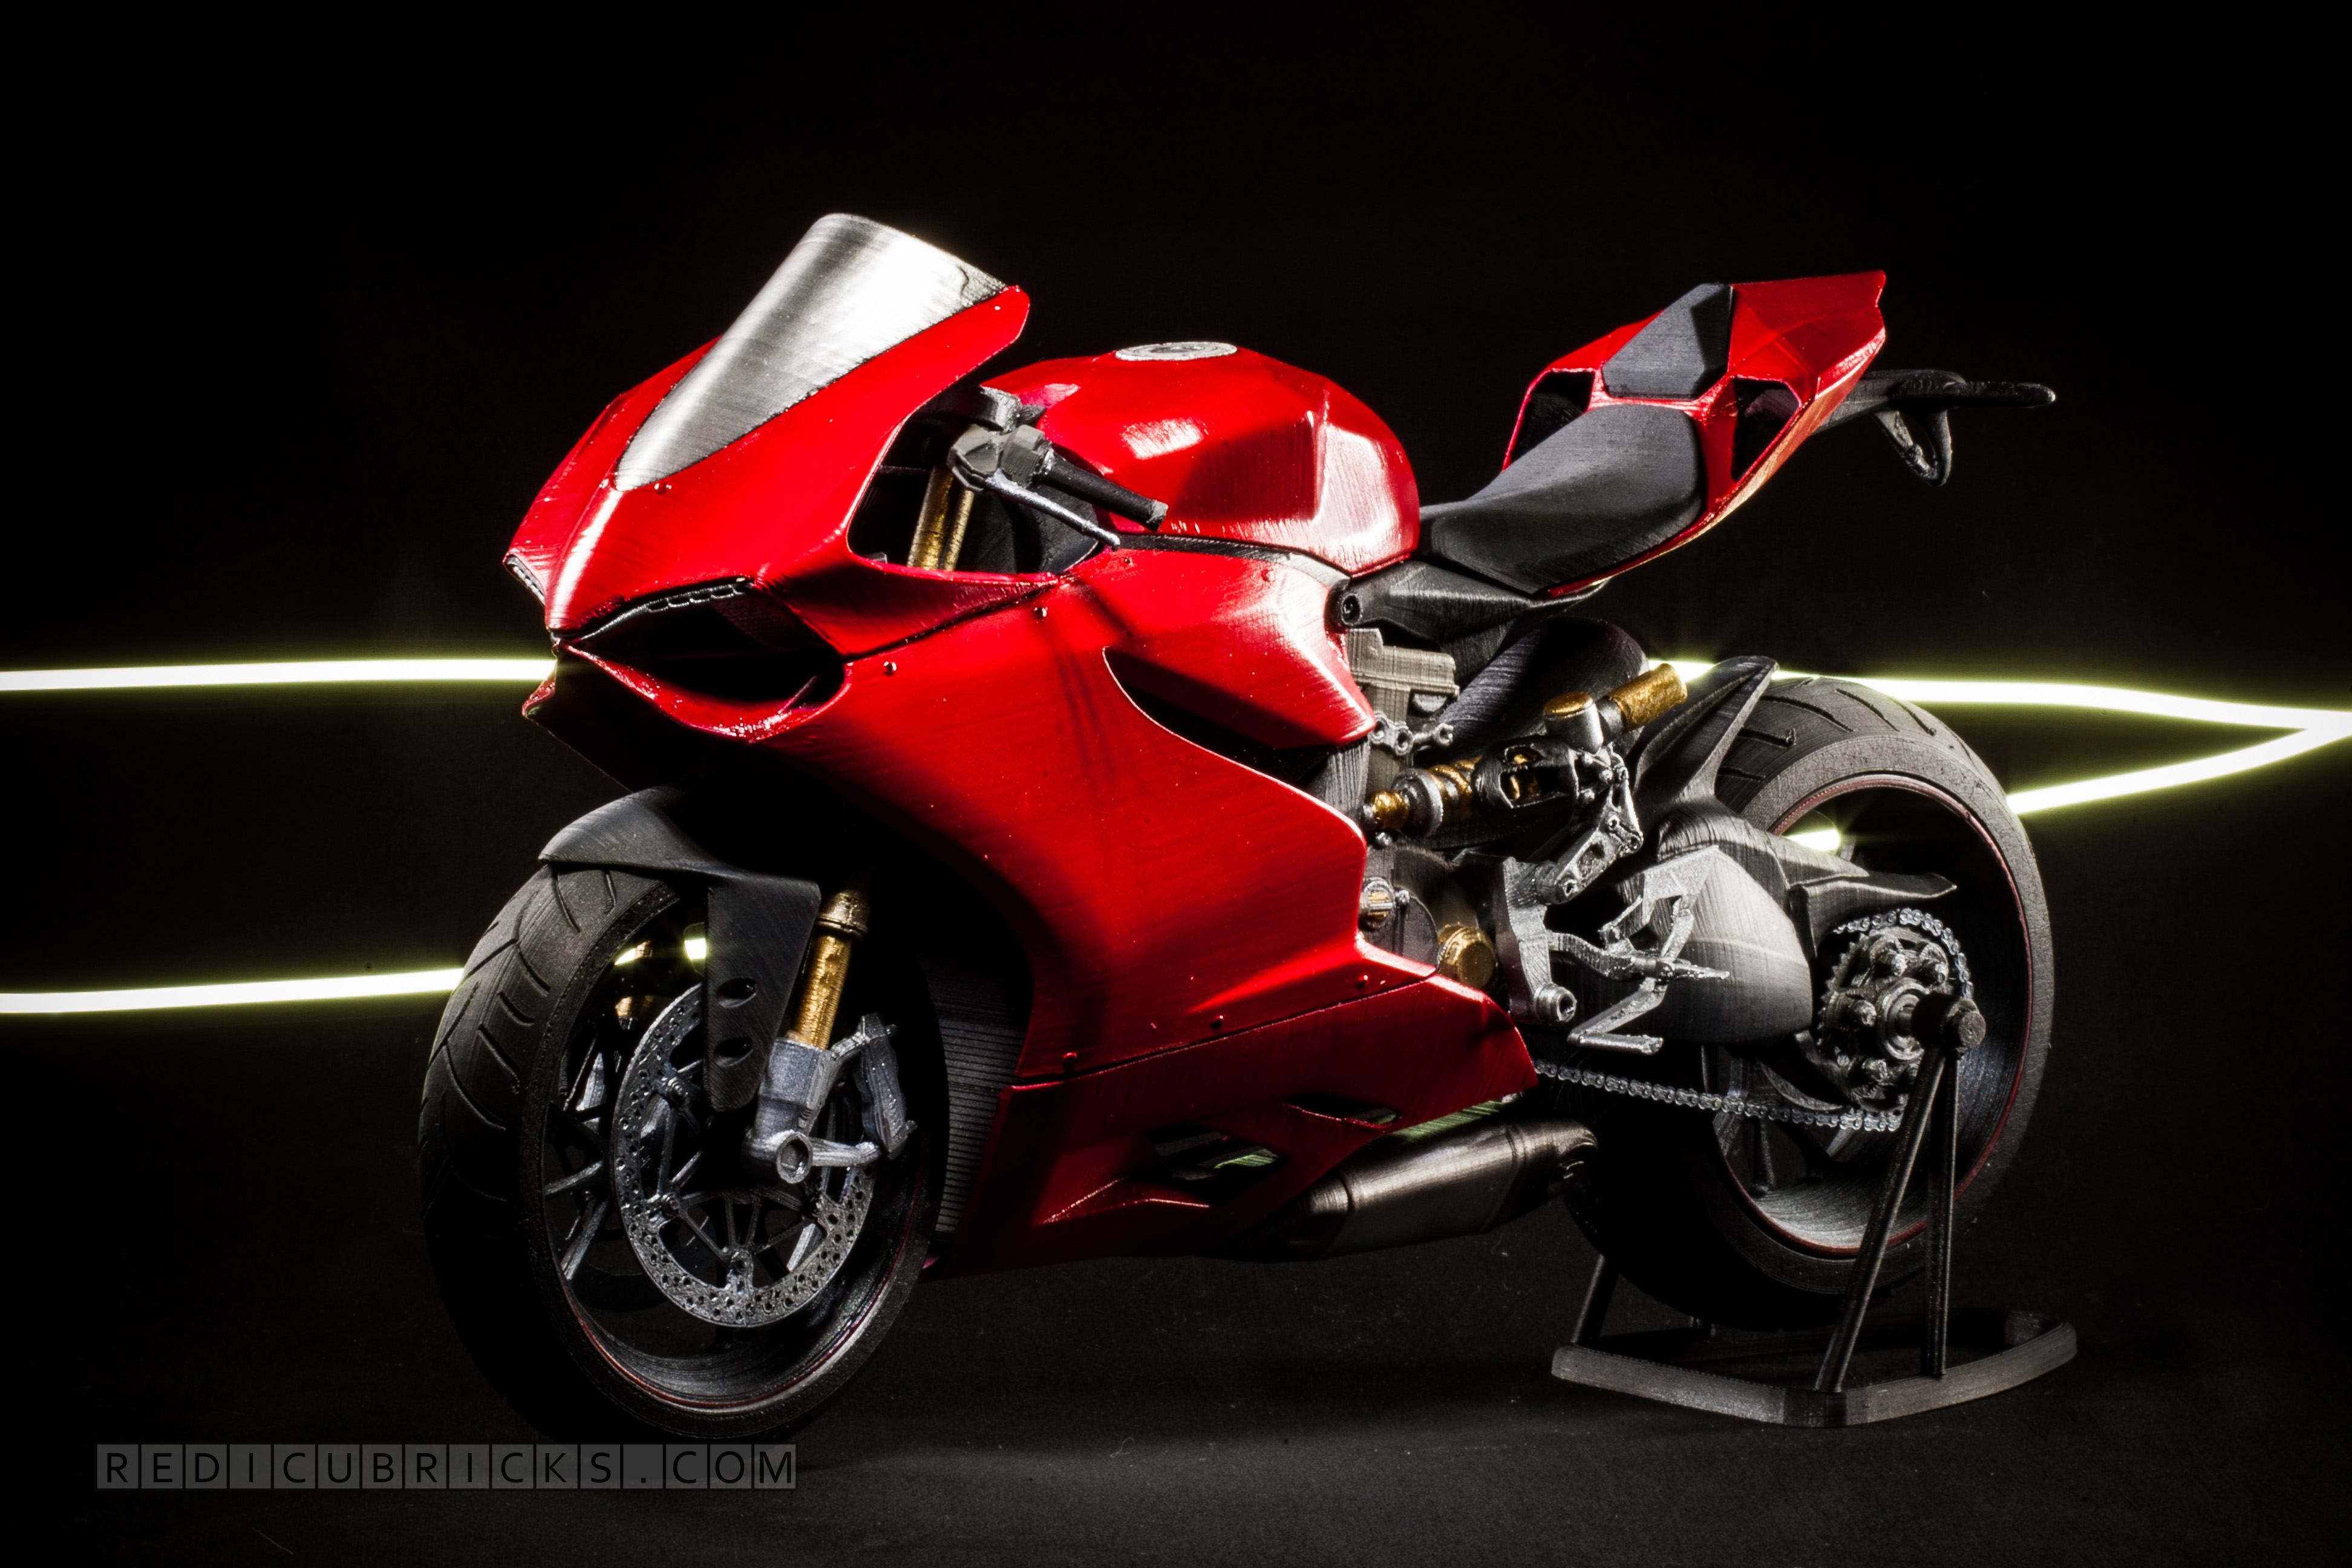
Light, light, more light.... aaand some light. If you can use natural light, the sun, awesome. Don't want to have sharp shadows while using the sun? Wait for some clouds.
Make or buy a cheap light tent. Makes a big difference.
Also, tripod or equiv. + delayed trigger if you want more depth of field and avoid blurry shots (by closing down the aperture and going for longer exposure). And please, if your camera of choice can't focus close up, don't get even closer... that bugs the hell out of me. Back up and crop.
Speaking of cropping. If you're not feeling too lazy try to crop away unneeded stuff in the background, either by framing in the camera (not always possible due to situations like above) or in post. Don't make the viewer try to find what you're trying to show.
If you're using a flash, try to bounce the light off something else if possible, like the ceiling. Or at the very least put some diffusing material between it and your subject. Direct light from a flash looks like crap.
I'm no pro though, I just buy expensive cameras to make me look like I am 


Recommended Posts
ignace-de-keyser 1
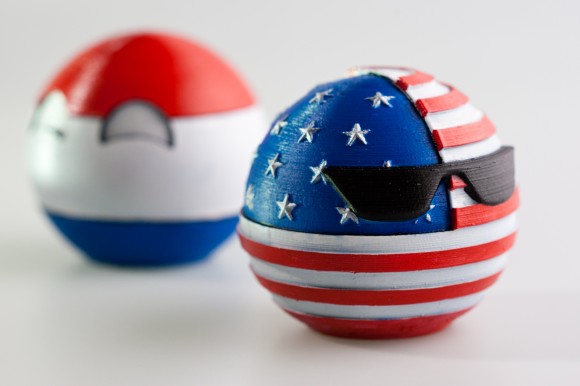
still better than my photos
Link to post
Share on other sites