


Try defining your line width fractionally less than .4mm, and the shell thickness a multiple of the line width. Results may differ in the sloped area due to the true horizontal thickness being slightly greater than the thickness as measured normal to the inner/outer surfaces.

Assuming that the top of your model is horizontal (parallel to the bottom, parallel to the build plate), the easiest thing to do in order to get uniform walls everywhere (and nothing else) would be to change the settings and the model a bit:
The idea is to change the model from "tube" to "cylinder". Meaning fill out the internal space of your model so that it will have the same outer shape, but be solid inside.
Simplified dummy for illustration:

Then, you print the model with 3 walls (3x 0.4mm nozzle size = 1.2 mm), 0% infill and no solid infill top and bottom (uncheck boxes in Cura). This will get you the result you want. You can also make thicker or thinner walls by simply changing the settings. Always use a wall thickness that equals a multiple of your nozzle size.

It only works with a flat (horizontal) top because if your top is not horizontal, it will be treated as a wall:

So, what you wanna do is not print any infill (which is printed as what you called little bridges) at all, but just (outer) perimeter lines of the model and leave everything else away. That means, disable the according print settings, and remove the according features of the model (anything except outer contour).
/edit:
One important detail I forgot:
As mastory mentioned, using this trick you will get variations in actual wall thickness, because Cura will always print the walls horizontally. A 90° wall will have the thickness it's supposed to have, but with increasing slope, the actual wall thickness will be reduced. You'll have to make a test print and check if that is acceptable or not.
/edit2:
For some reason this forum will insert the last picture again at the end of my post o.O
Please disregard...

added important detail / double picture
-
 1
1

Thanks for that @jonnybischof Great idea

yellowshark 153
Several options here to get faster.
Walls:
Go to custom menu and up near the top, in the Shell section, set wall line count to 3 giving you your 1.2.
Now at the bottom you are 2.4. I think if you set your wall line count to 6 it will be OK at the top. Test it by sinking your model substantially into the build plate – change z location from 0 to –n.
Print speed:
It looks like you have a good surface there but with 200+ you might want to try and push that speed up a bit; see how faster (if at all ) you can go and still retain the quality.
Print multiple models:
No idea what experience you have with this but it will be faster in terms of throughput, less cooling down of the bed and reheating.
If you are one of the many who print a single model at a time in the centre of the bed then this will test the accuracy of your bed levelling!
You need to decide between “Print one at a time” and “Print all at once”. For this sort of quantity I always use “Print one at a time”. Pros: if you have 5 models and the printer fails 80% of the way through, 5-6 hours for you, then with “ print all at once” you have lost 5 models, with Print one at a time” you will completed 4 models; the extruder is not jumping between models all the time so there is much less change of stringing or artefacts being created on the surface. Cons: with “print all at once” you are likely to get more models on the plate. Mind you I use 15.04 for multiple model printing because it works well in 15.04 but seems to have gone awol in vs2 onwards.
If you are a centre of the bed printer then do not forget that the peripheral areas of the bed take a lot longer to get up to desired temp. (20 minutes plus probably, obviously varies with printer model).
When my multi print is finished I remove the glass plate and place on a glass table and immediately push the bed temp up to 80-90 so it is nice and hot to reheat the cool plate.
Infill:
If the 6 wall approach does not work then you will have infill in the lower reaches. In Cura set infill to 100% and see if that reduces print time. Weird though it may sound I have experienced this happening but of course it is entirely dependent on the model and your settings.

a )If the wall 1.2mm thickness is important, consider using a .6mm nozzle. It will print twice as much plastic vs. a .4mm, and you can print the piece with two walls instead of three.
b) Or, try specifying a large number of walls, to force solid concentric-pattern printing with no infill.
c) Also, try varying the line width by tenths of a mm or so - both up and down - experiment with it, along with Equalize Filament Flow and Compensate Wall Overlaps, you should be able to get higher density.
Edited by eldrick@SandervG; I have a diy design CoreXY machine which, if I may say so, delivers very nice prints. I just upgraded to Kevlar filled belts and an upgrade to Titan Aero is in the works, to be able to print flexible material. I am not too sure what the parts are used for, it’s some sort of airflow director at the end of a low-pressure high volume air line.
@jonnybischof; thanks! That is simple and therefore brilliant.
@yellowshark; thanks for all the input. I just don’t get the logic behind ‘Print one at a time’. Whatever I do, after printing the first item printing the second will make the printing mechanism hit the first product. I’ll stick to print all at once. I am experimenting with the speed a bit, but with all the jerky start/stop movements speeding up does not give good results. I think after implementing jonnybischof’s idea I might be able to speed up. My printer easily moves 200 mm/s all day without losing steps.
I’ll let you knw how it turns out. Thanks all!
Hugo
-
1
I just redesigned the part and sliced with jonnybischop's suggestion; 32 minutes per piece. Nice! Tomorrow I'll print one and see what comes out. But this seems a great start!
Cheers,
Hugo
"Print one at a time" needs to be set up carefully. You need to teach Cura (or any slicer software) the dimensions of your printhead and gantry so that it knows where it can go without hitting previously printed parts. If you're using a "brand" machine like an Ultimaker, this information is stored in the machine profile. For custom builds you'll have to set up the profile.
You could set up your printer to automatically print a part, cool down, knock the part off the build plate (by deliberately hitting it with the printhead) and out of the printer, then heat back up and start over and over. But that requires some scripting I'm not familiar with. Has been shown by others though.
Thanks. I've looked into it and it seems entirely do-able, with the remark that I have very, very, good bed adhesion, I might need to make that worse to be able to knock it off properly.
In the meantime I printed the 32-minute piece, but it looks ugly:
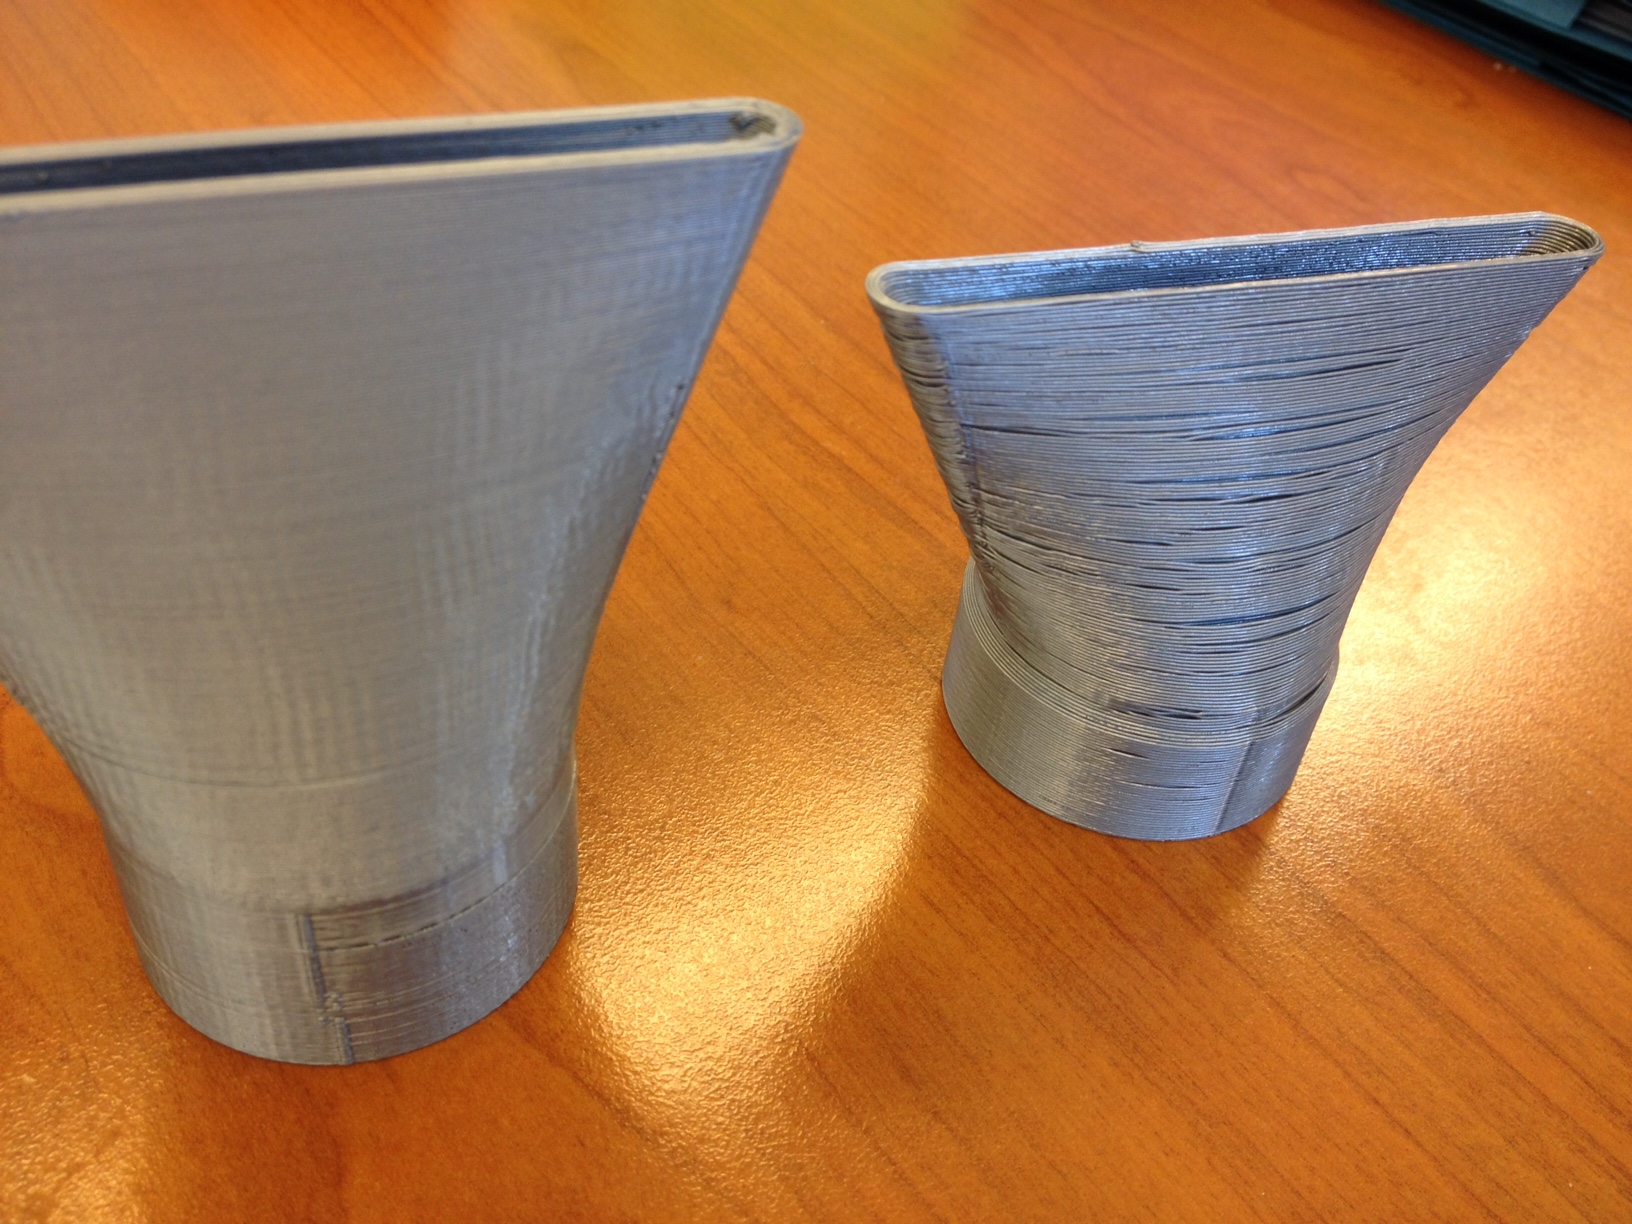
I print very slowly (40 mm/s, I usually print at 60) but it still look very bad. What is going on? I made the part slightly less tall which also saves print time, but the angle of the part compared to vertical doesn't seem that impressive, it should still have a decent overlap per layer to the previous layer.
Cheers,
Hugo
Are you printing at a different layer height?
It looks like underextrusion and bad layer adhesion.
The underextrusion could be due to a higher layer height (?) which might be too high. For example with a 0.4mm nozzle, you don't want to go over 0.2mm layer height because your print lines won't be "square" anymore but more like "rounded out" which seems to be the case here.
What material are you printing with?
edit:
By the way, for strong and accurate mechanical parts I never print faster than 40 mm/s. Typically I'd print at 35mm/s (PLA). For some PLA brands, printing faster will give me a very brittle and easily delaminating result.
Edited by jonnybischofThanks, I think I went overboard on the layer height, then.
I print budget PLA, 60 mm.min works very nicely normally. I've printed some 3DLabPrint plane parts, very nice and strong.
I've given up on the 230 pieces production, BTW, I cannot promise to finish in time. But it's a great learning experience, thank you.
Cheers,
Hugo
- 2 months later...

@HugoW do you have tips for printing a 3DLABplane on the ultimaker 2 on the latest Cura? I have read a lot of articles but the results are dissapointing, kind regards Paul
One-at-a-time mode in Cura is disabled for dual-nozzle printers, for some odd reason that I've never understood.
- 7 months later...

If a wall that's a multiple of the line width is being given a infill, such as the first pictured below of a 1.2mm thick wall being printed with a (shell thickness)/(line width) of 0.4mm, then change the line width to ~0.001mm less then what it should be (0.399 in my case) and then it will slice correctly (second picture). I believe this is essentially a compounded rounding error.

0.4mm line width

0.399mm line width
On windows 10, Ultimaker Cura Version 3.6.0

A bit off-topic: before printing 230 copies, have you tested if these 3D-models are fully functional and can withstand the desired loads, plus any brutal abuse (dropping, slamming into things)? If they want 230 pieces, it probably is for a functional test, not just for a visual demo...
- 3 months later...

On 2/26/2019 at 4:57 PM, qwanzaden said:If a wall that's a multiple of the line width is being given a infill, such as the first pictured below of a 1.2mm thick wall being printed with a (shell thickness)/(line width) of 0.4mm, then change the line width to ~0.001mm less then what it should be (0.399 in my case) and then it will slice correctly (second picture). I believe this is essentially a compounded rounding error.

0.4mm line width

0.399mm line width
On windows 10, Ultimaker Cura Version 3.6.0
Exactly what I was looking for. Worked perfectly. Thanks qwanzaden!
-
Our picks
-

UltiMaker Cura 5.8 beta released
ArunC posted a topic in UltiMaker Cura,
Another Cura release has arrived and in this 5.8 beta release, the focus is on improving Z seams, as well as completing support for the full Method series of printers by introducing a profile for the UltiMaker Method.-
-
- 1 reply

Picked By
MariMakes, -
-

Introducing the UltiMaker Factor 4
ArunC posted a topic in UltiMaker 3D printers,
We are happy to announce the next evolution in the UltiMaker 3D printer lineup: the UltiMaker Factor 4 industrial-grade 3D printer, designed to take manufacturing to new levels of efficiency and reliability. Factor 4 is an end-to-end 3D printing solution for light industrial applications-
-
- 3 replies
Picked By
MariMakes, -
-


Recommended Posts
SandervG 1,521
Hi @HugoW,
230? That's a lot! What is the purpose of these parts? Are they prototypes or end use parts?
Which Ultimaker/3D printer do you have?
If you could switch to a .8 print core or nozzle that would definitely save you a lot of time. In Cura, what is the amount of walls that you have configured? You should find this setting under 'shell'.
Good luck!
Link to post
Share on other sites