


fbrc8-erin
-
Posts
699 -
Joined
-
Last visited
-
Days Won
13
Content Type
Forums
Events
3D Prints
Posts posted by fbrc8-erin
-
-
Hi, Emilio. We have them available here: https://fbrc8.com/collections/ultimaker-2-spare-parts/products/power-adapter-24v-220w
Are you in the US? If you're not in the US, you may have another reseller closer, which would save you on shipping costs.
-
It looks and sounds like the printer was having some issues with the endstop in the corner--it shouldn't grind like that. Since it calculates the home position based on the endstops I think that's where the issue is.
Have you done the Limit Switch test in the Diagnostics menu?-
 1
1
-
-
Definitely check your printhead shafts like gr5 said, and checking the lifting switch function by hand. Also, if you perform the lifting switch test in the Diagnostics menu, does it work? If not, try doing the liftings switch calibration again following this video:
-
1
-
-
I haven't tried anything more flexible than the 95A shore hardness. Someone on the Materials board may have and can let you know how it goes: https://community.ultimaker.com/forum/111-materials/
UM3 and UMS5 are both bowden fed (rather than direct drive). Being bowden fed means the printhead can be a lot lighter than a printer with direct drive, but it also means you've got more friction inside the tube, which can be difficult for more flexible materials. TPU95A is pretty flexible, and has profiles built in Cura already.
-
TPU95A is about as soft as you'll want to print with a bowden fed FDM printer. About what size are the models you're doing? Would you benefit from the larger bed? The S5 does also have some other features (like the flow sensors so you know if you've run out of filament). It all depends on what your needs are.
-
Hi, Jim, have you reached out to your reseller or the Ultimaker North America support team (it looks like you're in the US)? If the printer's still inside the one year warranty, we should be able to help you out. When you email in, include the serial number of your printer, and a copy of the receipt. Photos of issues always help too.
-
On 3/23/2017 at 7:15 PM, krys said:
Actually, Proto-Pasta now has some matte PLAs available. Never tried them though.
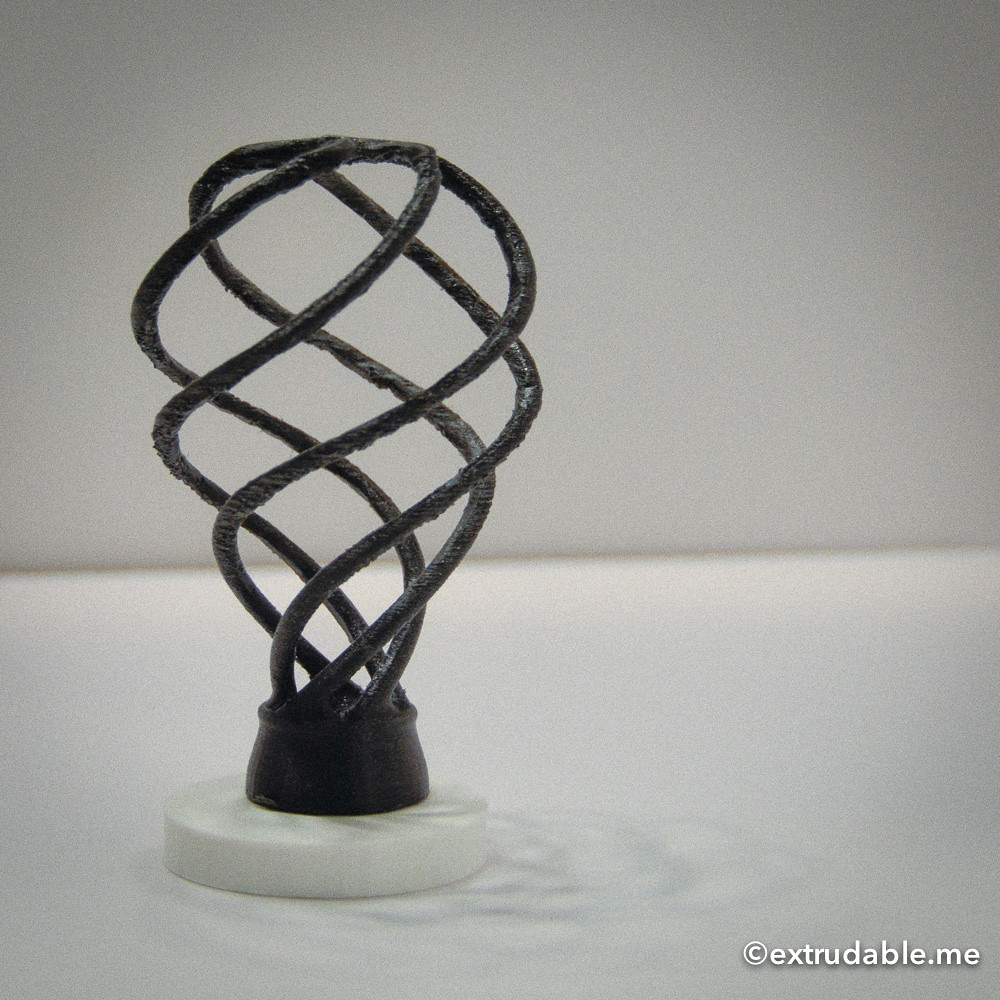
I actually really like the Proto-Pasta matte PLA. We've got some in stock. We remixed this Julius Caesar bust from Thingiverse a couple weeks ago and printed it with the white Matte Protopasta. I've got a base we did in Bronzefill (still need to find the time to polish it up). But I love how it turned out.

-
1
-
-
5 hours ago, aubustou said:
The little one at the back of the nozzle? Err, what fan at the back of the nozzle? There is one in the Ultimaker 2 but not on the 3...
The equivalent fan on your UM3 is the front fan. It should keep the upper part of the print core from getting too hot. If filament hairs get tangled in it, it could stop running.
-
7 hours ago, whoneyc said:
No harm in a little shameless promotion. The parts sent from fbrc8 were paid for by the NA support folks. I haven't heard back from them, but I'm guessing they aren't too into doing a full upgrade.
I'm just a little curious about the Bondtech feeders you have as a side note. I see a two-part feeder gear, and that is the only real difference. Is the rest of the kit really necessary if I can't print my own custom lever? Do the 1.75mm feeders work well on the UM3? That would be a nice side-grade to consider in the future.
For support, we send out whatever parts are needed under the warranty (so all OEM parts, no bondtech). It looks like my technichian responded on your support thread after this last post and has some other things to try with you that he wanted to check out.
-
1
-
-
This isn't related to the feed issues, but make sure you bend your fan shroud back into the right shape. Where it's dangling down on the left, you could snag it on a print and kill a print you've put a lot of time into.
How many print hours are on your machine?
What's the tension set to on your feeder?
-
From the third picture, I'd say your rear fan isn't running. This is the fan that should be keeping the hot Teflon piece (and the filament above the nozzle) cool.
If it's not running, the filament will expand due to the heat, and it will be too wide to proceed down the Teflon piece, resulting in the grinding you're seeing in picture 2.
Your rear fan should be running whenever the nozzle temp is above 50 C. (Or if this an older printer, running whenever the printer is on.)
-
I think you need a fairly non-stretchy fabric. I think tulle or denim have been used. And then you'd probably want to use some binder clips to secure it to . the glass plate. Beyond that...I bought some fabric to try it out a couple weeks ago and haven't had time yet.
-
1
-
-
Absolutely. Printers get super hangry.
-
1
-
-
It's a spot where wear and tear can occur on the lever if the filament isn't quite sitting straight on the bearing; it's not super common but we've seen a few cases. I just put the label on the box actually about 5 minutes ago, and you should have the part in a day or two, with tracking information in your email. There's also an update on your support ticket with assembly instructions for installing it in your feeder.
-
4
-
-
Glad it worked! Definitely always do a factory reset after a firmware update; it's the best way to make sure all the changes really go through.
-
Did you do a factory reset after updating your firmware? Sometimes new profiles don't show up after a firmware update unless you factory reset the printer.
PP should be fine for a UM2X+. It uses the same feeder as the UM3. -
I think the angle of the spring would also make a difference in how well it prints. I've found a couple of files on Thingiverse that look to have printed okay as springs without any support. They're not perfect and would probably benefit from support, but they seem to have printed.
https://www.thingiverse.com/thing:487880/makes -
It certainly won't be as clean without dissolvable or removable supports, but I wouldn't say you can't print a spring.
This isn't quite the same, but pretty similar I think to printing a spring:
No supports; I can't remember if this was printed on a UMO or UM2 (back in 2013). No supports. I'm pretty sure it was the UMO, but I'd have to defer to @illuminarti to confirm.
-
2
-
-
Switching the two Core positions is totally fine; I actually recommend it in a lot of cases during troubleshooting if we're trying to narrow down an issue along one of the feed paths.
I'm running a print right now with PVA in Feeder 1 and PLA in Feeder 2 because I'm using Faberdashery PLA (loose coils not on a spool) and it worked out better in my workroom that way.
-
1
-
-
Glad to help.
-
I haven't had issues with the default PVA settings like this.
It looks like your magnets are still in place where they should be in the front bracket, so that's good.
From the looks of things, if I was going to guess, I think the bracket probably opened first, and then it would have hit the existing print, causing the bed to dislodge. (Rather than the bed dislodging and then the bracket opening.)
Is it possible your bracket is bent to more than 90 degrees? The metal is pretty soft and it won't hold a good connection if it's bent to more than 90 degrees. Quick video on fixing the bracke:
-
 1
1
-
-
I would print it fairly cool so that you don't have a lot of drooping as the material cools. What material are you printing with?
-
I'm not sure if there's a full menu tree anywhere but here it is short and quick:
Print--choosing prints from your USB stick
Material/PrintCore--* Material 1/2
* Load
* Remove
* Change
* Move (good for doing a manual extrusion if you need to purge some filament out)
* Select Material
* Print Core 1/2
* Set nozzle temperature
* Unload
* Change Cores* Load
System
* Network* Connection Status (is it on the network, yes or no?)
* Run Wifi Set Up (set it up on the network)
* Lan Cable (is it connected this way, yes or no?)
* Wifi (is it connected this way, yes or no?)* Build Plate
* Manual leveling (run manual bed leveling)
* Active leveling (run active leveling process)
* Leveling frequency (decide how often you want active leveling to run; I recommend Always)
* Lower (move build plate to bottom/Z-home)
* Raise (lower build plate to bottom and raise it back up)
* Set Temperature (rotate button to set build plate temperature)
* Printhead
* Fan speed (note: this is how you test your side fans while NOT running a print; it will not affect the front fan)
* Home (return printhead to home position in back left corner)
* Frame Light
* Brightness (set percentage of brightness)
* On While Printing (check yes or no)
* Glow when done
* Maintenance
* Update firmware (for more information, see here: https://www.youtube.com/watch?v=CR5BFkebhWg; firmware update can be done over LAN, wifi, or USB; video covers common errors I've seen with trying to update via USB)
* About this printer
* Certifications
* Welcome set up
* Factory reset
* Print Core cleaning (very useful; it will set the temperatures for you for doing a hot/cold pull to clean your cores)
* Calibration
* Calibrate lift switch (useful if you suddenly find your lift switch is not lifting when it should)
* Calibrate XY offset (do this if you buy any new Cores, or swap the left and right positions between 2 existing Cores)
* Change XY offset (make adjustments to the offset without having to run the whole calibration again)
* Diagnostics--if something goes wrong, there's a lot of built in diagnostic tools right in your firmware
* Switching test; good way to check and see if your lifting switch is working
* Heater sensor test
* NFC Spool holder test
* NFC reader test
* Limit Switches
* XY Motion stress test
* Dump Logs to USB
* Developer mode
* Language
-
1
-
-
Check and see which extruder you're using for you build plate adhesion (like the skirt).
Have you updated the firmware since receiving the printer?
Waiting for it to cool and then hitting the power switch is a good way to do it.


Where to buy a new UM2 PSU ?
in UltiMaker 3D printers
Posted
Regarding GST versus GS2...due to changes in the law, I don't believe it's legal to import the GS2 ones anymore (if you're in the US). GST is the new standard for the part.