Jump to content

E3D All Metal Hotend for Ultimaker


Recommended Posts

Posted · E3D All Metal Hotend for Ultimaker

E3D can supply the head now with a plastic 6mm pipe fitting in the top. The plastic fitting was too large diameter though and clashed with the linear bearing so I had to swap it for a smaller metal Festo one I had from some other project.


Great Work! I'm very tempted to buy a E3D head. I assume you mean the Bowden attachment? Shouldn't it be possible to update the model to avoid interference with the linear bearings? Anyway I'm wondering if it would be posible to add dual extrusion support with the original ultimaker hot-end or maybe the PEEK will be too hot to be safely mounted in ABS.


  • Link to post
    Share on other sites

    • 2 weeks later...
    • Replies 458
    • Created
    • Last Reply

    Top Posters In This Topic

    Posted · E3D All Metal Hotend for Ultimaker

    Because of the very long leadtime we have at the moment when ordering one of the E3D hotends I decided to go for a custom-made hotend that is truly inspired by the original (more or less the same size, materials, and so on). I thought a bit of pretesting could be a good idea as I'll already ordered two of the original E3D hotends for even tougher tolerances and the extra nozzles. Also to support that great example of engineering buying the original is a must I think. But for the meantime I'll use my "copy". :D

    The hotend is working like a charm and in excactly the way described by am001. Highest temperatures without any plugging, great bonding, and insane speeds even with ABS. I love that thing!

    Some photos of my custom E3D hotend can be found on my made one page on Thingiverse. The hotend consists of a custom-made aluminum heatsink and a custom stainless steel thermal barrier. The heater block was reused from my stock UM, also the nozzle, but drilled from 0.4 mm to 0.6 mm to have a 66 % larger throughput.

    Many many thanks to am001 who designed that awesome E3D hotend holder!! :)


  • Link to post
    Share on other sites

    Posted · E3D All Metal Hotend for Ultimaker

    Some photos of my custom E3D hotend can be found on my made one page on Thingiverse. The hotend consists of a custom-made aluminum heatsink and a custom stainless steel thermal barrier. The heater block was reused from my stock UM, also the nozzle, but drilled from 0.4 mm to 0.6 mm to have a 66 % larger throughput.


    That holder looks awesome. Is it SLA'd? We printed a PLA one today in anticipation of our E3D hotend. Made a few minor changes to use plastite screws for assembly and to allow both halves to be printed separately without support and then screwed together. I can't wait to get the hotend and set this up, it's a beautiful combo and we're excited to see how it performs.


  • Link to post
    Share on other sites

    Posted · E3D All Metal Hotend for Ultimaker

    No, it's not SLA'd (but would have been nice, though :D). It's just printed in ABS on my Ultimaker and then finished with some acetone. It's strong enough to withstand the heat of the heatsink and the heated bed that is at 110 °C all the time during a print.


  • Link to post
    Share on other sites

    Posted · E3D All Metal Hotend for Ultimaker

    Trion

    Awesome! I think this is the first "clone" version I have seen. (I have heard of others doing, or attempting to do so, but nothing coming of it) Really nice looking machining.

    The version you will recieve (I think - I don't do the actual shipping) will be a slightly updated version with more fins, and less weight, as well as slightly increased chamfers all around the filament path to ensure smooth insertion and passage of filament.

    In general:

    I know I havent been super active here in the forums! Sorry. It's just a matter of being super busy. We have had a bit of a problem with being supplied out-of-spec heater cartridges by our supplier in China which has really caused a big headache for us. If anyone reading this has recieved a heater that isn't fitting right in the heater-block or isn't getting hot enough then don't fear - we are already in the process of shipping out replacements to everyone who may have been affected and I am really sorry for any problems caused.

    We want to be able to support the Ultimaker crowd as much as possible, and for us that means being able to supply a compatible mounting/bowden coupling solution. The festo couplings that am001 and trion are using in am001's design are really nice, but they aren't terribly cost effective and festo isn't a good fit for out supply chain. Creating a printable mount that works with our current couplers is on the list.

    We are experiencing some (slight) delays in shipping due to an unwell machinist, right now - unfortunately there isn't much we can do about this, but we are doing everything in our power to ship all units ASAP.

    Sanjay


  • Link to post
    Share on other sites

    Posted · E3D All Metal Hotend for Ultimaker

    Hi All,


    To everyone that has a pending order with us:


    Everything is shipping! :)


    All orders made before June 11th have shipped. Everything else is shipping over the weekend, possibly Monday for some of the very recent orders.


    Everyone is receiving the most up-to date hotend, which is effectively the v5 now. Many performance and ease of use tweaks have been done, but the fundamentals such as mounting dimensions, overall length etc (the things that matter for making it fit your machine) have remained identical. You will just be receiving a hotend that is lighter in weight, and has a somewhat improved thermal performance.


    We hope to move to a permanent state of "shipping within 1-2 days of purchase" by the end of the week.


    Concerning water cooled and multi-nozzle hotends


    Because there seems to be a bit of speculation/confusion surrounding this I am going to let the cat out of the bag.


    We have on the way a small prototype run of a 4 nozzled, water cooled, bowden fed hotends.


    We are calling this new hotend "Kraken" - A multi tentacled water borne monster!


    The total footprint of the hotend is only 30*40mm in XY plane, the Z height from top to tip is under 40mm, and the 4 nozzles are arranged in a rectangle only 20mm*18mm apart. The weight without electronics looks to be around 110 grams, which is barely the weight of 2x E3Dv5 hotends. Each nozzle to have separate temperature control. Each nozzle can be individually levelled and adjusted in height to be planar with the bed in a very easy and quick way.


    The small size and weight despite 4 nozzles is due mainly to the high efficiency of water cooling, even with only a tiny amount of water flow and a small cooling channel we still have a massive excess of cooling capacity. The second reason is a new way of mounting/gripping bowden tubes which has all the convenience and grip of pneumatic push-fit couplers, but with significantly less bulk and weight.


    We intend to keep the price reasonable, and below the price for buying the equivalent number of E3Dv5.


    But to be clear - Kraken is not a replacement for the normal v5 hotend, which will remain our main product that suits most users. The Kraken is designed purely for multi-nozzle bowden feed applications. Futhermore it is not finished! We will be shipping the majority of our beta prototyping run to trusted testers. I expect problems to occur and tweaks to be necessary. I will start a separate thread once things are ready, and the final version of Kraken will be developed in a public/interactive manner so the community can input what it wants/needs so that we can give you guys what you want.


    Kraken will be open-source when sold publicly.


    Cheers,

    Sanjay


  • Link to post
    Share on other sites

    Posted · E3D All Metal Hotend for Ultimaker

    The only problem of the E3D holder by am001 that bugged me a bit was that you lose a slight amount of space in X and Y directions. I didn't like that because I print big parts most of the time. It's only a few millimeters you lose but why give away space that you actually can use for prints! With the great banana blocks by MoonCactus you can gain that space back. Modifying the firmware and the end stops you can even gain up to 208 mm in both X and Y. So the E3D holder and the banana blocks are a great combination.


  • Link to post
    Share on other sites

    Posted · E3D All Metal Hotend for Ultimaker

    Kraken sounds very cool, I love what you're trying to do.

    Just finishing up the design of my new printhead to use the V5 E3D hotend, really looking forward to getting this going. Will post pictures and files as soon as I get it assembled.

    Can anyone comment on how well this hotend withstands clogging when using Cura-standard retraction?


  • Link to post
    Share on other sites

    Posted · E3D All Metal Hotend for Ultimaker

    Thingster

    Nice suggestion there - noted.

    Nick Foley

    Sounds good - keep us updated. I am working on a section for the site where we will have some sort of compatibility grid with suggested printed adaptors where needed etc. It would be good to have a few different options for the UM crowd to mount the E3Dv5 etc to their machines.

    Kraken is on the way, slight delay due to a last minute optimisation that makes things a little more compact and easier to use. Unfortunately I think we may be up to 4-5 weeks away from Beta sales. I should have some pictures of my handmade prototype and CAD renders to go up soon though!


  • Link to post
    Share on other sites

    Posted · E3D All Metal Hotend for Ultimaker

    Trying to set up this hotend on a new Ultimaker, using the E3D thermistor in place of the Ultimaker thermocouple. I also am trying to run a 12v rail for the E3D fan. I have a few questions:

    1) Where is the 12v rail on the Ultimaker PCB? The only option I'm seeing is to solder something to the 12v regulator that's going to the stepper drivers? (Right next to where the 20V PCB fan connection is) Also, is there a schematic of the new Ultimaker PCB somewhere? Been searching with no results.

    2) Do I need to reuse the amplifier PCB that's normally on the print head of the Ultimaker? Right now my thermistor is directly wired to the GND and SIG terminals of TEMP1 on the Ultimaker PCB (not through the amplifier PCB), with a 4.7K resistor soldered at R23. This setup isn't working right now (won't boot because it can't sense temperature) but it could be a variety of reasons.

    3) Which TEMP_SENSOR do I need to set to match my thermistor in the Configuration.h file of the Marlin firmware? The PCB has TEMP 1, TEMP 2, TEMP 3 - but Marlin has:

    #define TEMP_SENSOR_0 1

    #define TEMP_SENSOR_1 1

    #define TEMP_SENSOR_2 0

    #define TEMP_SENSOR_BED 0

    (How do you do syntax highlighting on this forum, btw?)

    Which of these corresponds to TEMP 1 on the PCB? Is it TEMP_SENSOR_0? or 1?

    Edit: Thermistor seems to be working now - I had a faulty crimp. It now seems to be detecting temp correctly, though I'm still not sure if it's using TEMP SENSOR_0, or TEMP SENSOR_1, because I set them both to 1.


  • Link to post
    Share on other sites

    Posted · E3D All Metal Hotend for Ultimaker

    Hi Nick,

    I am still using the thermocouple and Ultimaker block, so I am not entirely sure about the thermistor, but I did look into it at the time. I think you change the resistors in the input circuit to match what you would do on the heated bed input. Exacltly like you described. From memory I think there is a resistor you need to remove though to stop the 5v going to the thermocouple board.

    As for the 12v, on my board there are 3 fan outlets at the opposite end of the PCB next to the 7812, one of which connects to the PCB fan underneath, and you can connect to either of the other two.


  • Link to post
    Share on other sites

    Posted · E3D All Metal Hotend for Ultimaker

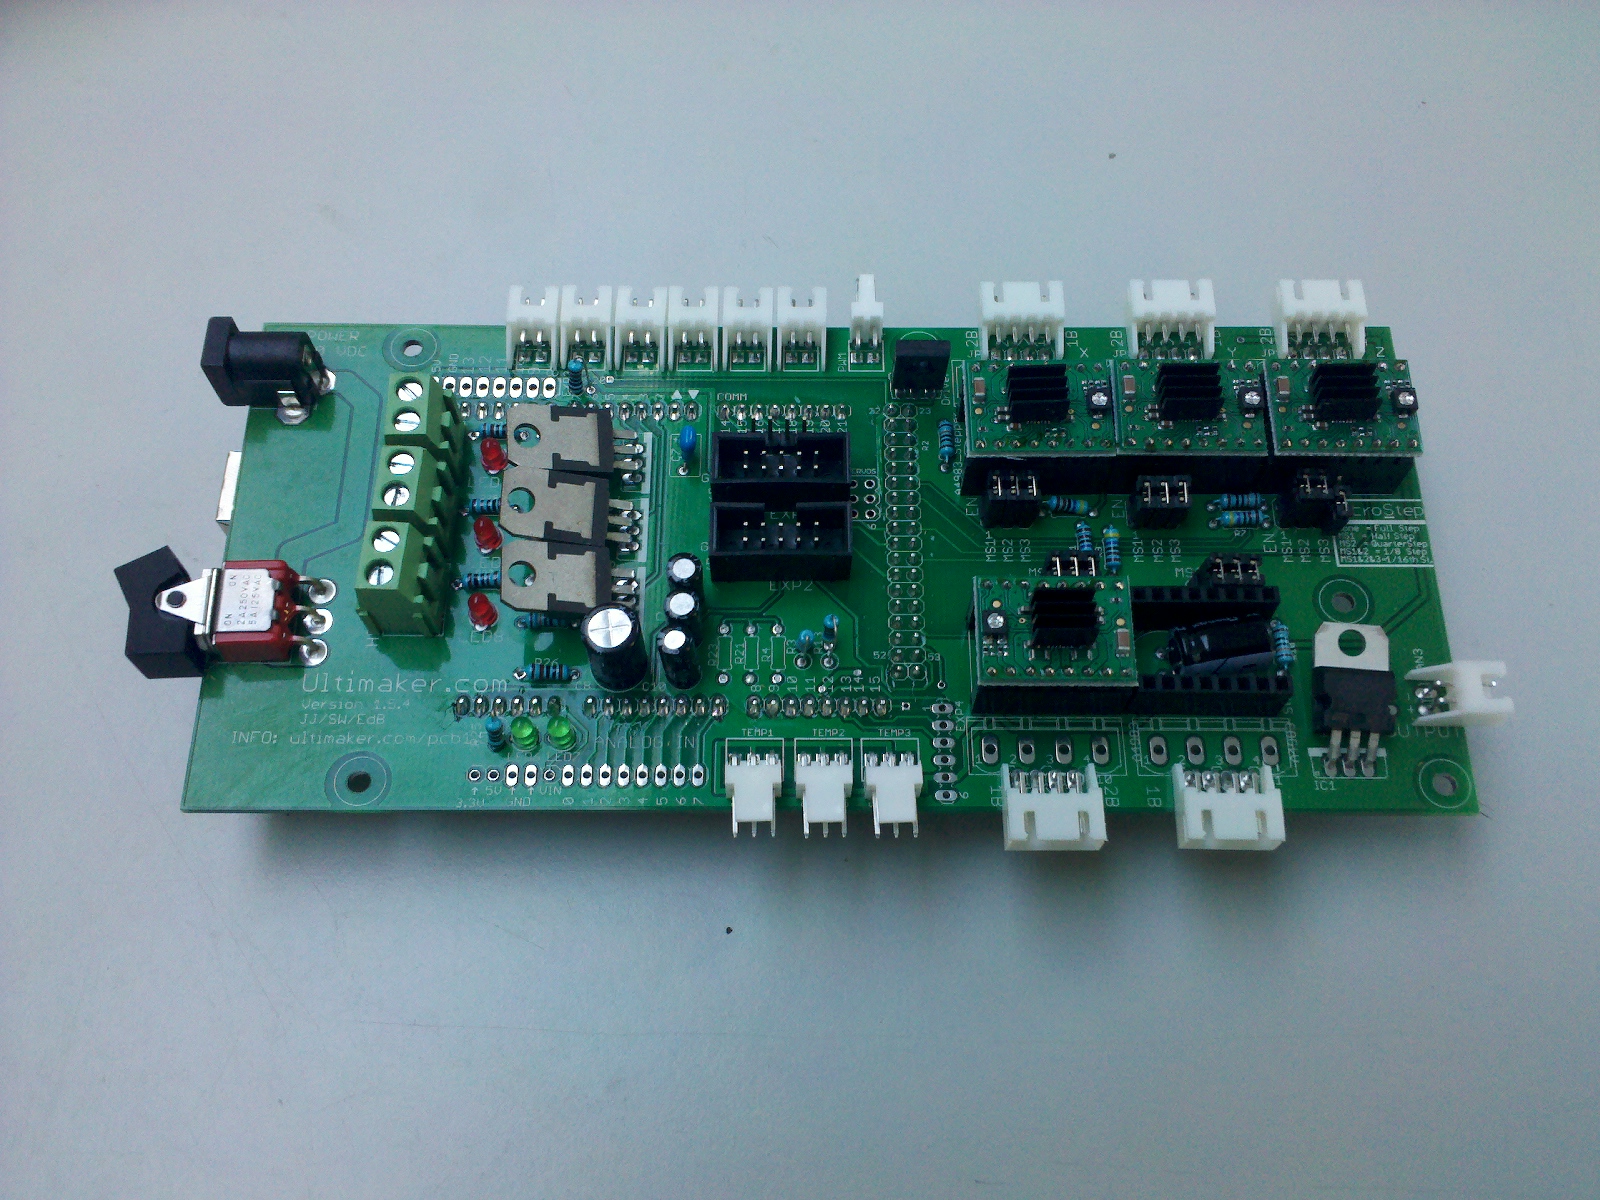
    Hmm, on my board there only seems to be the PCB fan connection, and it seems to be 19-20V (I think it's just passing on voltage from the wall power supply). It is the 1.5.7 version, but it looks very similar to this:

    UltimakerPCB1.5.4-prototype.JPG

    (1.5.4 prototype from wiki)


  • Link to post
    Share on other sites

    Posted · E3D All Metal Hotend for Ultimaker

    Getting some awesome prints from this hotend. PLA looks great, haven't quite figure out nylon yet though. Going to share the printhead files shortly. There doesn't seem to be any heat getting up into the PLA printhead, which is promising. Another question though:

    Are there any DO's on the board which indicate that the machine is in the "printing" state? I would like to use something like that to control the active cooling fan on this hotend. We leave our machine turned on 24/7 since we print from the web using Botqueue, and so as a result, the active cooling fan will never be turned off. I'd like to wire it so that it is only on when the machine is printing.


  • Link to post
    Share on other sites

    Posted · E3D All Metal Hotend for Ultimaker

    Woooo! We got our new machine with the latest E3D hotend and custom printhead up and running yesterday and we are really loving the results. It is definitely a more elegant solution than stock, as well as much easier to assemble and much lighter weight. I'm sure it will prove to be higher performance as well. Build volume doesn't seem to be compromised significantly - I believe Z is the same, X is around 210, and Y is around 200. We reused the Ultimaker heater (why not... it fits) but switched to the E3D thermistor instead of the thermocouple, because drilling out the provided aluminum block to accept the thermocouple didn't seem like a very functional solution (not located as close to the nozzle). Switching the firmware was easy enough, as was wiring the thing to the board. Instructions exist on these forums, but please ask if there are questions.

    Some photos:


    _DSC2519_display_large.jpg

    _DSC2500_display_large.jpg

    _DSC2518_display_large.jpg

    The head is printed in PLA as 3 separate parts (without support): The printhead body, the snap-mount fan duct, and the hotend clamp. The printhead body is an ambitious print without support - it is necessary to manually correct some curling during the print in order to complete it successfully. It's worth the handholding though - when you're done, you have an ultra lightweight, low-profile printhead for the E3D hotend, which uses a minimum of screws for assembly, has an optional (but tightly integrated) print cooling fan duct, and internal cable routing.

    Initial tests seem to indicate that there isn't significant waste heat moving up into the printhead during use, so without a heated build platform or chamber, PLA may be a fine material for the printhead. Going to try to reprint in nylon nonetheless, if we can get that going smoothly.

    Assembly requires:

    2 #2 x 0.75" plastite screws

    8 #2 x 0.5" plastite screws.

    Anyway, there are still many design improvements that could be made, so I'll put up the source files here: http://www.thingiverse.com/thing:121074

    STEP and Solidworks so you can make edits and roll your own STLs. None of that low-poly mesh bs, right?


  • Link to post
    Share on other sites

    Posted · E3D All Metal Hotend for Ultimaker

    Nick,

    that looks like a sweet set up. I am tempted to swap over to the E3D hotend, Out of interest which X & Y sliding blocks are you using?

    Cheers

    Bob


  • Link to post
    Share on other sites

    Posted · E3D All Metal Hotend for Ultimaker

    We're using a modified version of the mooncactus XY blocks. We changed some hole diameters to accept plastite screws instead of machine screws (and do away with the nuts!), as well as adding a lip around the bushing to hold it captive without excessive clamping force.

    There's been grumbling on this forum about the need to design a new XY block, and I agree. The mooncactus version is a huge step forward from stock, but it's still tedious to assemble and not that much easier to adjust. I've been sketching up some ideas but haven't had the time to execute them yet. (Edit - just modeled something up, will print tomorrow and start a new thread if they seem like a legitimate improvement.)


  • Link to post
    Share on other sites

    Posted · E3D All Metal Hotend for Ultimaker

    Nick, I don't suppose you feel like sharing the files do you?

    pretty please

    Bob


  • Link to post
    Share on other sites

    Posted · E3D All Metal Hotend for Ultimaker

    Hah, absolutely, didn't think anyone would want them. Uploading to thingiverse now...

    ... here they are: http://www.thingiverse.com/thing:121293


  • Link to post
    Share on other sites

    Posted · E3D All Metal Hotend for Ultimaker

    Thanks Nick

    Bob


  • Link to post
    Share on other sites

    Posted · E3D All Metal Hotend for Ultimaker

    Nick, do you have much experience using plastite screws in these sorts of application? Dynamic, with vibration.

    If so, how have you found they compare with machine screws and nuts for resistance to loosening? Similar? Superior? Inferior?

    Undoubtedly more convenient, but is there a downside?


  • Link to post
    Share on other sites

    Posted · E3D All Metal Hotend for Ultimaker

    We use them in many critical plastic pieces on the bike-share systems we design, and there has yet to be an instance of one working itself loose. They see a lot of vibration.

    They hold extremely well in plastic because they have a triangular profile, which allows the plastic to creep around the screw threads after the screw is inserted, effectively locking the screw in place. Apart from being way easier to drive (Torx and aggressive threads FTW), they should be much more resistant to vibration and loosening over time. The also allow for much simpler assemblies, because you don't have to worry about being able to access the nut in order to tighten them.

    The only downside is that you probably need an extra mm or two of thickness in your pilot hole bosses, because you don't have the compressive force of the nut on the other side - you're using the walls of the boss itself. Even with the extra plastic though, there is still a weight savings vs. an M3 + nut. The other downside is that getting your hole size correct is a bit more critical, but on my machine a 2.2mm pilot hole and a 3.5mm clearance hole seem to work with a variety of print settings when using #2 plastite screws.

    Does anyone have any good info (anecdotal or otherwise) about the long-term stability of printed PLA parts, btw? Like creep, fatigue, UV, and humidity resistance?


  • Link to post
    Share on other sites

    Posted · E3D All Metal Hotend for Ultimaker

    Sanjay -

    The only major problem I have with this hotend so far is the thermistor - it is crazy ghetto. Shoving a tiny fragile element into a tube, packing aluminum foil behind it, and wrapping the whole thing in kapton tape is some macgyver garbage that doesn't fit with the rest of this otherwise elegant design.

    You should change it to be something like this:

    http://www.ussensor.com/h3457-fast-response-micro-probe

    or this:

    http://www.ussensor.com/h3134-s/s-set-screw-8/32

    Don't those look sexy? God, they would be sweet. They would probably perform much better as well. I'm going to order one and modify the existing thermistor hole to accept it...

    ...actually, they may be ridiculously expensive. Will try to find something reasonably priced and more elegant.


  • Link to post
    Share on other sites

    Posted · E3D All Metal Hotend for Ultimaker

    We use them in many critical plastic pieces on the bike-share systems we design, and there has yet to be an instance of one working itself loose. They see a lot of vibration.

    They hold extremely well in plastic because they have a triangular profile, which allows the plastic to creep around the screw threads after the screw is inserted, effectively locking the screw in place. Apart from being way easier to drive (Torx and aggressive threads FTW), they should be much more resistant to vibration and loosening over time. The also allow for much simpler assemblies, because you don't have to worry about being able to access the nut in order to tighten them.

    The only downside is that you probably need an extra mm or two of thickness in your pilot hole bosses, because you don't have the compressive force of the nut on the other side - you're using the walls of the boss itself. Even with the extra plastic though, there is still a weight savings vs. an M3 + nut. The other downside is that getting your hole size correct is a bit more critical, but on my machine a 2.2mm pilot hole and a 3.5mm clearance hole seem to work with a variety of print settings when using #2 plastite screws.


    Nick, thanks for the info. It's given me the confidence to print out your mount for the E3D hot end (en route to me!) and your variant of the MoonCactus XY blocks.

    Anything to make life easier has me hooked!


  • Link to post
    Share on other sites

    Posted · E3D All Metal Hotend for Ultimaker

    Awesome. I just finished up an improved xy block design that I'll post shortly. Seems like a big usability improvement.

  • Link to post
    Share on other sites

    Posted · E3D All Metal Hotend for Ultimaker

    what do you think about modifing you hotend assembly to use standar j-head?

    thanks

    Antonio


  • Link to post
    Share on other sites

    Create an account or sign in to comment

    You need to be a member in order to leave a comment

    Create an account

    Sign up for a new account in our community. It's easy!

    Register a new account

    Sign in

    Already have an account? Sign in here.

    Sign In Now

    • Our picks

      • Introducing the UltiMaker Factor 4
        We are happy to announce the next evolution in the UltiMaker 3D printer lineup: the UltiMaker Factor 4 industrial-grade 3D printer, designed to take manufacturing to new levels of efficiency and reliability. Factor 4 is an end-to-end 3D printing solution for light industrial applications
          • Like
        • 2 replies
      • UltiMaker Cura 5.7 stable released
        Cura 5.7 is here and it brings a handy new workflow improvement when using Thingiverse and Cura together, as well as additional capabilities for Method series printers, and a powerful way of sharing print settings using new printer-agnostic project files! Read on to find out about all of these improvements and more. 
         
          • Like
        • 26 replies
    ×
    ×
    • Create New...