

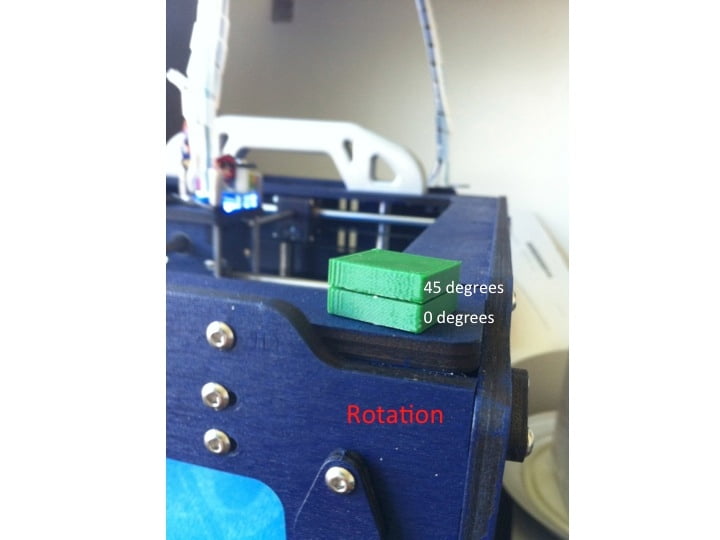
If an object with square sides is rotated by 45 degrees away from square with the bed, the X and Y components of the velocity vectors are reduced by a factor of root-2 over 2.
I have noticed significant changes in prints when changing the orientation by 45 degrees.
I can't imagine how rotating the object can help, but something you didn't mention: tighten or loosen the belts.
-
 1
1


Recommended Posts
gr5 2,210
I can't imagine how rotating the object can help, but something you didn't mention: tighten or loosen the belts.
Link to post
Share on other sites