


This is partly why we suggested one print at a time instead of all at once.
(How do I get these into a text file?)
After you post to the gallery, start a new post and click "my media" next to the smile face.
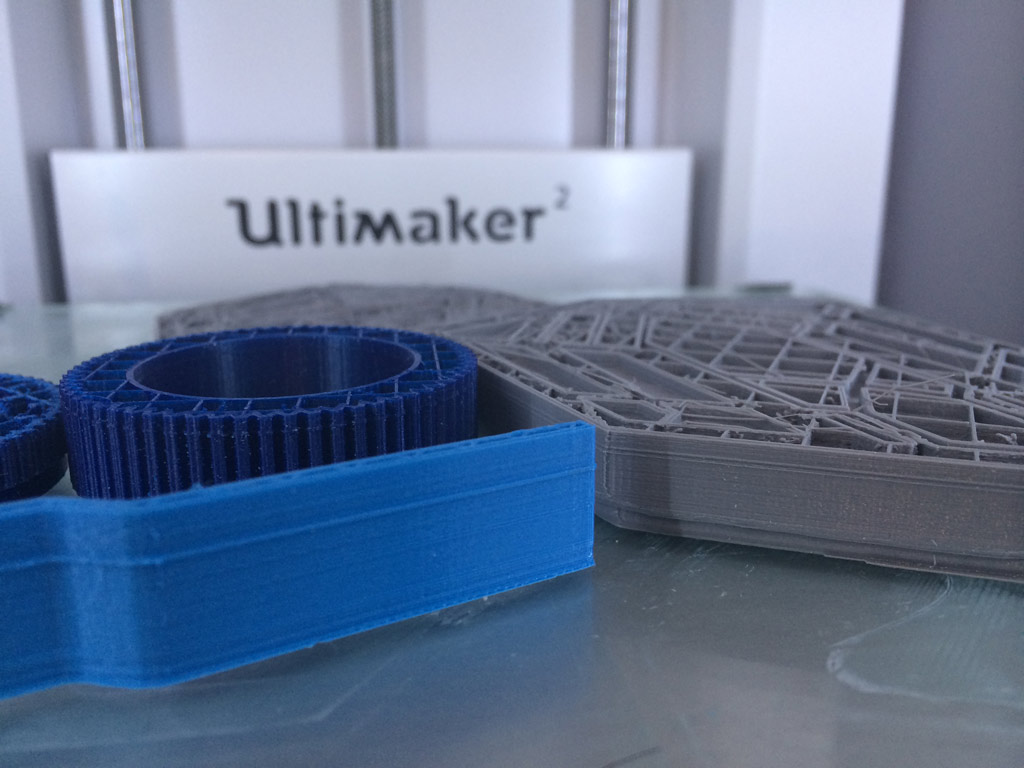
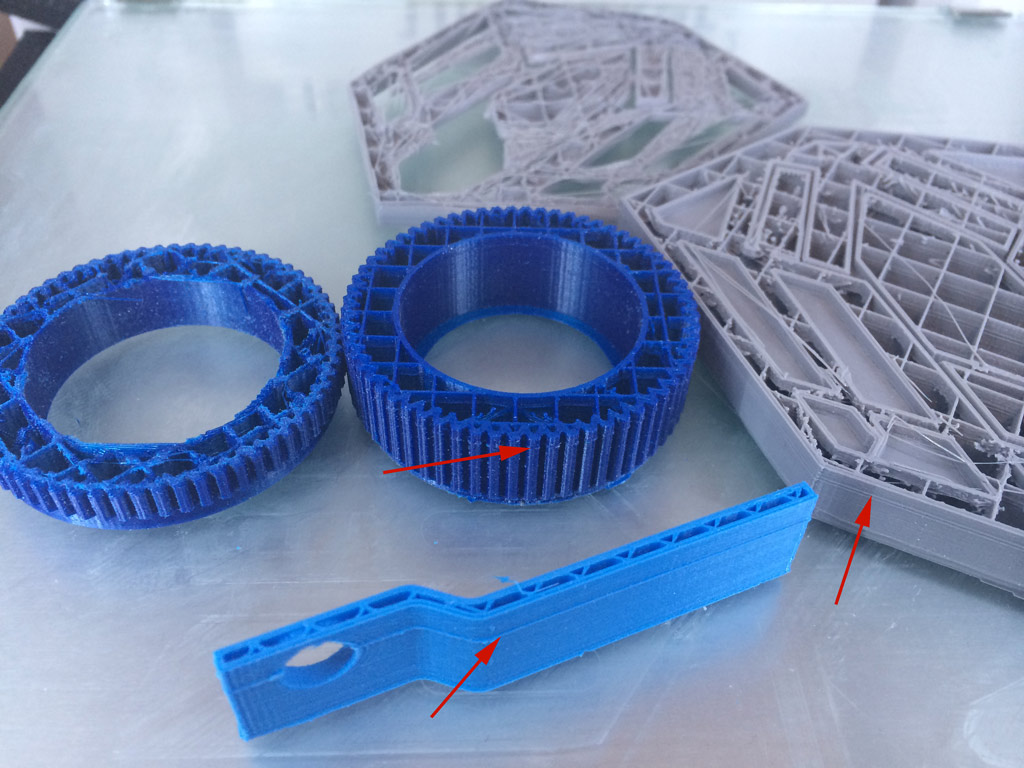
So what is causing this? I'm not sure. It looks like some parts are printing perfectly and other's aren't? Is that correct? Or do you have prints from 2 different runs placed on the same platform?
1) It sure looks like much more glue than you should need. You can't really see the glue on my machine - it's very subtle. Too much glue can clog the nozzle on the first layer. I doubt this is your issue but still...
2) What's your print temp and bed temp? Bed temp off (0C) might explain some of this - I recommend 60C.
3) It looks like some parts are perfect and other's are printing over thin air - is it possible that some of the parts don't start until maybe the 5th layer or so? Because it looks like it is printing them in air or that they never stuck to the glass on the first layer. Maybe your levelling is off towards the front of the machine so that it is not printing on the glass on the parts near the front but printing above the glass.
Or maybe you combined different prints in the same photo and that is confusing me.
This does *not* appear to be typical underextrusion despite what geeks says. Although it is possible.


.thumb.jpeg.0b7a05eafc09add17b8338efde5852e9.jpeg)
Recommended Posts
geeks 1
Bonjour,C'est un problème connu sur cette machine.Vous pouvez lancer un test d'extrusion comme sur cette série de post (http://umforum.ultimaker.com/index.php?/topic/4586-can-your-um2-printer-achieve-10mm3s-test-it-here/?p=40984). Vous verrez alors que l'extrusion est réussi pour des vitesses basses.Soit alors vous diminuez votre vitesse, soit il faudra en discuter avec ceux qui ont eu ce genre de problème.I have the wrong post when writing my answer. It was meant for someone else!
Tennais do not count!
Sorry.
Link to post
Share on other sites