


Hi I am reading this topic to find a fix to MY problem,
I am a noob to all things 3D, but I have been looking far and wide for answers to my questions.
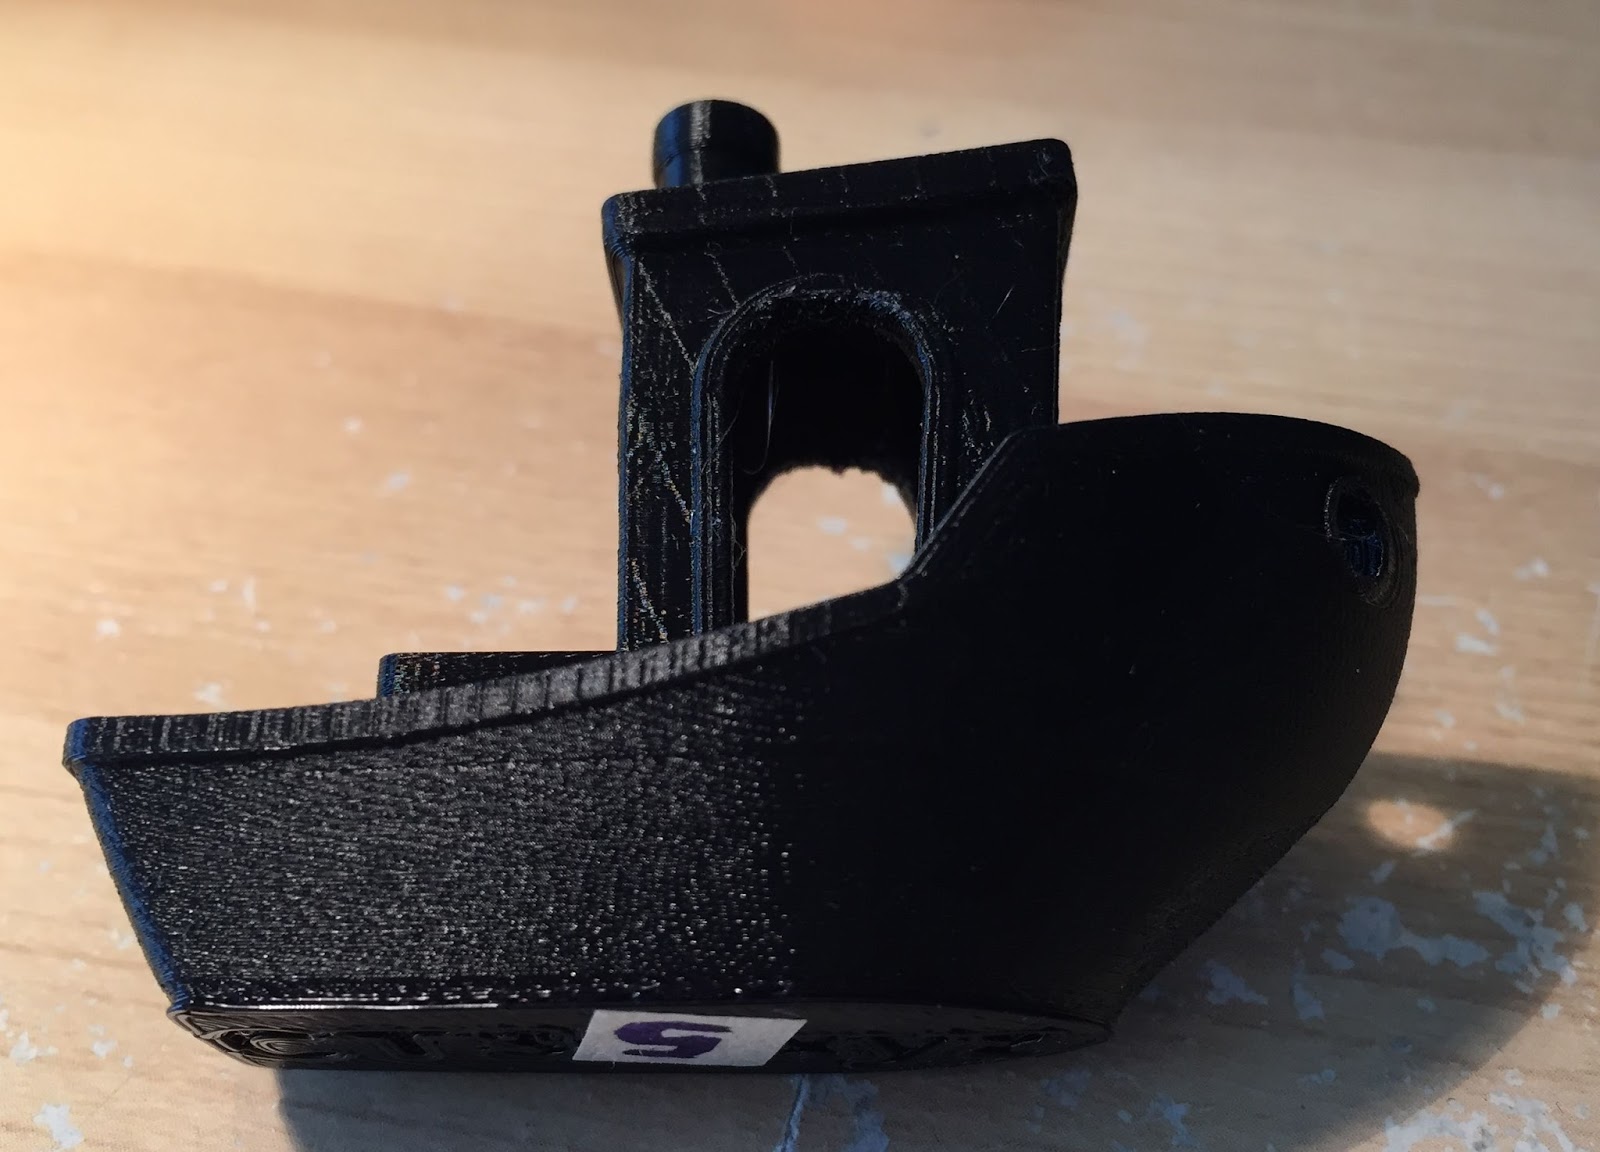
I think this ZEBRA patterning is documented else where as " moiré patterns " caused by the bed levelling software used on many printers, the pattern being caused by the steps added to the print to account for the bed being out of level and resulting in extra bits being added to level the print....
I saw this on Utube "makers muse" live stream recording.
I hope this helps (if its indeed true)
Chris


![20240313_152941[1].jpg](http://content.invisioncic.com/ultimake/monthly_2024_03/20240313_1529411.jpg.e6793a3a4fde826171677c7cff8075a1.jpg)

.thumb.jpeg.0b7a05eafc09add17b8338efde5852e9.jpeg)
Recommended Posts
Top Posters In This Topic
50
38
38
38
Popular Days
Jun 17
24
Jun 18
22
Jun 15
18
May 27
16
Top Posters In This Topic
DrR1pper 50 posts
gr5 38 posts
cloakfiend 38 posts
Torgeir 38 posts
Popular Days
Jun 17 2015
24 posts
Jun 18 2015
22 posts
Jun 15 2015
18 posts
May 27 2016
16 posts
Popular Posts
gr5
Not so fast Martijn! This is not solved yet! I looked at the gcodes for the lines that get those diagonal lines on benchy. To the left of the arch (near the top of the arch) a typical movement in X
JohnInOttawa
This is of interest to me, I have both an Ultimaker Original and UM3, will certainly mod the Original, just need to decide if I will mod the UM3 as well. Shout out to gr5 - great service,
ArrMack
Hi, the link to this is dead. Any chance you could add an updated link?
Posted Images
cloakfiend 995
Shame I'm in the UK! so thats my dreams dashed for the second time! lol.
Link to post
Share on other sites