


Really good work there Ian!!
Note to all:
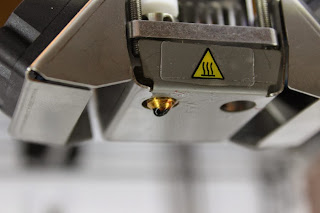
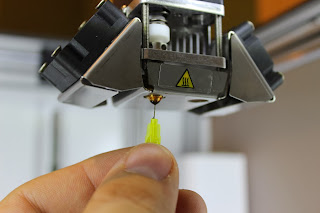
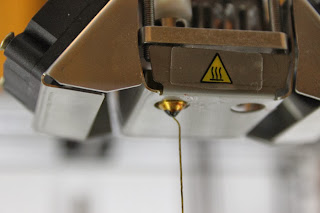
Also when cleaning, remember to have the hotend hot enough for the material you're trying to clean out and apply manual pressure to the filament as oftentimes the filament will have been eaten away at the feeding bolt.


.thumb.jpeg.0b7a05eafc09add17b8338efde5852e9.jpeg)

Recommended Posts
valcrow 145
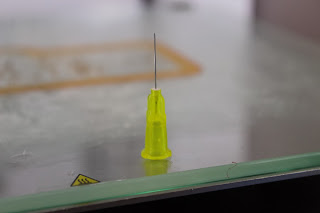
Ohh. Very good find! I was struggling to find some .40 drill bits. I'm using some cheap wire that is too flimsy to actually do anything...
Will definitely give it a go.
Link to post
Share on other sites