

impressive!

My latest print in NinjaFlex. The client was kind enough to let me share the pictures but I have no clue what this is suppose to be.
I gotta say this is the cleanest print I did so far.


0.15mm layers, 30mm/s, 30% infill, 230C, Roberts feeder, filament unrolled in advance, no oil.
Wow, I did not know this surface finish would be possible with ninja flex, great job!
What´s this fan shroud again, pm_dude? I really lost the overview... Looks reliable!
That's the zetoff shroud. I did add a cover over the huge zetoff logo BUT did write it back in a smaller format for the sake of respect  . The fans are running at 50%
Oh. One of those things.. That's a... um... you know, for... connecting with that other widget thingie for... ? I got no clue. Great looking ninja flex print though!
0.15mm layers, 30mm/s, 30% infill, 230C, Roberts feeder, filament unrolled in advance, no oil.
Amazing, I thought Ninjaflex was terrible to print with with that configuration of no oil and a bowden setup.
Printed the T-Rex head in 50% scale on my UM2 with Anders Olsson's Heater block, with a 0.25mm E3D nozzle, 0.04mm layer height and a speed of 35-50mm/s (35 on outer shell, 40 on top/bottom and 50 for infill)
Colorfabb Standard White PLA/PHA at 192 degrees print temperature.
I am very impressed with the surface and details, not very impressed with some of the overhangs tough...
This is straight of the printer, no post processing.
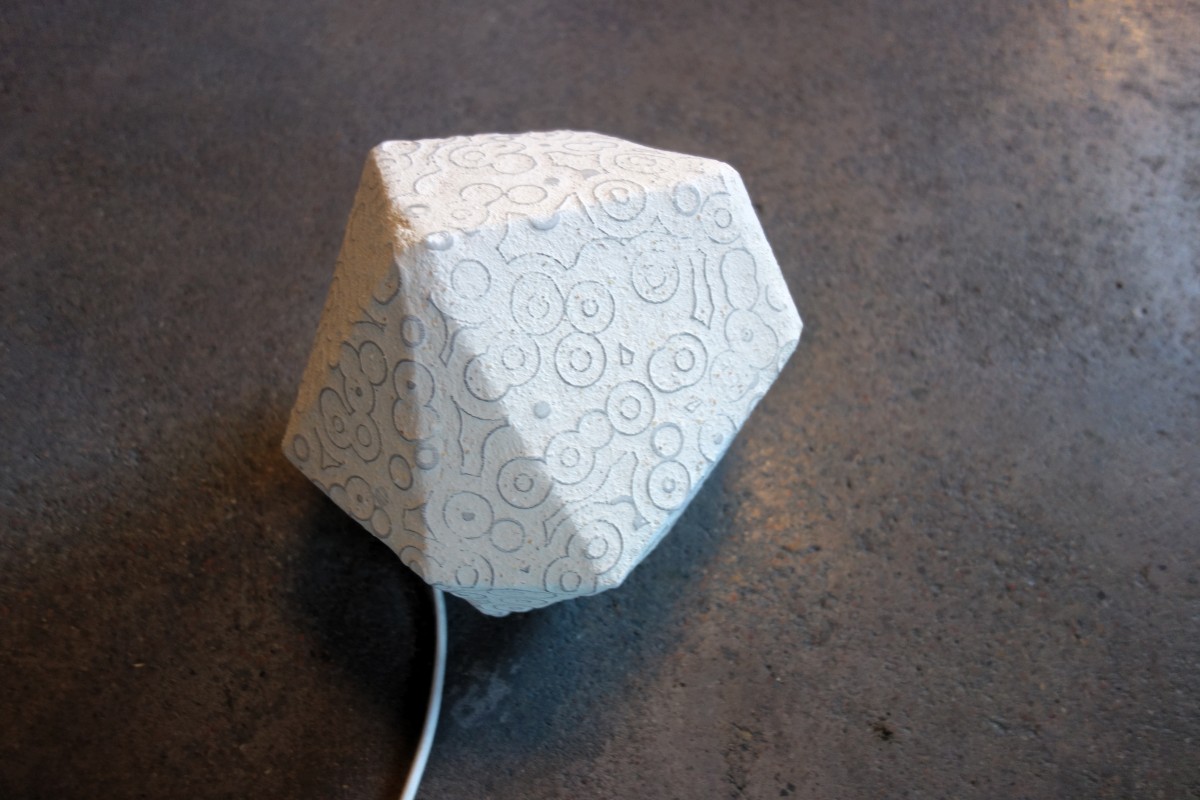
The coin is there for scale, it is 28,5mm in diameter.

Also did some testing with Anders nozzle, some fast spiralise things.
(settings see here; http://umforum.ultimaker.com/index.php?/topic/7689-custom-heater-block-to-fit-e3d-nozzle-on-ultimaker-2/?p=92860)
Designing specifically for spiralizing is a lot of fun IMHO, did a desk pen thing, got a bit to big for my taste but like the spiral idea.


and I made a "wind propelled GoPro rotation device for Kite aerial photography" to enter in this competition...

edit; when temperatures go up again I'll test it for real, but will replace the axis with a bit longer aluminium tube... don't dare to bring this thing up too 100Meter + with the printed axis..
 1
1
@Arian, LOVE it! Looks like you could get by with thinner gears, as they're not transferring any torque ( well, miniscule amounts and the RPM is relatively low) to save weight.
Also, consider carbon instead of aluminum, as you can get super thin carbon pultruded tubes that are pretty stiff in short segments and weigh next to nothing, as well as being very affordable.(available through amazon, ebay or any reputable hobby shop)
Also, instead of designing tie-in (or tie-down) blocks on top of the support structure (where it attaches string to kite), you could save a little weight by incorporating them (the holes) into the ends of the structure.
Looks like CG might be a little off due to the large gear hanging off to the side, which you could correct by offsetting the tie down points as well.
Another factor is inertia, whereas if the kite does sudden moves like dives, the center axis might need to be supported a little bit better, but this would be trial and error depending on final materials, adhesives, etc...
Again awesome design!
I think i may actually have some carbon rods from a kite build of years ago... this is basically a first prototype. A bit of a hasty job. I made different sizes of the "cup arms" to test irl might need more gears to lower speed. Smaller gears is probably a good idea. I do like this type of gear.
Made a tape dispenser for the wide blue tape rolls. Works ok but the back parts flare out a bit. Might remedy that by heating and bending.

this thread is pure gold, very inspiring work done by all here!!
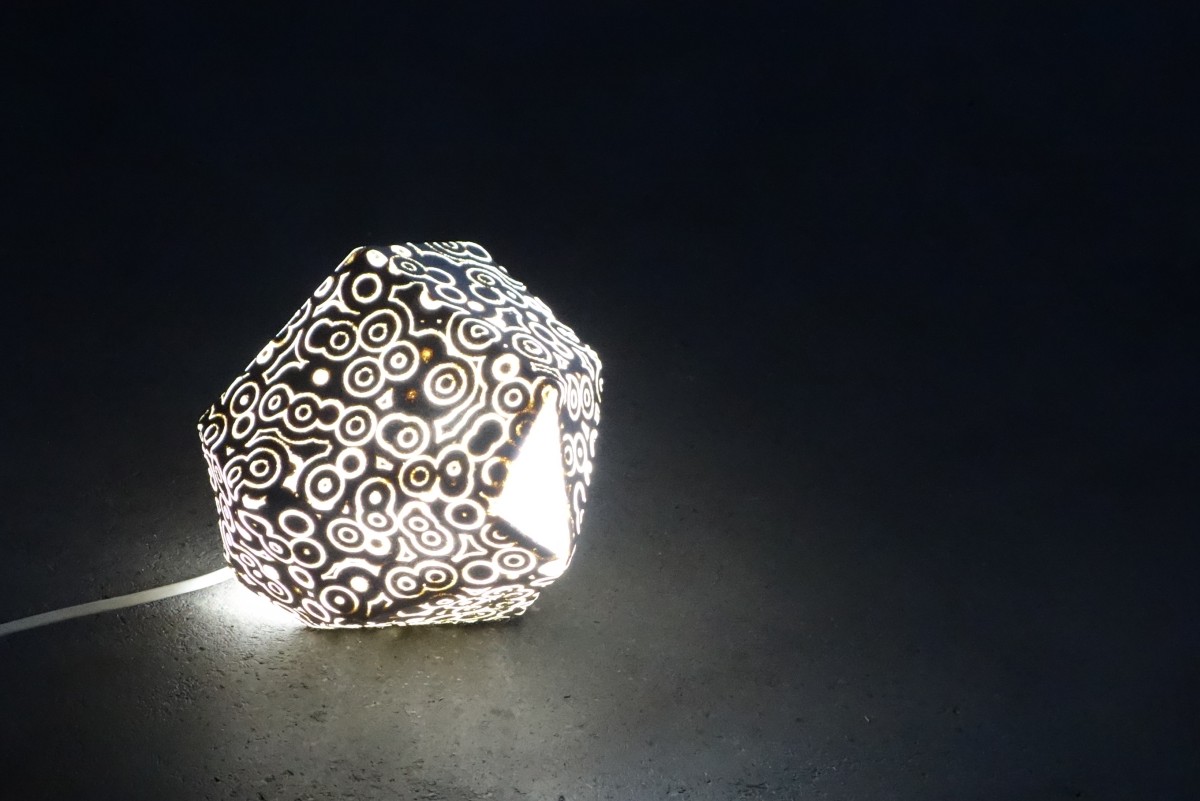
Just added some leds, finally
Printed a complete lamp with the same technic I used before for lamp shade (see more pictures in this topic). 28hours print in 0.2mm layers with colorfabb XT :
1
@Viralata Always cool seeing your stuff mate. Looks great!
A first attempt with bronzefill ( http://archive3d.net/?a=download&id=ef6e5f72 )

After some wet sanding (with copper polish) and polishing:

Just a present for someone.

1
Shurik. That looks like real nice quality for such a small piece. Can you share your settings?
Hi UltiArjan,
It's nothing special, really. The figurine is Faberdashery Desert Tan, 200C or 210C, do not remember. 0.08mm layer, 30mm/sec speed, 0% infill, .8mm shell.
The trident is from Faberdashery's Gold, 200C, 0.04mm, 30mm/sec.
The bed is 60C all the time.
1
Hi Ali,
Thanks!
The design is not mine, all the credits are due to the person who asked me to print this as a present to his nephew.
I will ask his permission to make it public.


a face of my friend made with autodesks 123.
bit of cleanup with 3Dsmax and maya, due to incredibly real bad topology.
Here is not my latest print, but one of my first, but i think its quite nice eitherway so i thought id share it, if you like i can make a regular one without the 6 and upload it for people who love cup cakes, lol. It hasnt been touched after taking it off the build plate, thinking of doing my usual acetone treatment on it to make it perfect. Printed in my ususal colorfabb black at 35mm/s 0.06 layer height and 230C temp.

1

ArunC posted a topic in UltiMaker 3D printers,

.thumb.jpeg.0b7a05eafc09add17b8338efde5852e9.jpeg)

ArunC posted a topic in UltiMaker Cura,


Recommended Posts
Top Posters In This Topic
362
282
221
179
Popular Days
Jan 5
30
May 12
26
Jan 13
23
May 1
22
Top Posters In This Topic
ian 362 posts
cloakfiend 282 posts
skint 221 posts
SandervG 179 posts
Popular Days
Jan 5 2014
30 posts
May 12 2014
26 posts
Jan 13 2014
23 posts
May 1 2014
22 posts
Popular Posts
kmanstudios
Took me forever to do this. And it is still rougher than I would have liked. 3D concept rendering: Finished piece:
kmanstudios
I just finished this. It was a multi-part print for ease of painting. Some of it I am not sure what happened...but hey, it is purty....And, I am unanimous in that ? Test Render Parts
gr5
Bath interferometers. I have made about 20 of these for people who use them to test their telescope mirrors. They are amazingly accurate and can do better than a $40,000 Zygo PSI optical tester. Th
Posted Images
drayson 75
Waaaaa.... geil.... sorry, awsome... :-)
Link to post
Share on other sites