

I finished a new spool holder for my UMO - Goal here is to not have a long pole sticking out the back of the printer...
That's a really cool design, nicely done! The one thing I would probably change is the spring loaded locking mechanism to make it one handed. How about making a part that looks like an upside down "Y" with the rollers on the two downward points. And then a single spring that you pull straight up instead? Or maybe it would even be enough with a single roller up top?
-
 1
1


 )
)


.thumb.jpeg.0b7a05eafc09add17b8338efde5852e9.jpeg)
Recommended Posts
Top Posters In This Topic
362
282
221
179
Popular Days
Jan 5
30
May 12
26
Jan 13
23
May 1
22
Top Posters In This Topic
ian 362 posts
cloakfiend 282 posts
skint 221 posts
SandervG 179 posts
Popular Days
Jan 5 2014
30 posts
May 12 2014
26 posts
Jan 13 2014
23 posts
May 1 2014
22 posts
Popular Posts
kmanstudios
Took me forever to do this. And it is still rougher than I would have liked. 3D concept rendering: Finished piece:
kmanstudios
I just finished this. It was a multi-part print for ease of painting. Some of it I am not sure what happened...but hey, it is purty....And, I am unanimous in that ? Test Render Parts
gr5
Bath interferometers. I have made about 20 of these for people who use them to test their telescope mirrors. They are amazingly accurate and can do better than a $40,000 Zygo PSI optical tester. Th
Posted Images
DidierKlein 729
It's been a long time i didn't post anything here, shame on me!
I have a special print to show to you guys but i have to prepare a subject about it on my website before
Meanwhile here are some prints i did recently in woodfill fine wit the olsson block
A lamp i designed by following a tutorial on Fusion 360
0.80mm nozzle and 0.40mm layers, nearly all the volume of my UM2 printed in 4h30!
I disabled retractions and the stringing gives a nice look at the lamp i think
.
Two small prints for 3dhubs, one with the 0.80mm nozzle and 0.2 mm layers:
.
This one with 0.60mm nozzle:
Link to post
Share on other sites
Labern 774
My Little Nozzle holder insert for my UM2go Carry case.
Link to post
Share on other sites
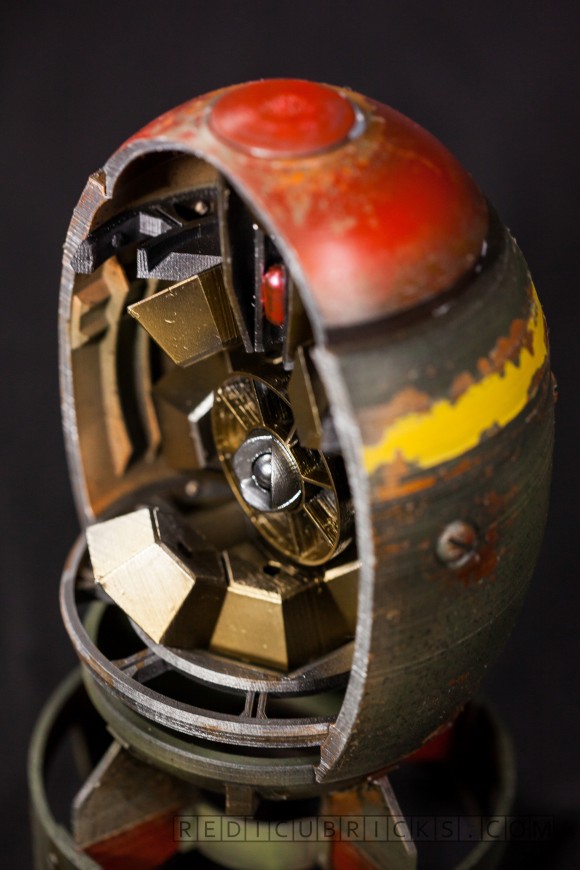
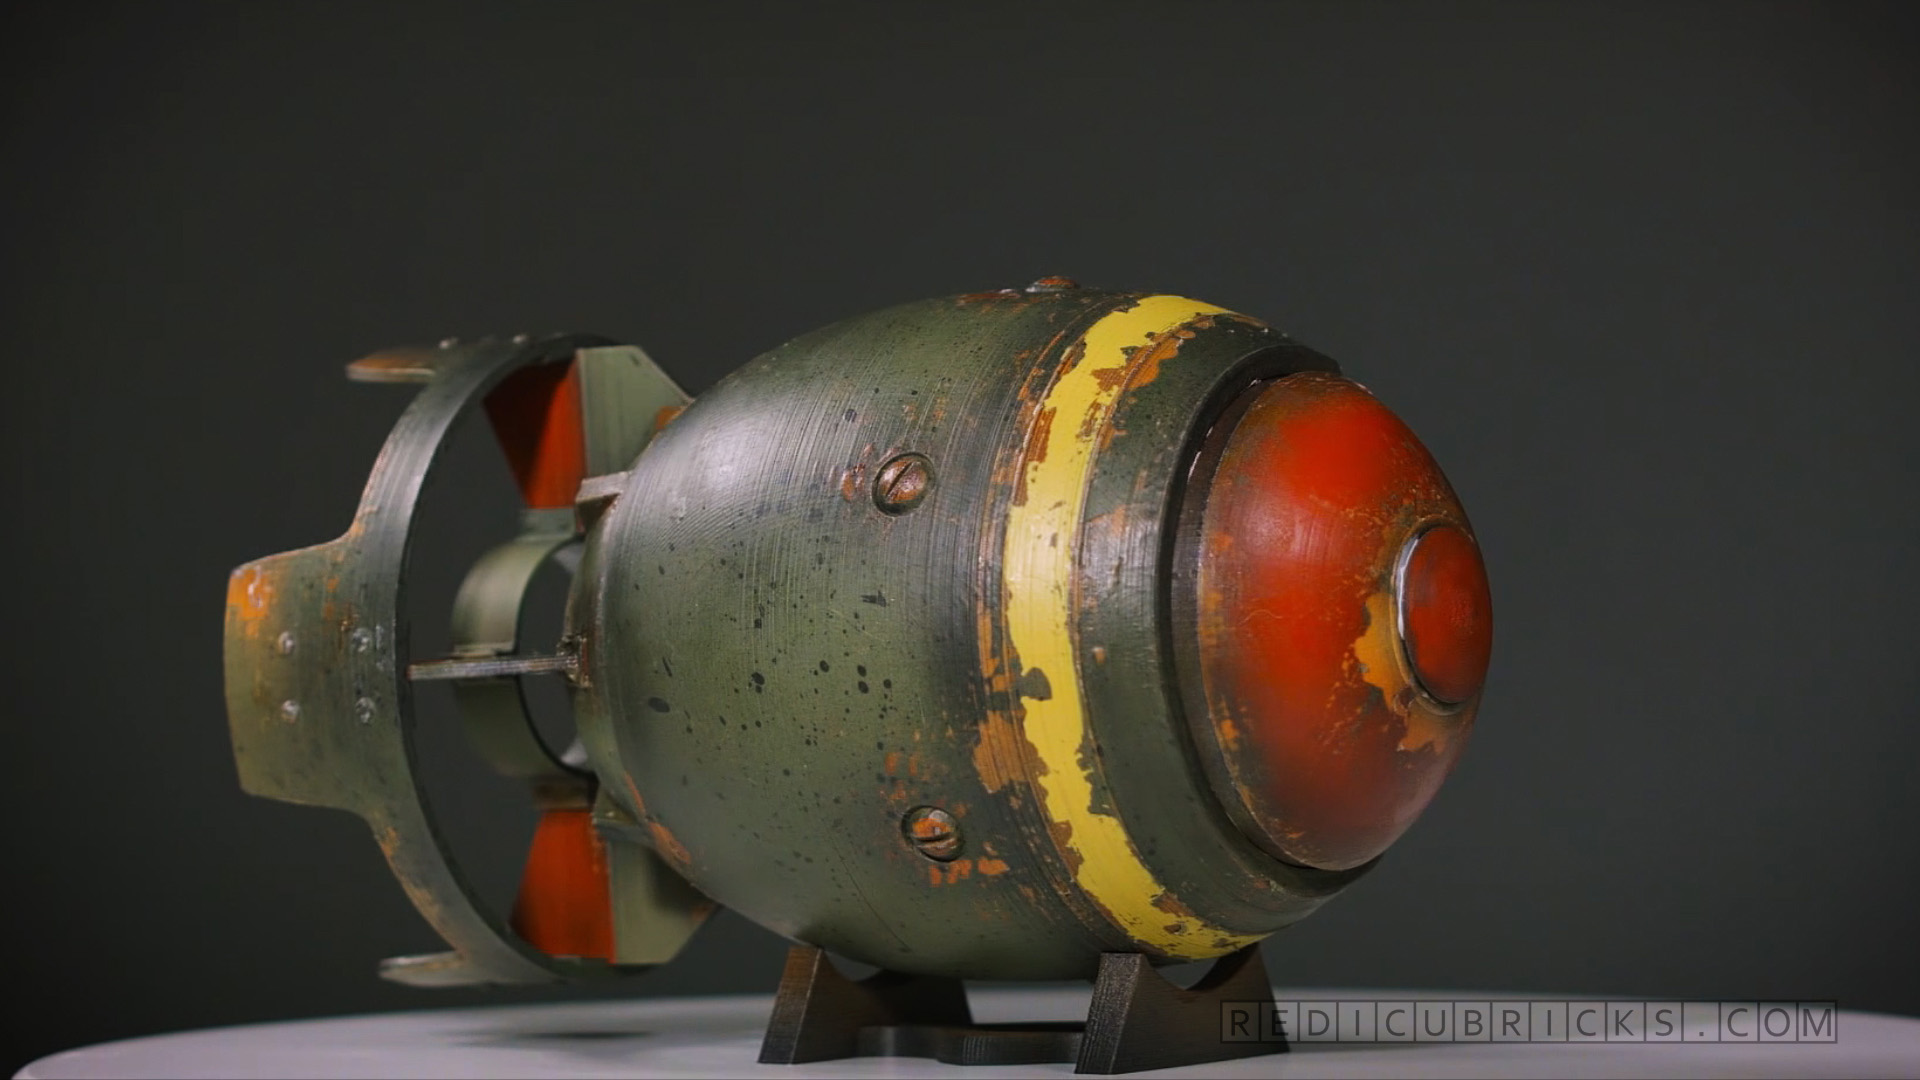
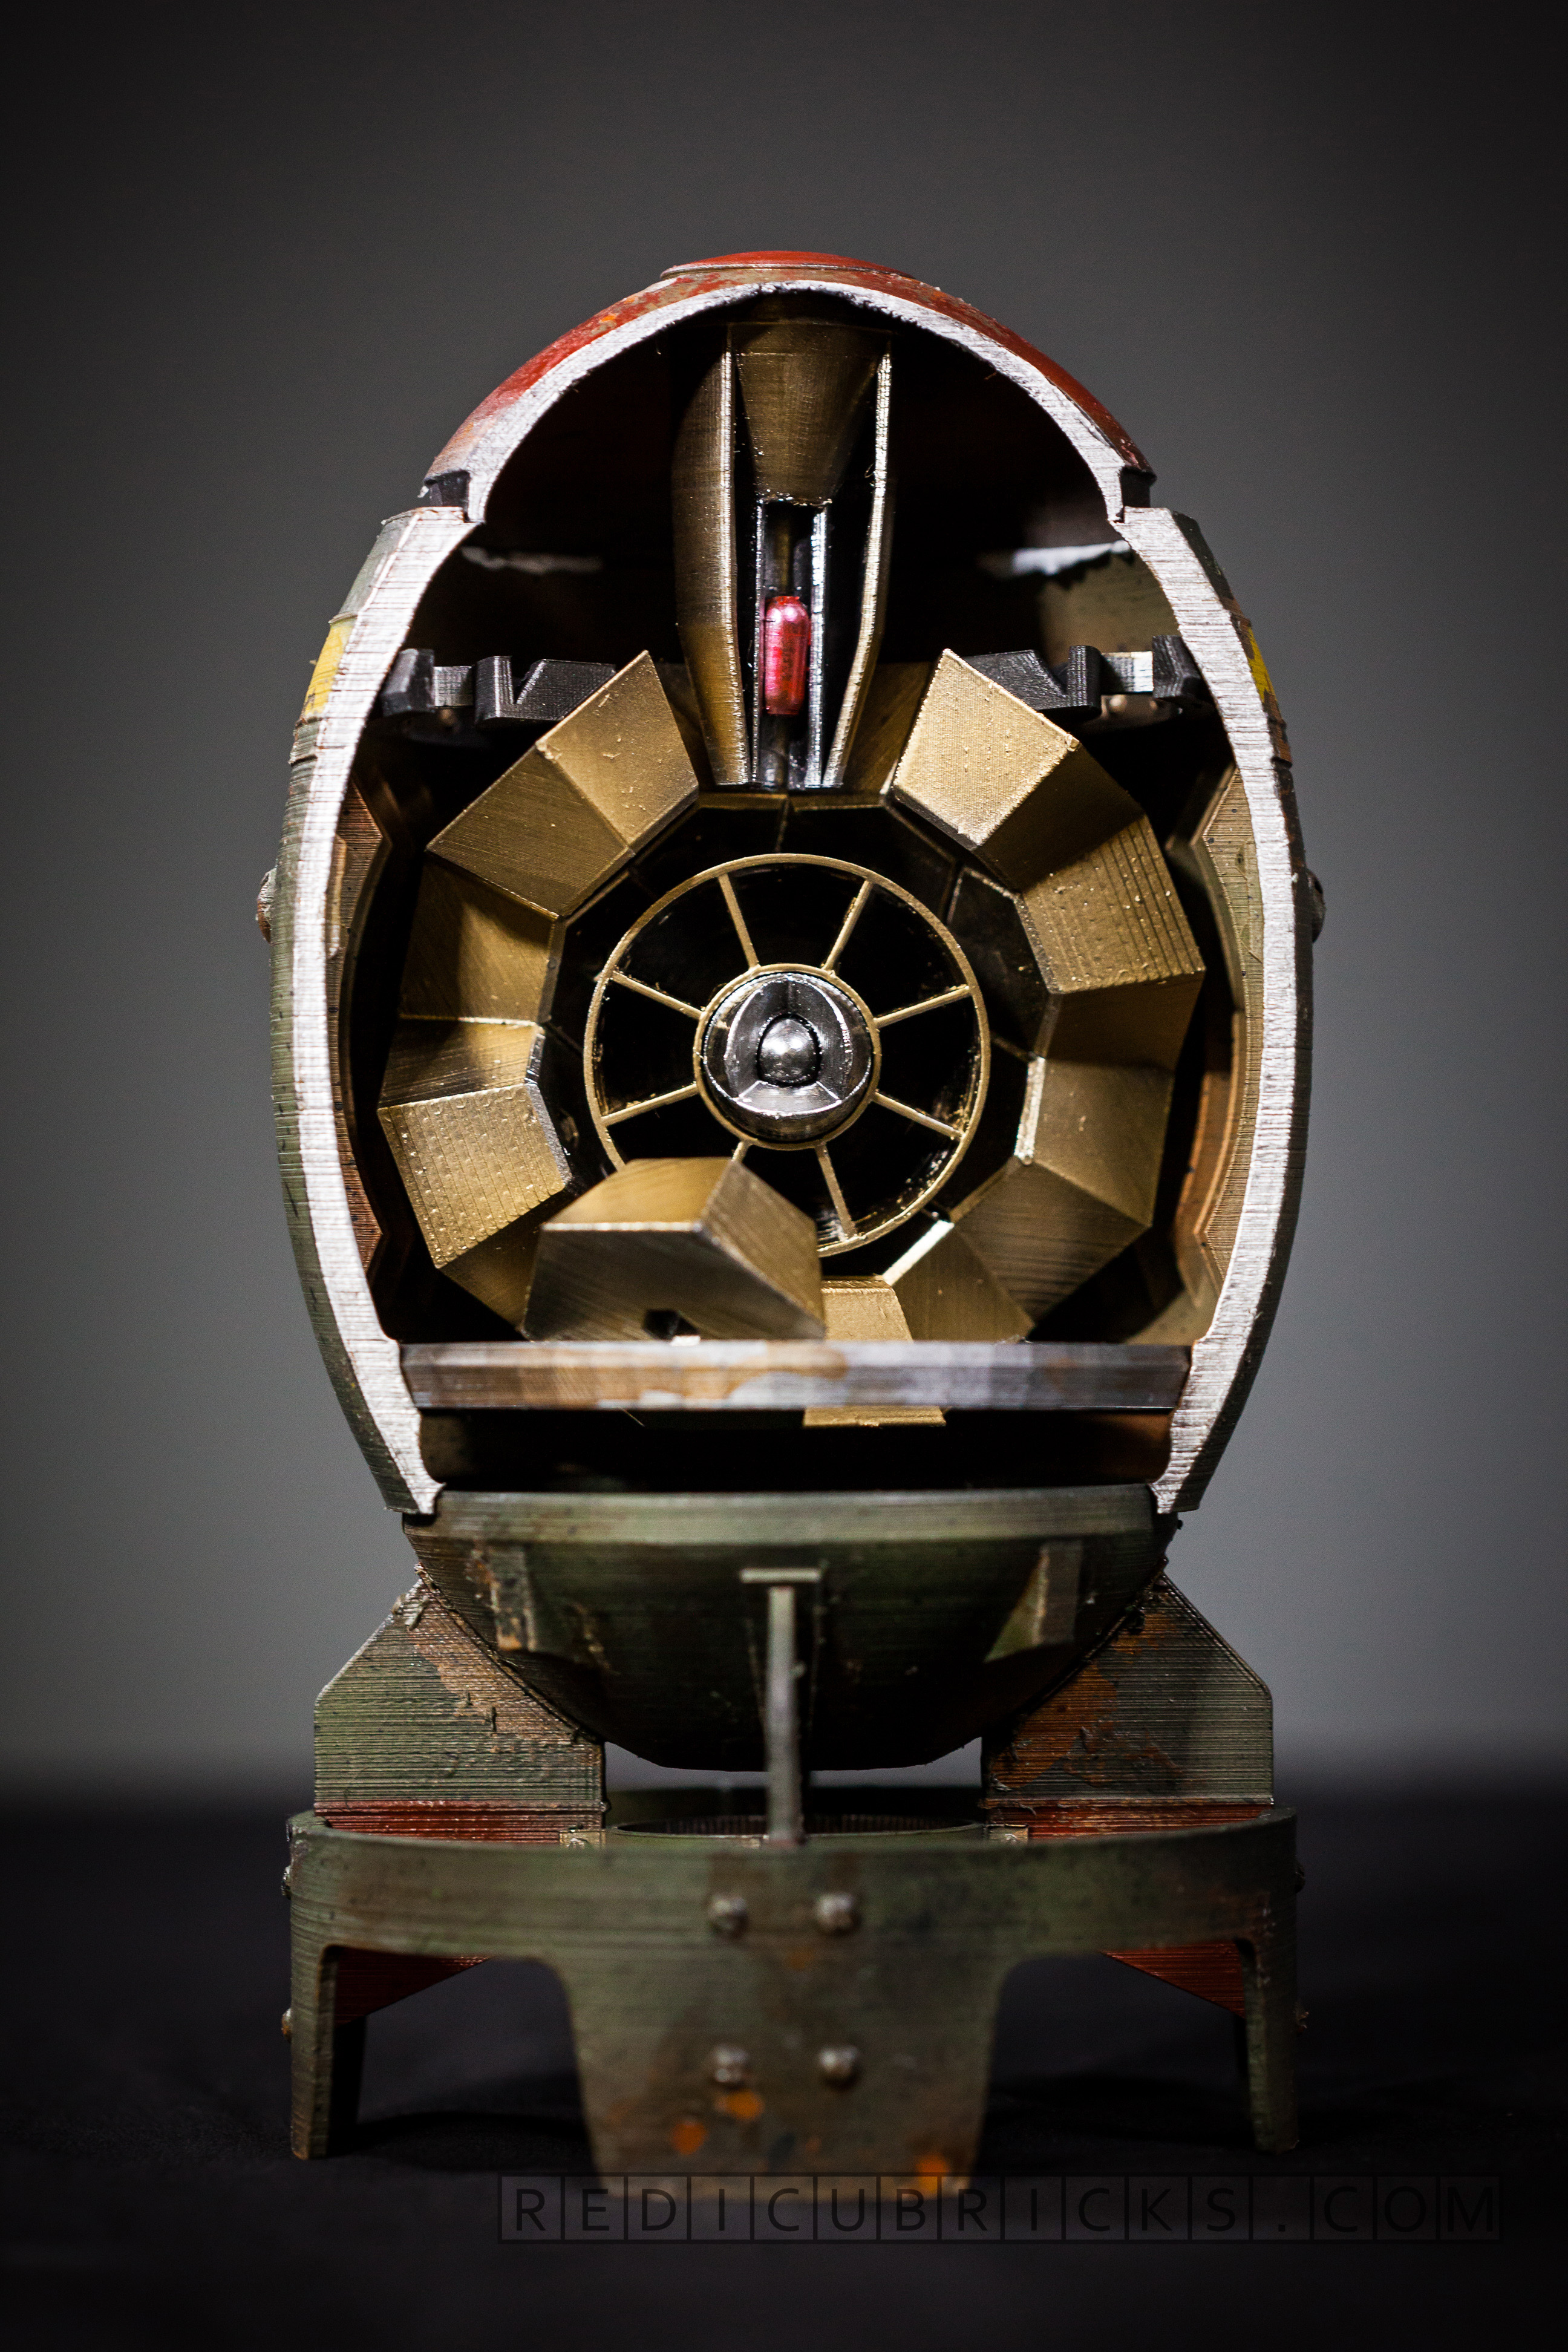
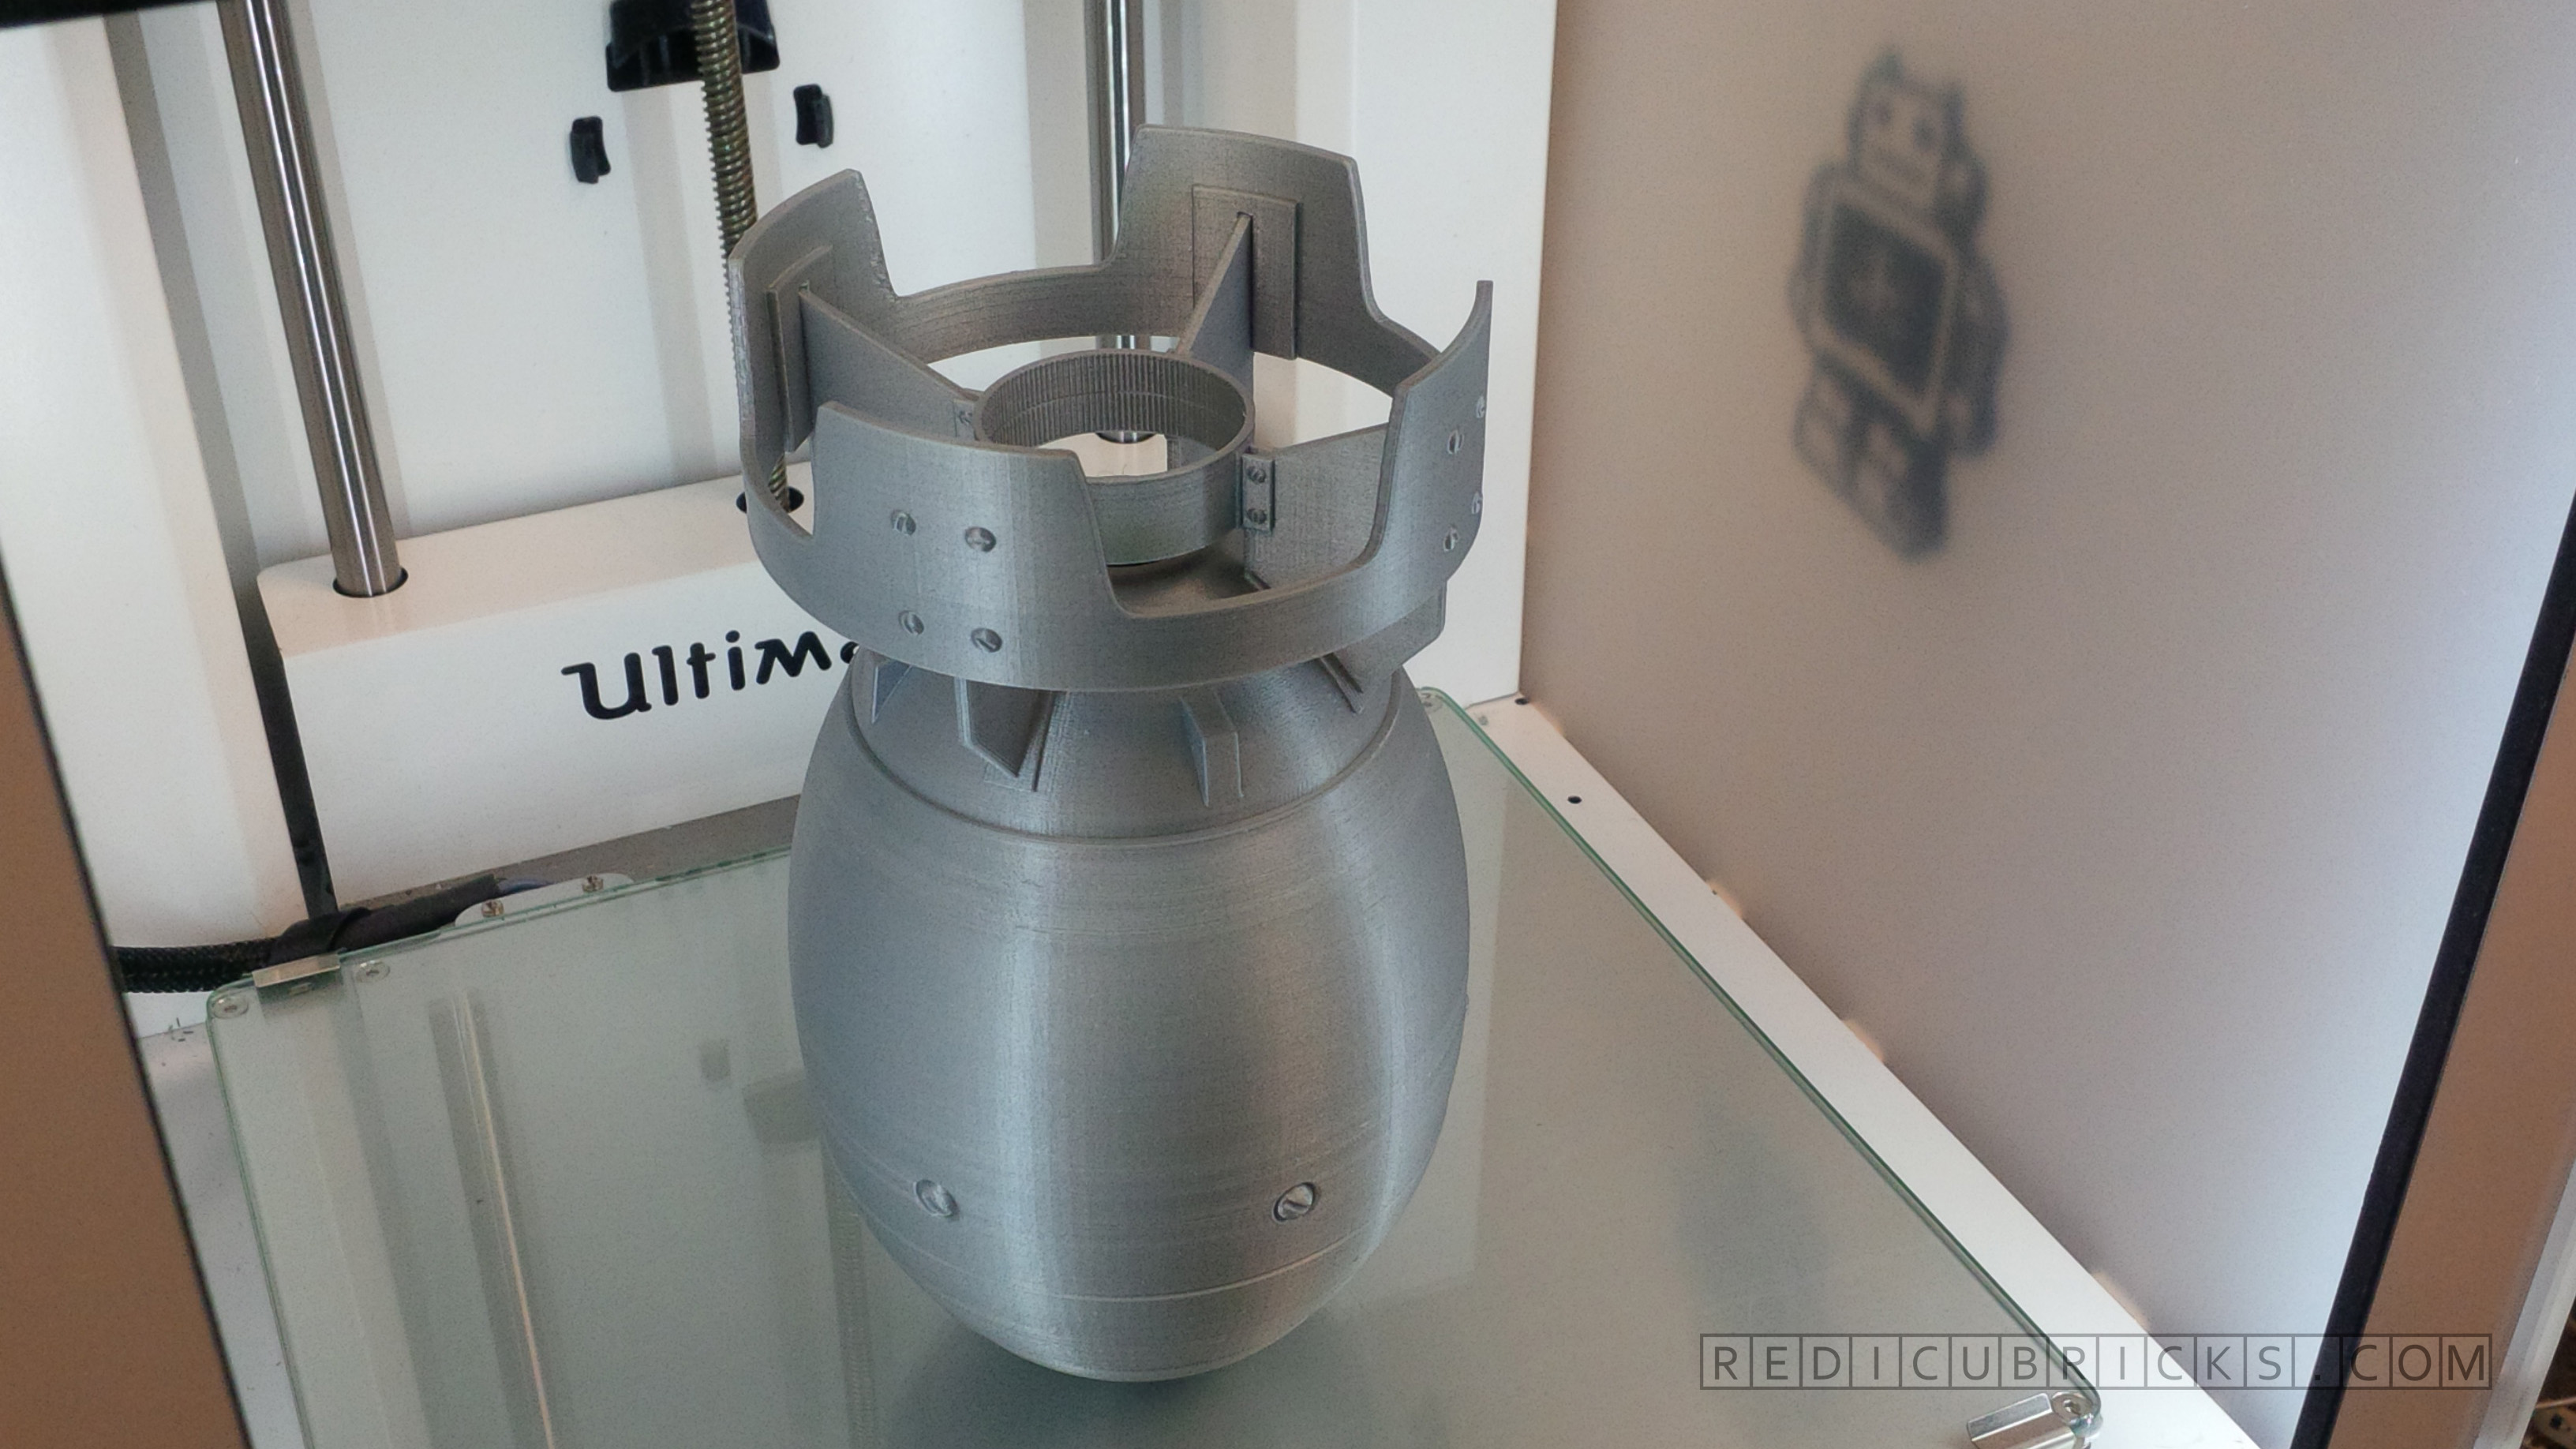
cloakfiend 995
My first arty piece! I printed it hollow so had to fill it full of tissues as it was printing to give support to the areas it wanted to print in thin air! worked ok most of the time, next time ill just give it infill though lol.
Link to post
Share on other sites
tommyph1208 55
I finished a new spool holder for my UMO - Goal here is to not have a long pole sticking out the back of the printer...
It has come about as a collaboration between me (who got the idea a while back), and a mate from a danish 3d printing group, for whom I described the idea and presented some sketches, he then did the CAD drawings...
Link to post
Share on other sites
skint 61
Great solution Tommyph1208, nice design.
Link to post
Share on other sites
tommyph1208 55
Thanks, Im quite happy with it, and it falls nicely in line with my other attempts at trying to keep the printer compact and "streamlined"..
My mate (who did most of the drawings) now added the design to Thingiverse:
http://www.thingiverse.com/thing:1158080
I added some instructions in the comments...
Link to post
Share on other sites