


@LeoDDC - That looks like it's going to be a nice print. What do you plan on doing with it?
Cheers. Just doing it for fun.
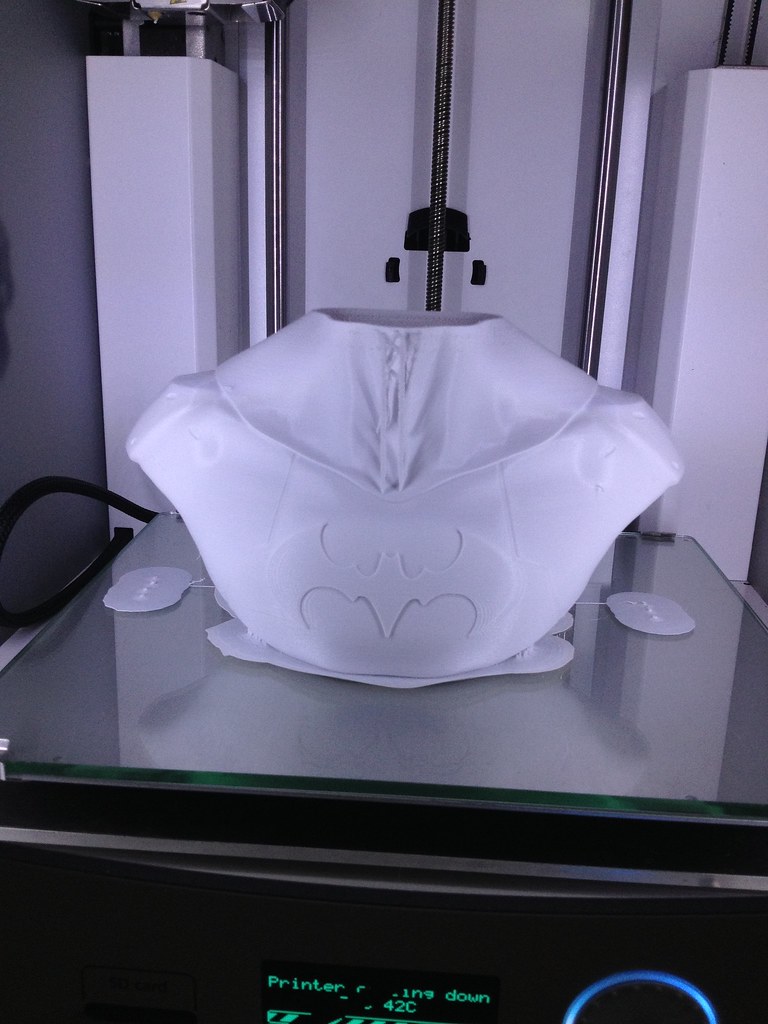
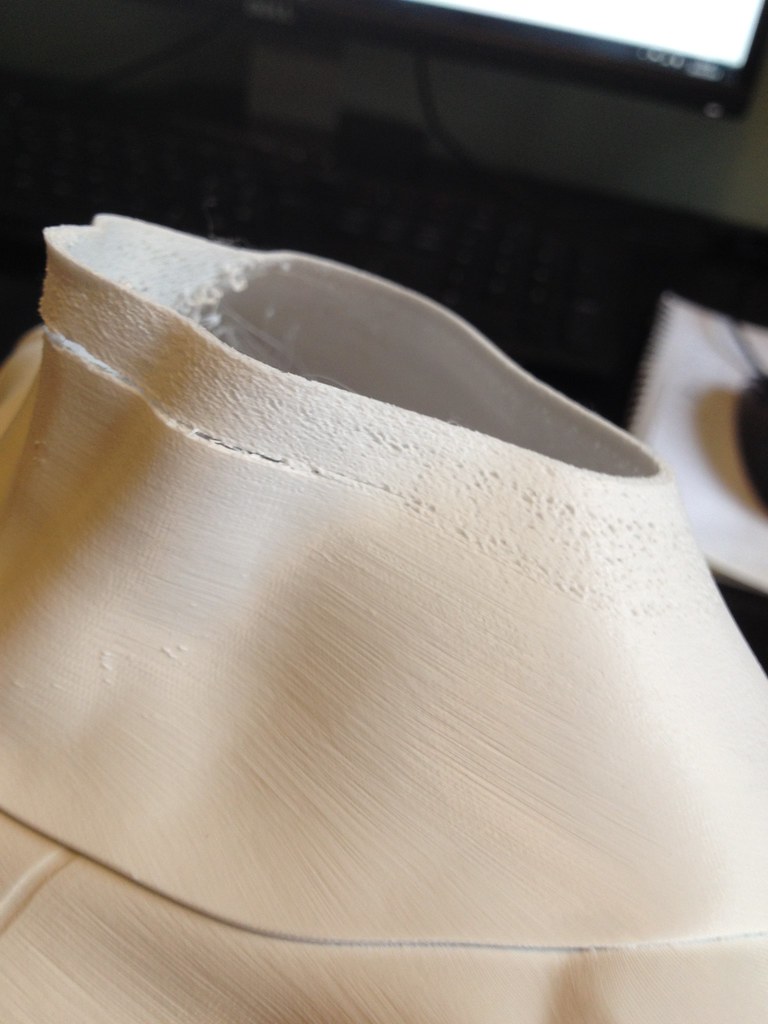
I had a problem with the bowden tube moving around but fixed it. Then I had a problem with the print because of some internal overhangs so I changed how I was going to print the model to avoid this. I finally started printing and it was looking good until about 15 hours in I noticed some massive under extrusion. Unfortunately I had to abort the print. Now it barely extrudes any material at all. I think there is probably a blockage it the nozzle but I don't know how to fix it. I've tried several material changes and I've tried heating the nozzle up to 260C as per the trouble shooting instructions but nothing seems to work. :(
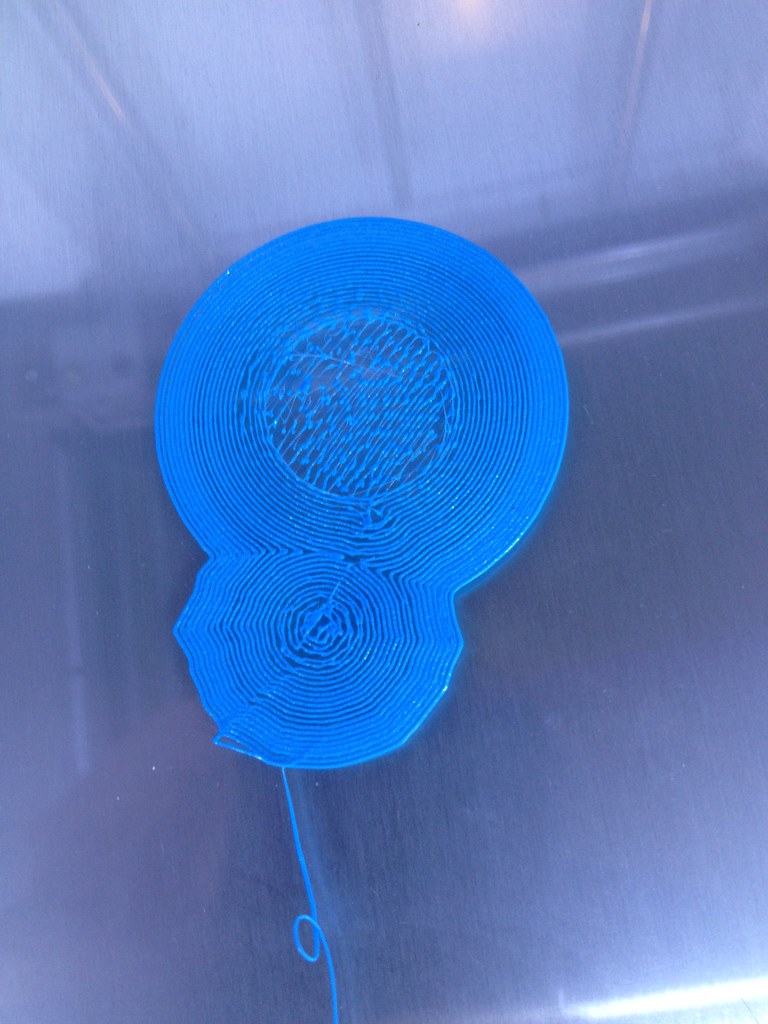
This blue brim was printed at 260C.


 But I'm a gentle person...)


.thumb.jpeg.0b7a05eafc09add17b8338efde5852e9.jpeg)
Recommended Posts
Top Posters In This Topic
362
282
221
179
Popular Days
Jan 5
30
May 12
26
Jan 13
23
May 1
22
Top Posters In This Topic
ian 362 posts
cloakfiend 282 posts
skint 221 posts
SandervG 179 posts
Popular Days
Jan 5 2014
30 posts
May 12 2014
26 posts
Jan 13 2014
23 posts
May 1 2014
22 posts
Popular Posts
kmanstudios
Took me forever to do this. And it is still rougher than I would have liked. 3D concept rendering: Finished piece:
kmanstudios
I just finished this. It was a multi-part print for ease of painting. Some of it I am not sure what happened...but hey, it is purty....And, I am unanimous in that ? Test Render Parts
gr5
Bath interferometers. I have made about 20 of these for people who use them to test their telescope mirrors. They are amazingly accurate and can do better than a $40,000 Zygo PSI optical tester. Th
Posted Images
jonnybischof 60
Very interesting stuff! The original Dremel workstation is completely useless (stiffness? inexistent...). Hope you got it working better...
/edit:
Finally got around to making some pics of a print I did
I'm currently making an E3Dv5 printhead. First iteration doesn't fully work yet, but it's quite the accomplishment for me. This is by far the most complex construction I've done until now so I'm happy it fits at least partially
The part is printed with Colorfabb XT. Very nice material for this purpose! It evens out most of the low-res curves and makes the part quite strong.
Link to post
Share on other sites