

Jonathan,
What material did you use for the iPhone case? the color and finish is really nice!

This is the electric blue from faberdashery.
To get this finish I print on glass with a thin layer of UHU stick 
Wow some really great prints! Sometimes I'm overwhelmed by the number of great submissions; keep them coming especially the utility prints. @pm_dude you have inspired me to finally design a new battery cover for my gaming mouse, it broke recently and I've been shuffling the design lower and lower on my list of things to do.
Also, @ Didier Klein, you look like you've done nothing but print stuff out for the last week! Awesome collection!
I spent all of last week trying to print with PVA with very little success, blarp! I changed every conceivable variable in my printing workflow and couldn't get consistent results. Yesterday I got some HIPS in the mail and it flows perfectly and in my limited use of it I have noticed it sticks to PLA very well, I have not tried an ABS HIPS combo yet. Hopefully I'll be posting some of my test pieces with the material soon, I'll also post the ooze shield from my last print with that post, it looks pretty cool and works fantastically. I'm definitely interested to see how Simplify3D stack up against Cura's dual nozzle print protocols, so far I don't see how it could do good prints without the ooze shield.
Hey @Jackblack glad to see you took such interest in the glasses. The first pair I submitted to Youmagine and Thingiverse were more drafts than anything else, because I didn't have my printer at the time of making the initial CAD drawings. Hence the lack of any real cutout for the lenses. I understand the V-bevel may be an important design feature but is definitely unnecessary with the design I conjured up, the interior bevel is rounded, I have no issue taking the lenses out and keeping them inside the frames when seated (even after many hours of manual labor the lenses, and frames, didn't budge); also, I'm assuming the company that cut the lenses to fit inside the frames had no issue cutting them to size. I called them up and asked if they had any problems with the frames, but they never got back to me and just sent my frames back with new perfectly seated prescription lenses in them.
Thanks for the info with respect to how the lenses are originally seated into the frames, I posted in my instructions that PLA may be a good alternative if having problems with curving ABS, but it looks like ABS is the way to go. I'll have to recheck my CAD drawings but I think I have a 0.7 to 0.5 mm overlap between the lenses and frames. I would definitely love to try and print out your ZBrush version of the frames, the pictures you posted look really snazzy
. I'll PM you the dimensions and give printing the frames a shot.
https://www.youmagine.com/designs/aarona-specs#!design-flag
i hope this is hw it works, the file is a bit big but i'm learning lol
Lots of amazing prints, yet it's so hard to keep up with all the posts on these forums.
I was playing around with some ideas for light switch covers to replace them in every room. This is just one that I wanted to show because it came out really nice. I've had this translucent green from Ultimaker since I received my first machine back in December. What better way to use it than making a realistic looking bottle.
I am also working on a little LED light that illuminates the inside while the switch is on. The bottle is just a shell with plenty of space inside to mount a little transformer and LED.


*Forgot to mention the bottle was printed on my Ninja Plate. 9 hours, no heated bed with a 4mm shell. I can't stop saying great things about this buildplate upgrade. I haven't cleaned it yet and I don't use a heated bed anymore. It still works wonders after 20+ prints.
I made a post not long ago, maybe 1-2 months about a hose gasket. I made it out of flexible PLA and it has not broken down or leaked at all after spending all day, every day in the sun with water about 110 degrees inside the hose at all times. The results are much better than expected.

As a modeling lesson for myself in Blender I recreated the facade of the building I live in. The Railing was printed separately, flat on the bed. Anyone else print their home?

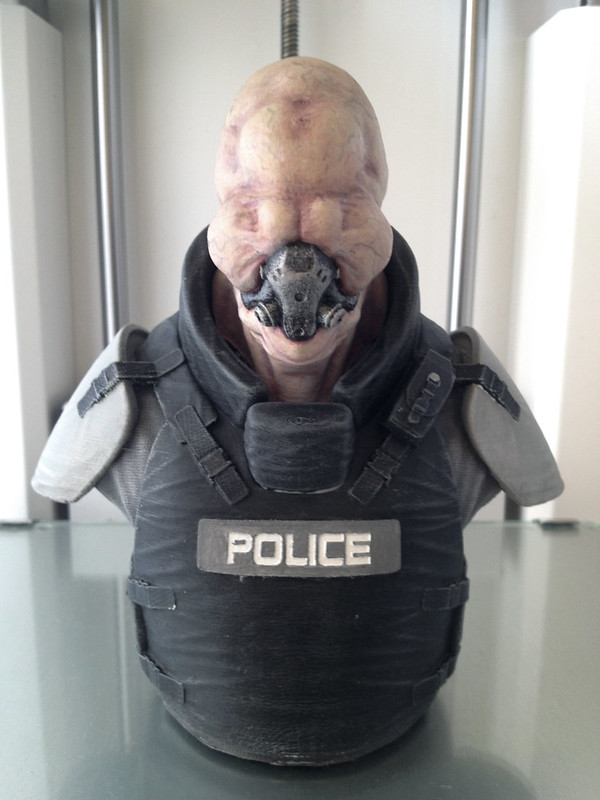
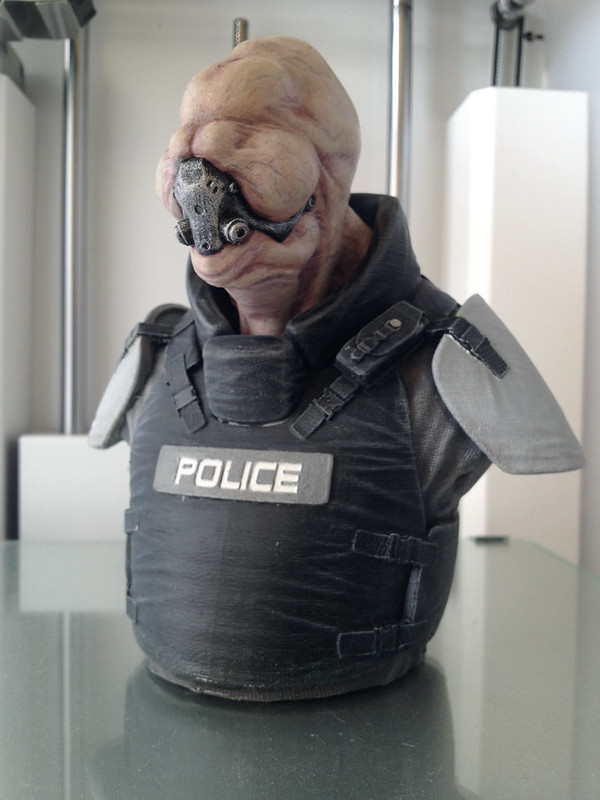
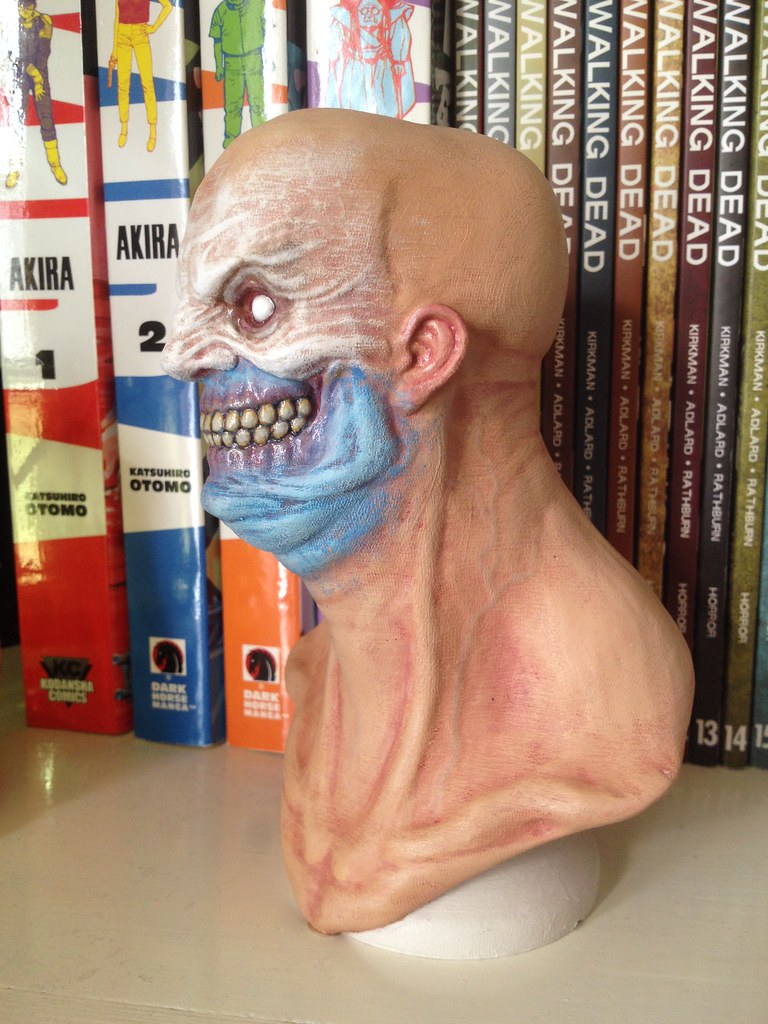
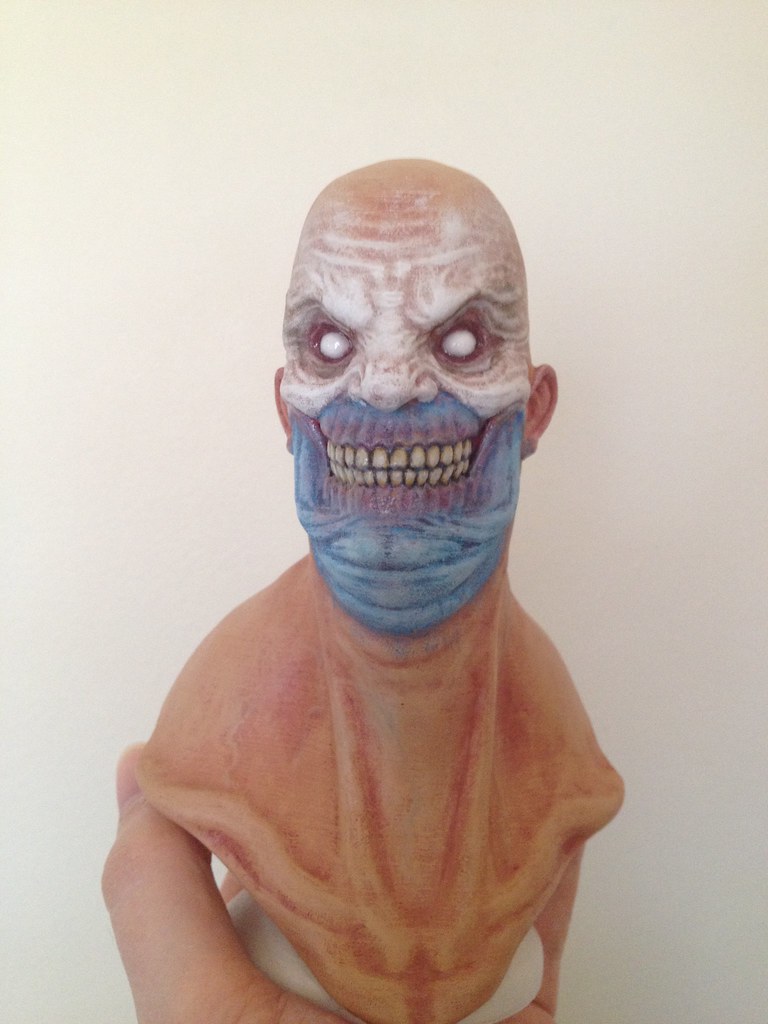
Hey Guys. I've uploaded the Bent Copper bust to thingivers.
http://www.thingiverse.com/thing:375781
Had a go at painting him
hi LeoDDC
the model and the paintjob look awesome
i am looking forward to what you will come up with next
Amazing Leo!
Hey Guys. I've uploaded the Bent Copper bust to thingivers.
http://www.thingiverse.com/thing:375781
Had a go at painting him
Hey Guys. I've uploaded the Bent Copper bust to thingivers.
http://www.thingiverse.com/thing:375781
Had a go at painting him
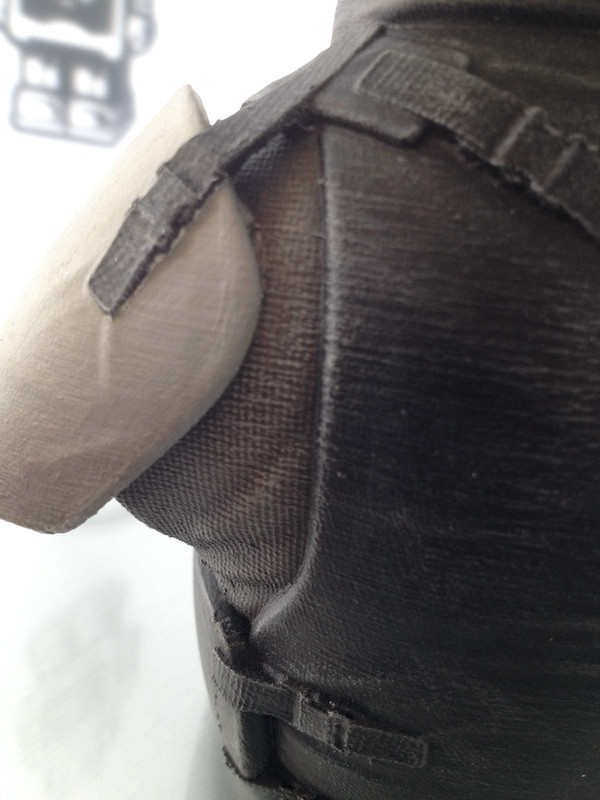
Pardon my french; holy sh*t dude!! That is amazing! That fabric looks so real I want to touch it.
@ Leo: Fantastic Model, wonderful finish, just great!
OOooo yeah, Leo nice job mate!
Definitely a quality job Leo!! The flesh and veins on look totally real as well as the fabric, and also totally gross  ; great job!!
@Chrisp, really glad to see your photos! The light switch looks great in your filament choice, and the gasket looks perfect for the abuse its gone through; real nice work.
@Gothampixel, looking forward to seeing your whole building , really nice looking job; how did you get all the measurements? Did you measure things on the first floor and multiply up?
The only measurements I did were from the windows. Starting with that I used a reference photo in the background and modeled everything from there. The building is sandwiched between two other buildings so the rest of it is just a big blocky rectangle. I plan on doing some others in the neighborhood which have more ornate fixtures. My building is rather plain but acted as a good beginners lesson for modeling in Blender.
Leo: Your "Bent Copper bust" looks amazing! I wish I had the creativity to bring to life the models you post. The paint and texture is just incredible.
I've been having way to much fun with these light switch covers. I came up with push button light switch covers that my 2 year old absolutely loves. The pics make it look like purple, but this is the blue from ultimaker. Each cover takes about 5 hours when printing them at 0.12 layer height and using touching buildplate support. I wanted the top layers to be flawless and pleasing to look at so the extra time and filament to complete the print seemed worth it. I made 1,2,3, gang covers with and without the on/off written on them. I also printed flexible filament buttons which feel really nice when pushed, but white and black are the only flexible colors I have atm.
Anyhow, here's some pics.


This is what i have been working on during the past week, its a new model for Ultimakers WorldCup Mascots.
The "Red Devil"or "Diable Rouge" was missed by many belgian fans.


You can NOT tell thats 3D printed 
Awesome!
@Bauermaker Wow thats great. The primer covered those polygons really nicely. How mush rework before painting?
@Bauermaker Wow thats great. The primer covered those polygons really nicely. How mush rework before painting?
Thanks. unfortunately the primer only helps against the print lines and small flow problems, to get rid of the polygons (which i could have avoided with an additional level of subdivision in blender...) i had to sand them away.
for that i started with 240 grit sandpaper working my way up to 600 reapplying filler after each step to check for flaws.
Thanks for the kind comments guys, really appreciate it.
@Chrisp: Thanks man. I really like the push button light switch, very cool and looks like fun.
@Bauermaker: excellent design and print mate. The finish is unreall. As Tommyph1208 already said you wouldn't think it was a print. What primer did you use?
Painted the Grinner this weekend.
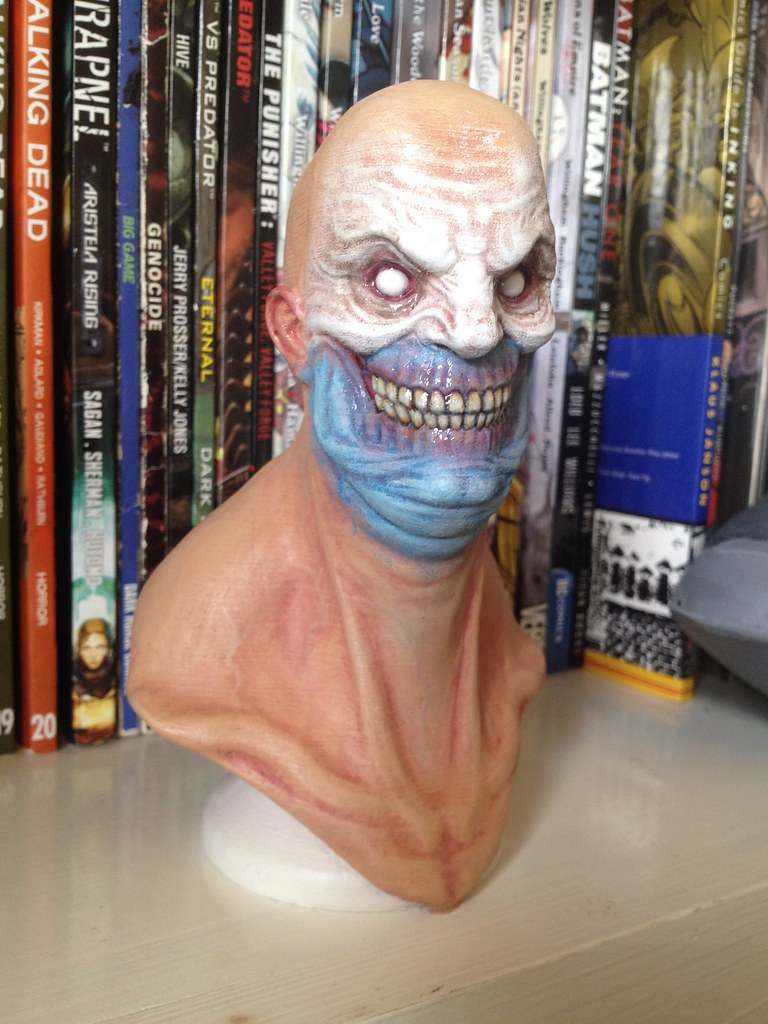
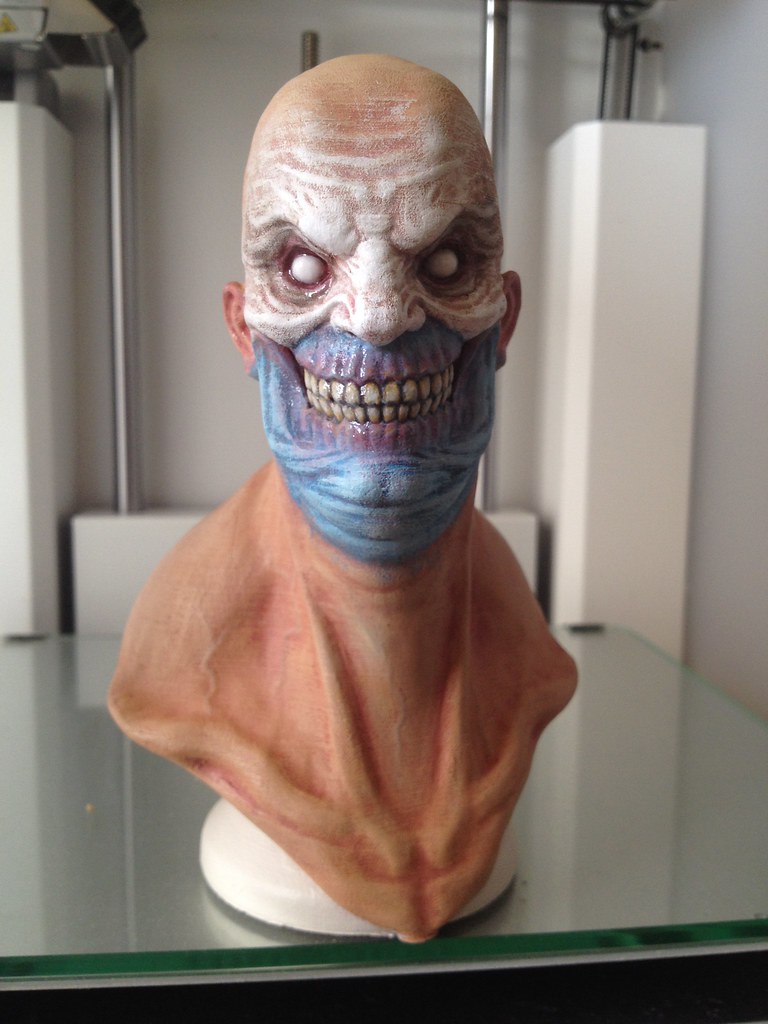

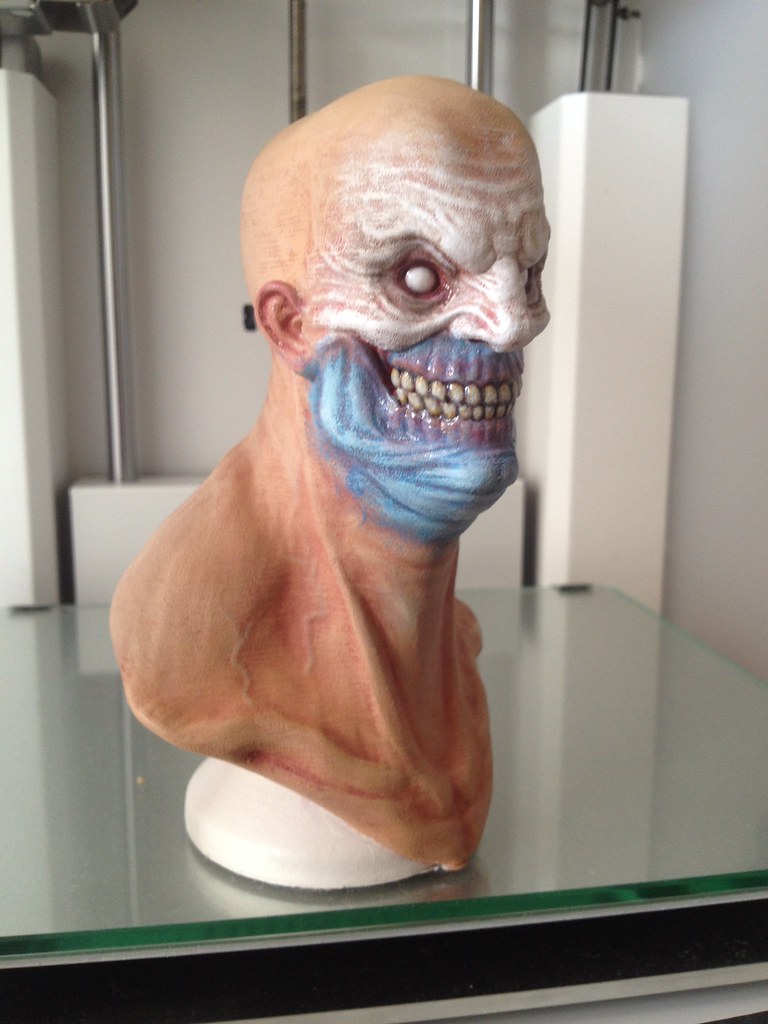
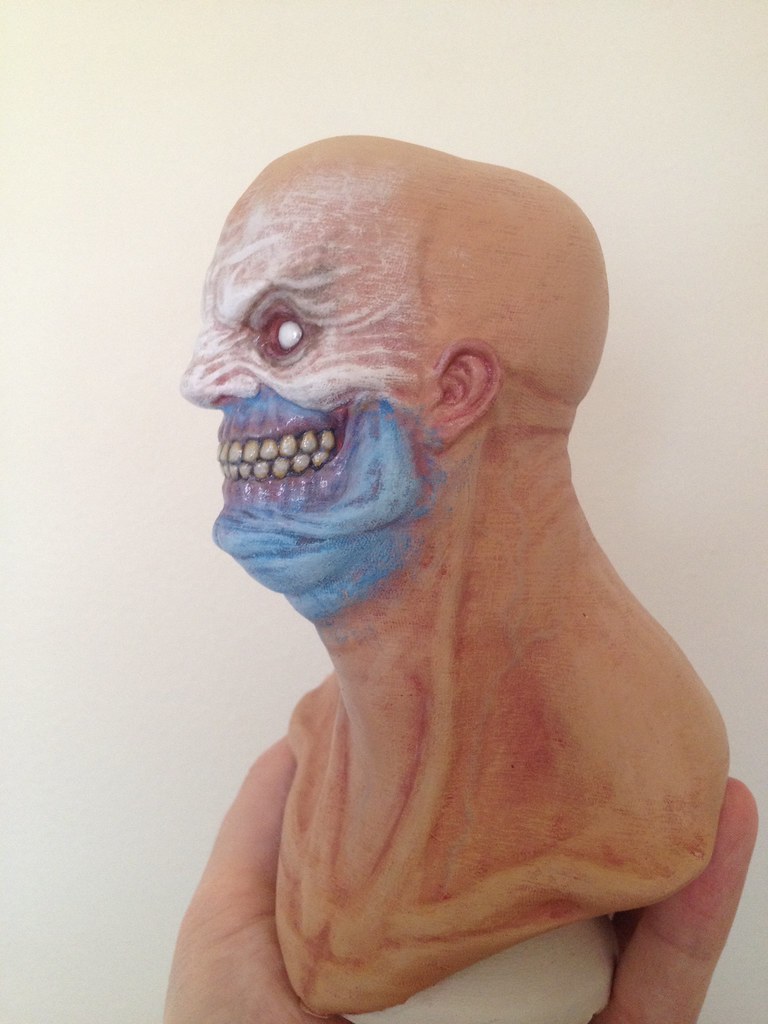
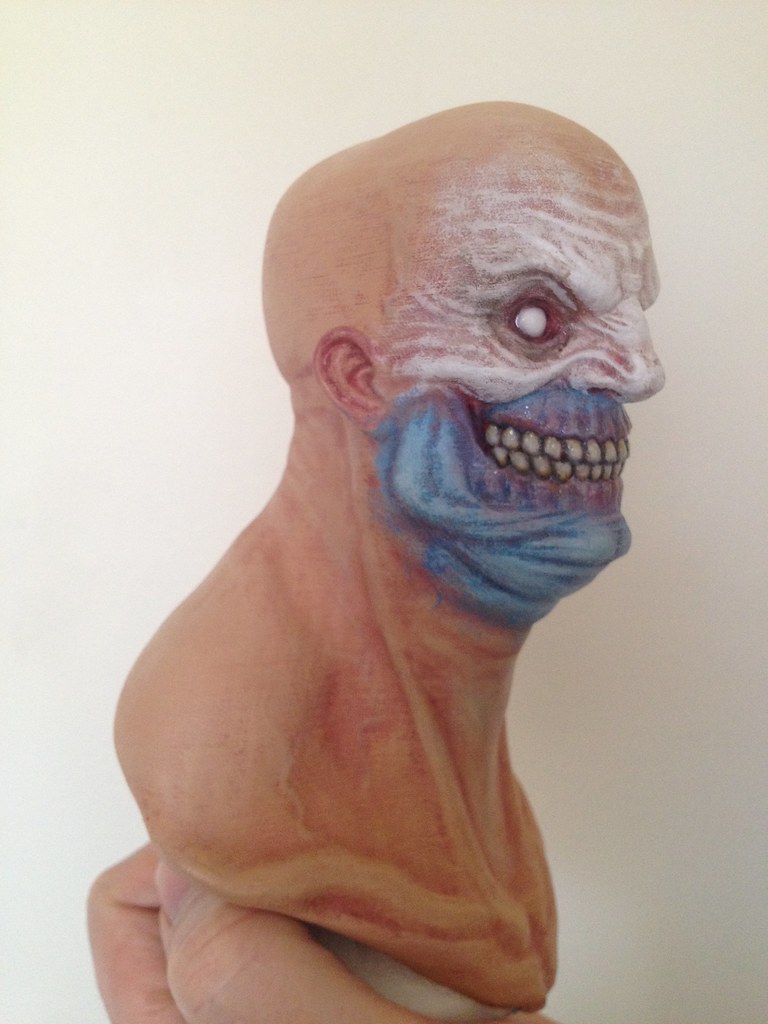
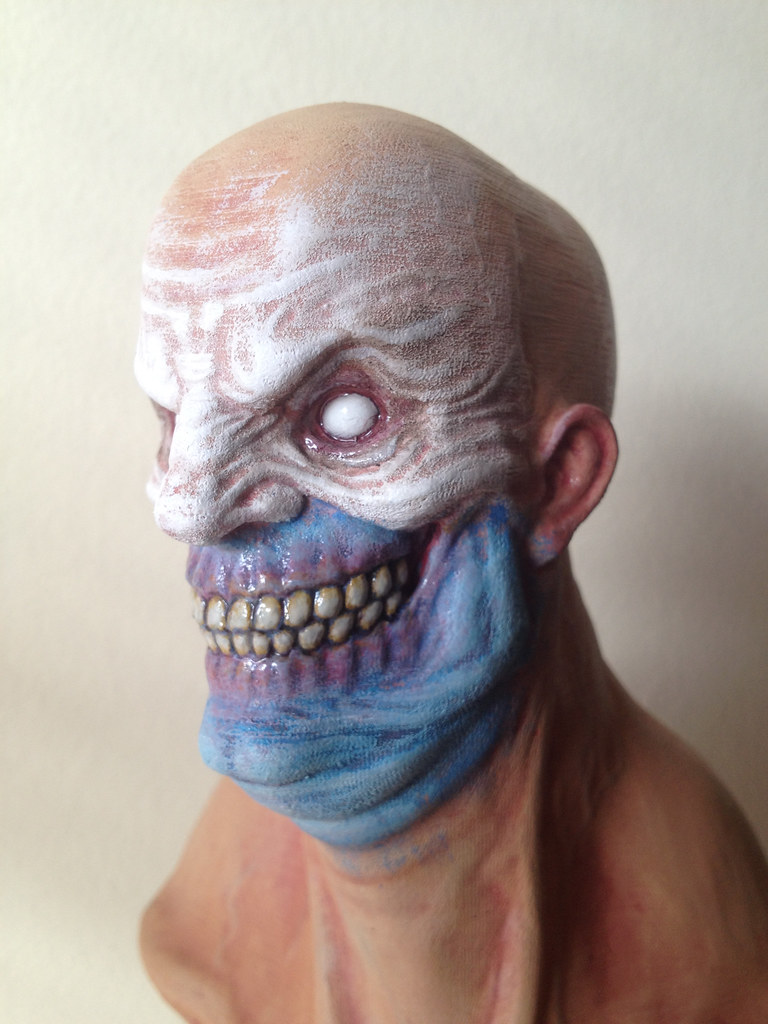
Nice Leo, what do you use to gloss the eyes and teeth?
One of the buttons on the garage door openers broke at my parents house. I made them some better ones. I'll post some of them installed when I get up there again.

Cheers braddock. I'm using citadel paints from games workshop. The varnish is something they sell called "Ardcoat". it's really cool stuff. I've found that if you dry brush it lightly you get more of a greasy look and if you slap a load on it looks wet. Heres a link to their Australian order site

ArunC posted a topic in UltiMaker 3D printers,


.thumb.jpeg.0b7a05eafc09add17b8338efde5852e9.jpeg)

ArunC posted a topic in UltiMaker Cura,


 . I'll PM you the dimensions and give printing the frames a shot.


Recommended Posts
Top Posters In This Topic
362
282
221
179
Popular Days
Jan 5
30
May 12
26
Jan 13
23
May 1
22
Top Posters In This Topic
ian 362 posts
cloakfiend 282 posts
skint 221 posts
SandervG 179 posts
Popular Days
Jan 5 2014
30 posts
May 12 2014
26 posts
Jan 13 2014
23 posts
May 1 2014
22 posts
Popular Posts
kmanstudios
Took me forever to do this. And it is still rougher than I would have liked. 3D concept rendering: Finished piece:
kmanstudios
I just finished this. It was a multi-part print for ease of painting. Some of it I am not sure what happened...but hey, it is purty....And, I am unanimous in that ? Test Render Parts
gr5
Bath interferometers. I have made about 20 of these for people who use them to test their telescope mirrors. They are amazingly accurate and can do better than a $40,000 Zygo PSI optical tester. Th
Posted Images
dreamworker 1
simple stuff, modelled with AutoCAD Inventor and printed with Ultimaker2
door hook
magnetic pot
Link to post
Share on other sites